Controllo remoto del livello dell’acqua e della pompa via LoRa: PCB del server – 4
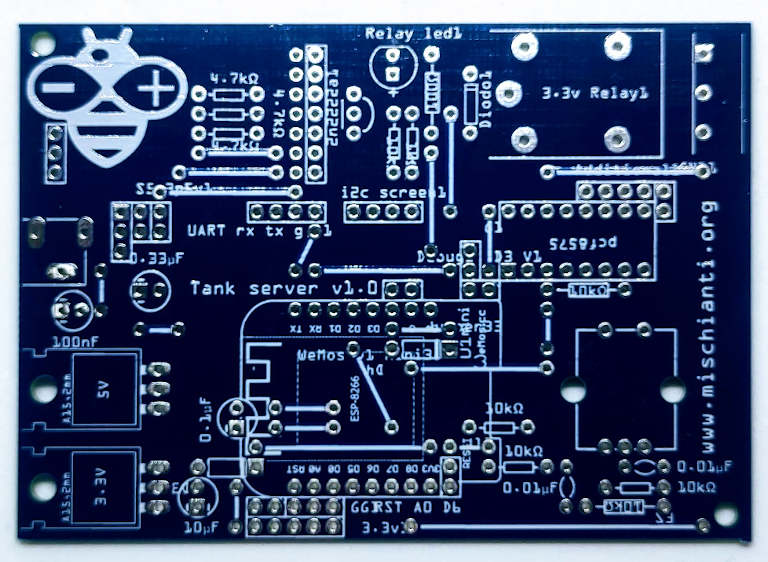
Ora dobbiamo assemblare il PCB del server e puoi ottenerlo senza costi aggiuntivi su PCBWay.
ReWaL: Server PCB PCBWay

La prototipazione e il collaudo
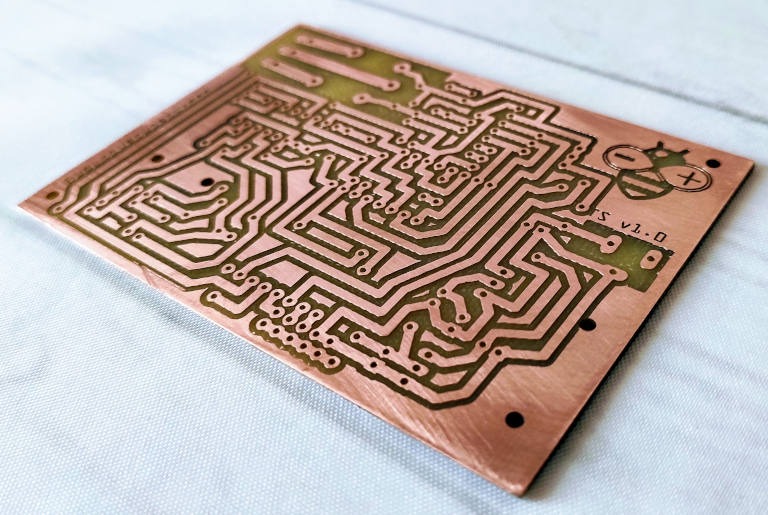
Come al solito, realizzo il prototipo del PCB su Fritzing e lavorerò con la mia CNC Cyclone PCB Factory.
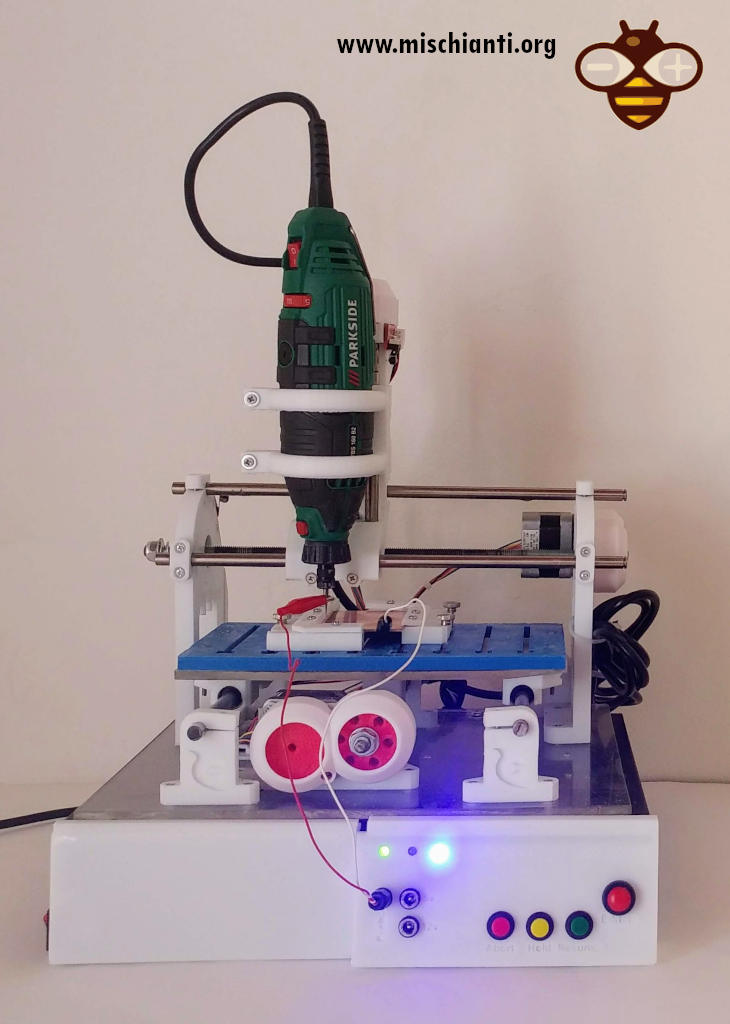
Se vuoi costruirlo, puoi fare riferimento a questo Tutorial, “Cnc Cyclone PCB Factory”, quindi alla guida alla di prototipazione con il CNC “Guida Fresatura PCB”.
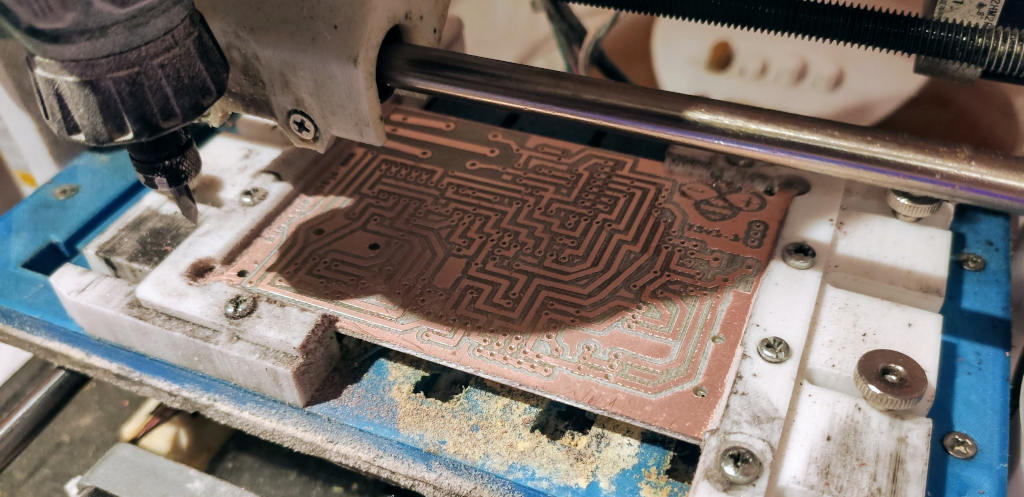
Penso che i PCB fresati siano molto artistici :P.
Distinta base
| Amount | Part Type | Properties |
|---|---|---|
| 1 | NPN-Transistor | tipo NPN (EBC); part number 2n2222a |
| 1 | Generic male header – 5 pins | row single; form ♂ (male); pin spacing 0.1in (2.54mm); |
| 1 | Voltage Regulator | LD1117V33; voltage 3.3V; package 78xxl; |
| 1 | PCB Power Relay – G5LE | 10 AMP; voltage 3.3V; part number G5LE-1 |
| 3 | Generic male header – 3 pins | row single; form ♂ (male); pin spacing 0.1in (2.54mm); |
| 1 | Voltage Regulator | 7805; voltage 5V; package 78xxl; |
| 3 | Generic male header – 4 pins | row single; form ♂ (male); pin spacing 0.1in (2.54mm); |
| 1 | Electrolytic Capacitor | voltage 50V; capacitance 100nF; |
| 1 | Electrolytic Capacitor | voltage 50V; capacitance 0.33µF; |
| 2 | Ceramic Capacitor | voltage 50V; capacitance 0.01µF; |
| 1 | Electrolytic Capacitor | voltage 50V; capacitance 10µF; |
| 1 | Electrolytic Capacitor | voltage 50V; capacitance 0.1µF; |
| 8 | Generic male header – 2 pins | row single; form ♂ (male); pin spacing 0.1in (2.54mm); |
| 1 | Diode | part number 1n4007 |
| 1 | Camdenboss CTB0158-3 | pin spacing 0.2in (5.08mm); variant 90° 3 connector; hole size 2.7mm; |
| 1 | Power Jack | tipo 5.5mm barrel; variant slt; |
| 1 | Generic male header – 7 pins | row single; form ♂ (male); pin spacing 0.1in (2.54mm); |
| 1 | Lora E32-TTL-100 | variant e32; tipo Basic; voltage 3-5V |
| 1 | PCF8574 | tipo PCF8574; package DIP16 |
| 3 | 4.7kΩ Resistor | Resistor 4.7kΩ; |
| 6 | 10kΩ Resistor | Resistor 10kΩ; |
| 1 | Rotary Encoder | ALPS ec11e; |
| 1 | Generic male header – 2 pins | row single; form ♂ (male); pin spacing 0.1in (2.54mm); |
| 1 | 1kΩ Resistor | Resistor 1kΩ; |
| 1 | 100Ω Resistor | Resistor 100Ω; |
| 1 | Toggle Switch | switching circuit SPDT; package THT |
| 2 | Generic female header – 8 pins | row single; form (female); pin spacing 0.1in (2.54mm); |
4 pin i2c Oled display AliExpress I2C SPI SSD1306 0.91 0.96 inch OLED
Relé da 3.3v AliExpress
pcf8574 AliExpress
2n2222a AliExpressEncoder rotativo AliExpress
EByte LoRa E32 AliExpress (433MHz 5Km) - AliExpress (433MHz 8Km) - AliExpress (433MHz 16Km) - AliExpress (868MHz 915MHz 5.5Km) - AliExpress (868MHz 915MHz 8Km)
WeMos D1 mini WeMos D1 mini - NodeMCU V2 V2.1 V3 - esp01 - esp01 programmer
Regolatori di voltaggio AliExpress SMD (AMS1117) - AliExpress 3.3v (LM1117) - AliExpress 5v (7805) - AliExpress 9v (7809)AliExpress 12v (7812) - AliExpress 3.3v TO-92 (78L33)
Assemblaggio
Per l’assemblaggio, puoi fare riferimento alla serigrafia del PCB, lo faccio abbastanza prolisso.
E creo anche un video della fase di saldatura
Ecco il risultato del tuo lavoro

Quindi, dobbiamo iniziare ad assemblare i componenti, i LED, l’interruttore, il display, il WeMos D1 e l’EByte E32.
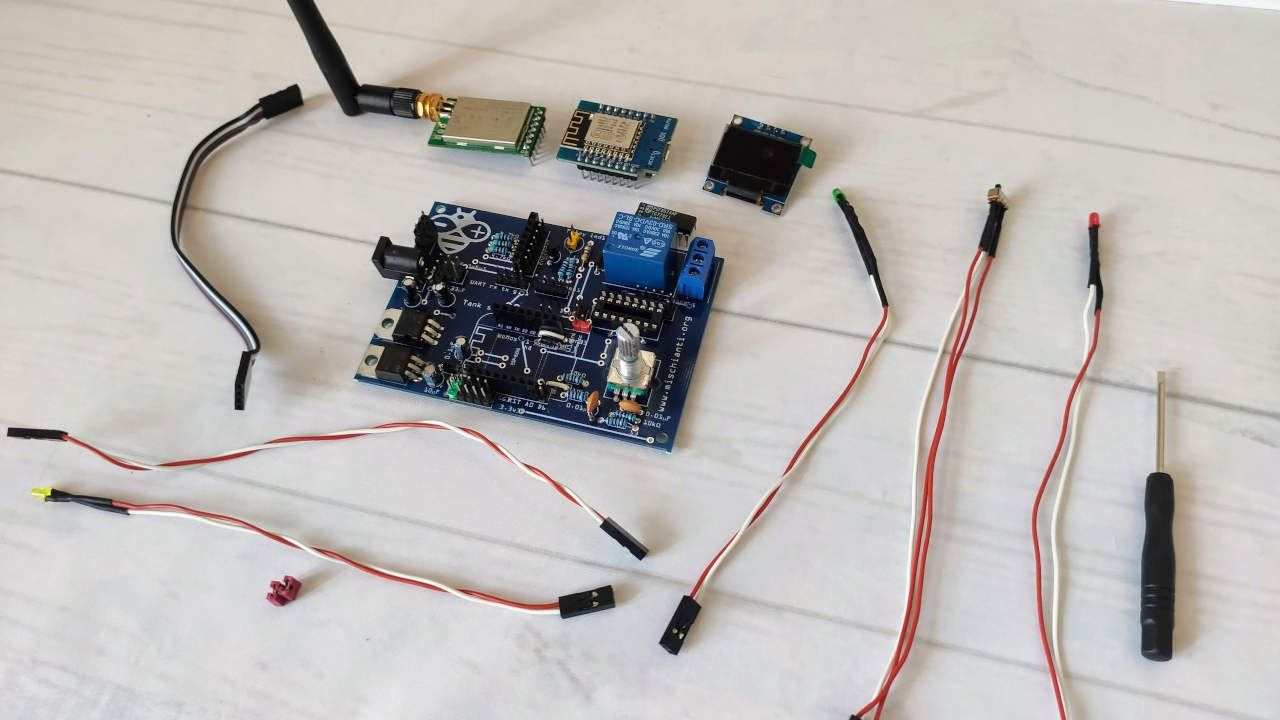
Pubblicherò il box, il video di assemblaggio e come inserirla sulla custodia nei prossimi articoli.
Thanks
- Controllo remoto del livello della cisterna d’acqua e della pompa via LoRa: introduzione
- Controllo remoto del livello dell’acqua e della pompa via LoRa: server software
- Controllo remoto del livello dell’acqua e della pompa via LoRa: client software
- Controllo remoto del livello dell’acqua e della pompa via LoRa: PCB del server
- Controllo remoto del livello dell’acqua e della pompa via LoRa: PCB client
- Controllo remoto del livello dell’acqua e della pompa via LoRa: assemblare il server e box stampato in 3D
- Controllo remoto del livello dell’acqua e della pompa via LoRa: assemblare il client e box stampato in 3D