Improved Z Axis for Cyclone PCB Factory
I’d like to renew my CNC for PCB, I select a project called Cyclone PCB Factory to start.
But I think there are some issue on the mechanic, so I start to fix they, one of the more important fix is Z Axis for Cyclone to prevent movement when drill the PCB.
I use standard Cyclone system for connection, movement and bearing, but the structure is renewed.
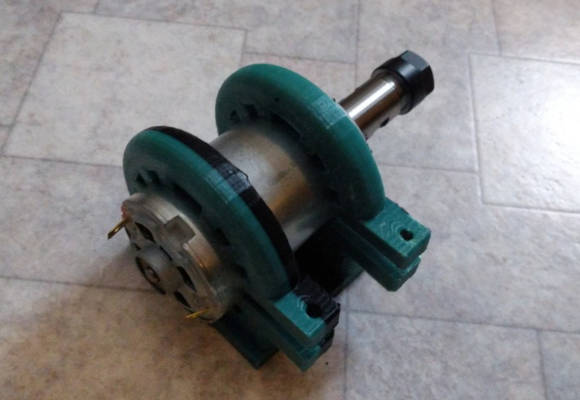
Stepper is a standard Nema17 form factor. I design an holder for 50mm splindle and an holder for a dremel (big).
I advise to print gears with PETG.
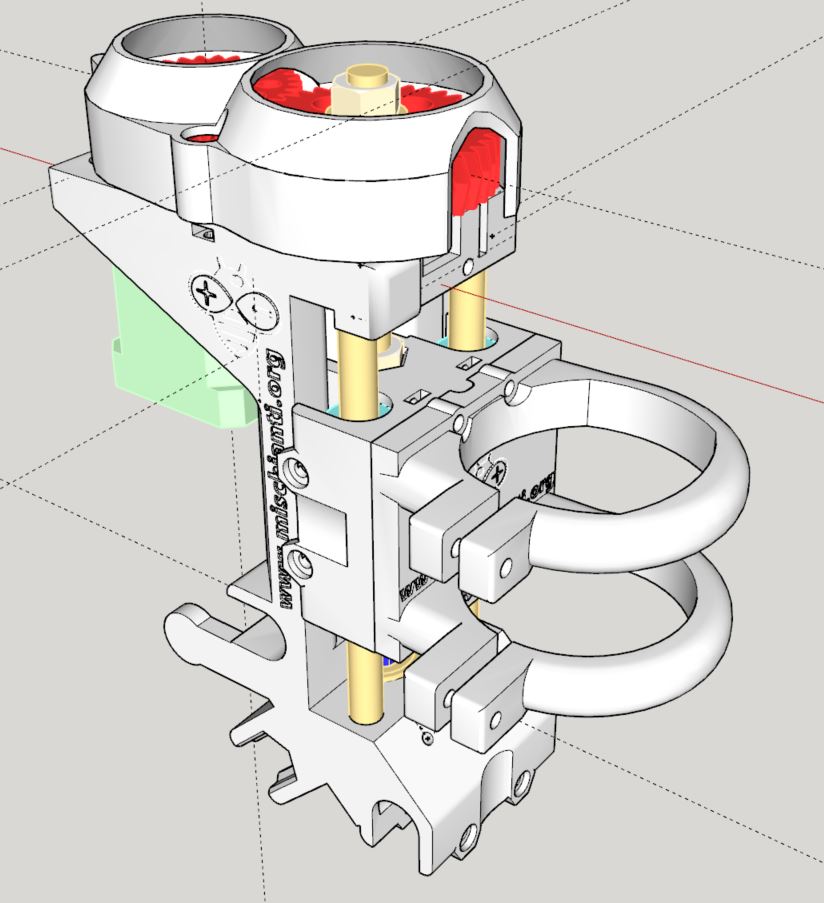
3D model
Material
- 1x155mm Threaded rod
- 2x147mm Smooth rod
- 2x608ZZ bearing
- 2xM8 nut
- 2xM8 blocked nut
- 1xSpring
- 2xM8 Washer
- 4xLM8UU
- 12xM3 screw 12mm
- 8xM3 screw da 26mm
- 3xM3 screw without head
- 23xM3 nut
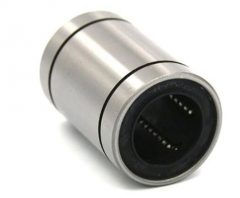
You can find here AliExpress
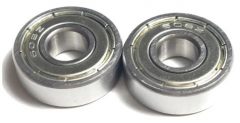
You can find here AliExpress
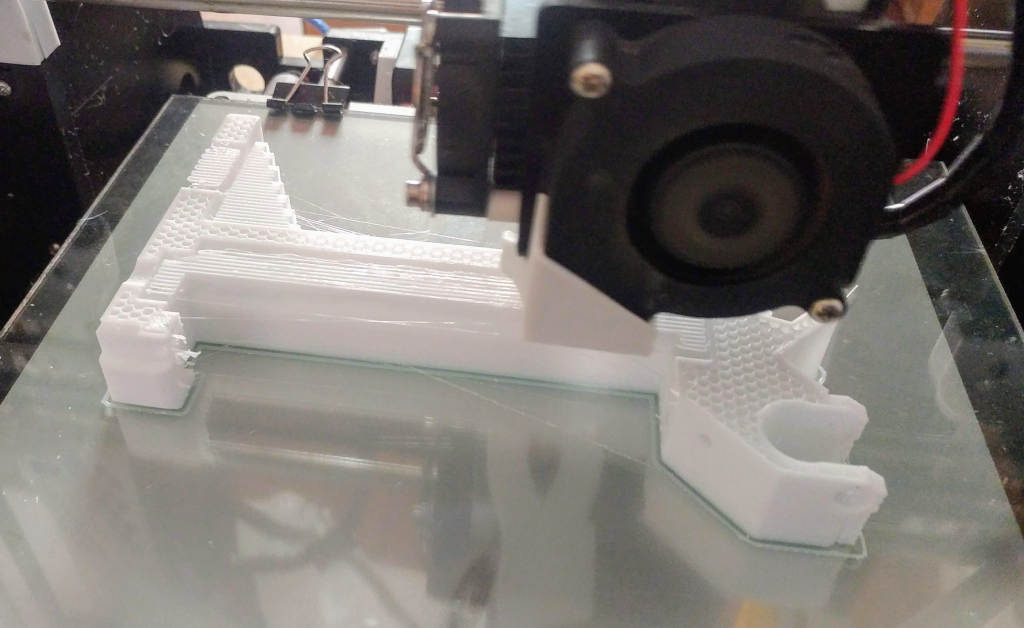
Printing
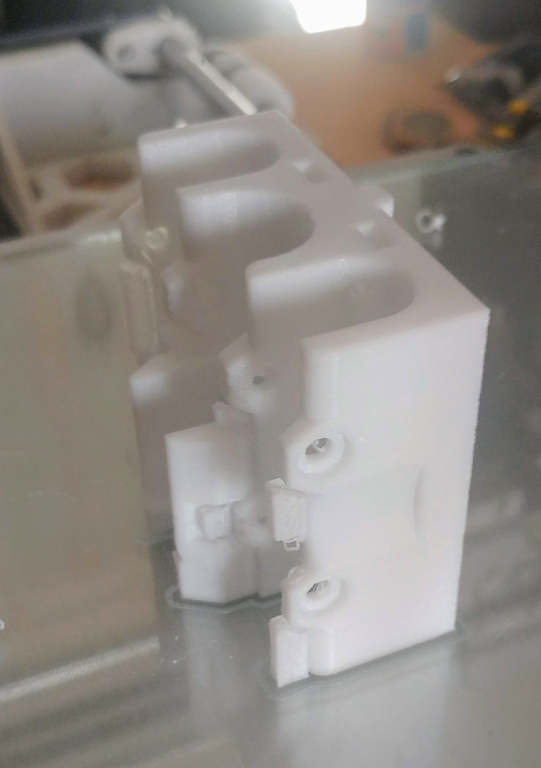
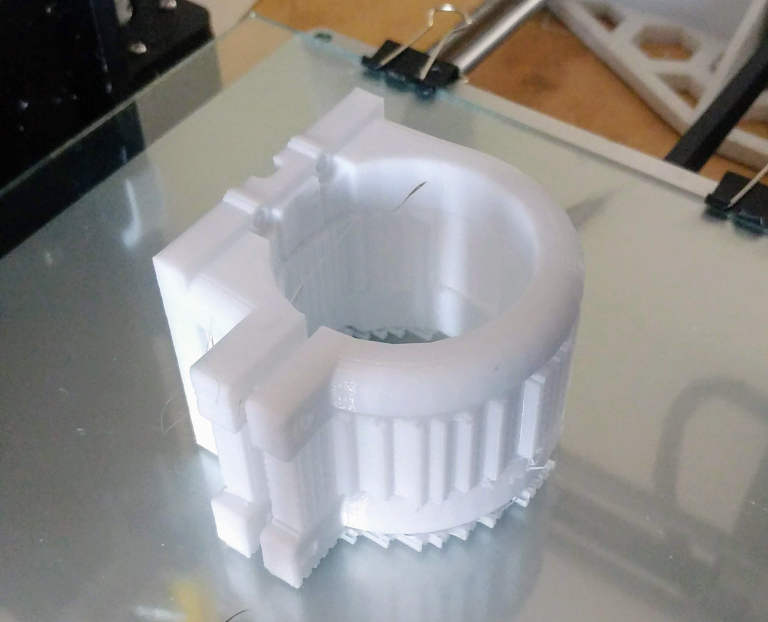
Assembling
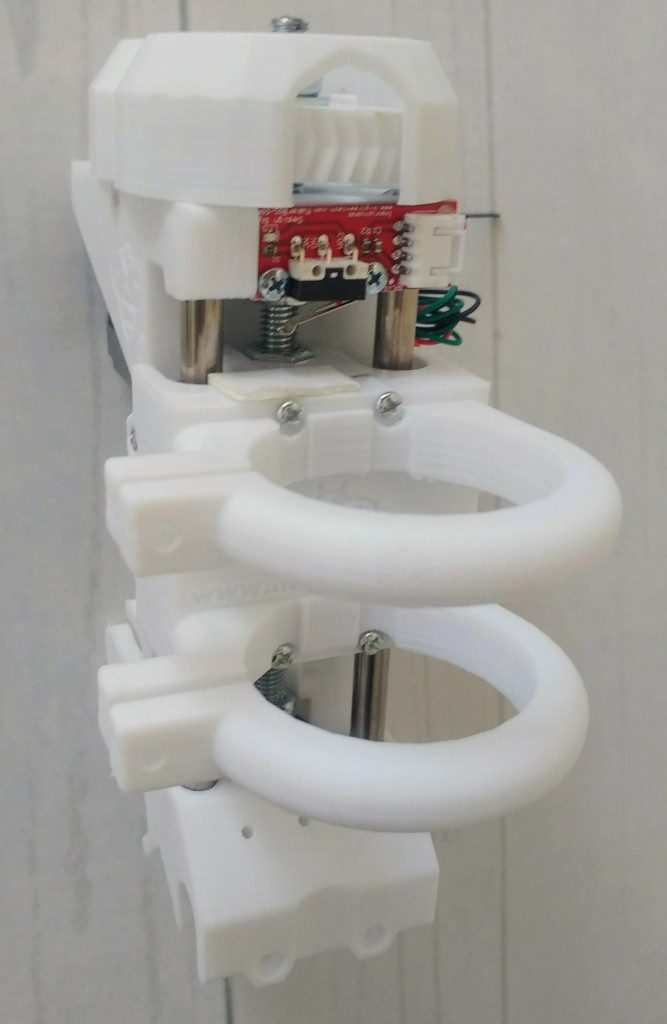
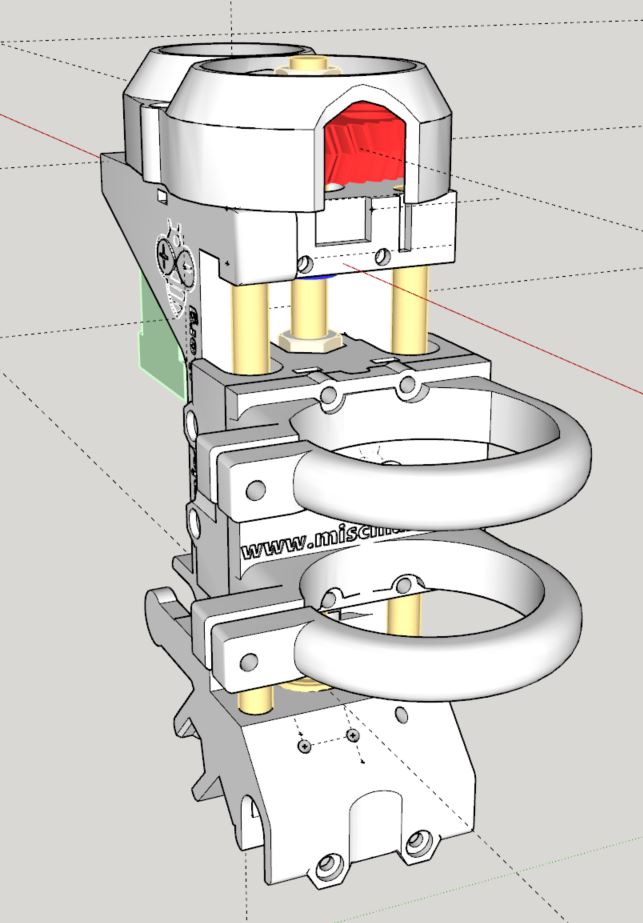
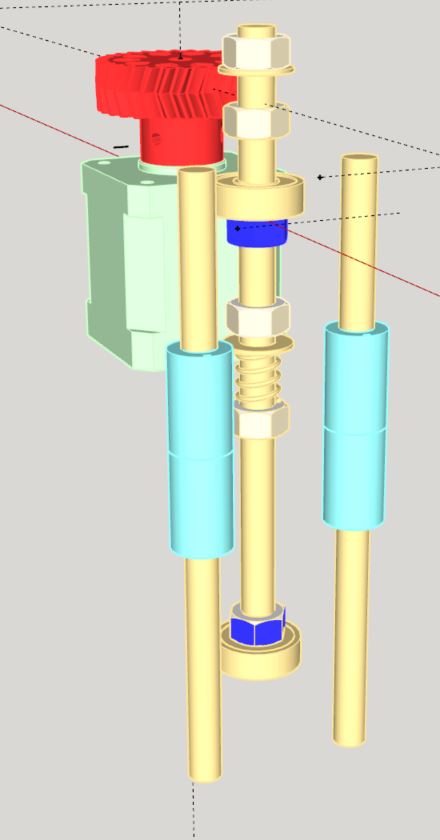
The Threaded rod have in sequence (from the bottom)
1 bearing B608ZZ already inserted in the structure
1 M8 blocked nut (Bleu)
1 M8 Nut
1 Spring (as other in cyclone PCB)
1 washer
1 M8 Nut
1 M8 blocked nut (Bleu)
1 bearing B608ZZ (inserted in the threaded rod)
Assembly instruction
- First insert bottom bearing then in the threaded rod instert all other quite near.
- Insert the threaded rod in the top (with the other bearing inserted in the rod to the top)
- the insert the rod in the bottom bearing (with the blocked nut about 4 mm inserted)
- Then insert the gear in the top and stop the top blocked nut with a pair of thin pliers then rotate the gears to permit the blocked nut to go near the top bearing.
Here a video with all step of assembly.
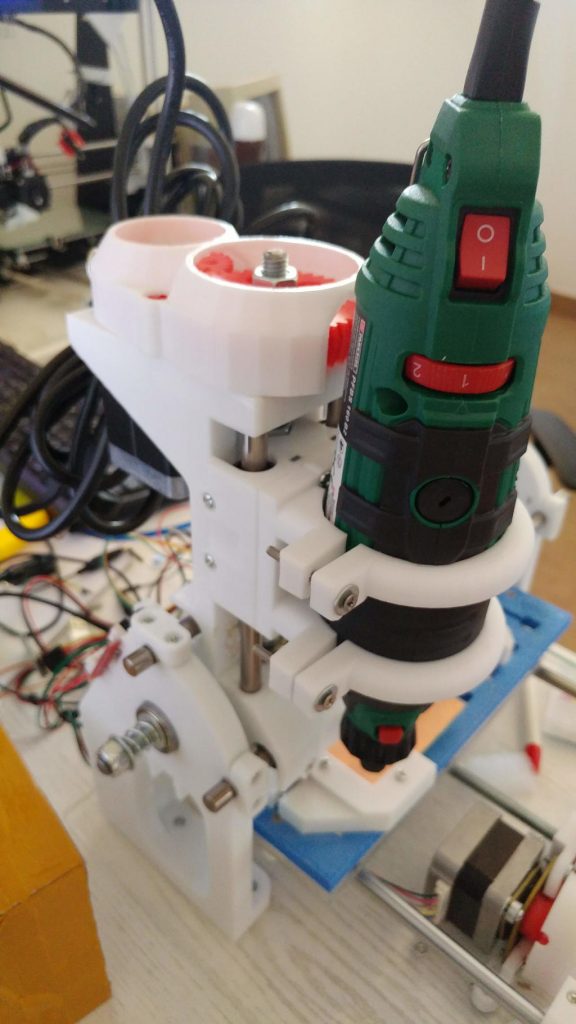
Result
Download
- X Carriage
- Z Carriage
- Z Carriage Dremel 3000 Holder
- Z Carriage 19mm Splindle Holder
- Z Carriage 50mm Splindle Holder
- Z Carriage 52mm Splindle Holder
- Z Carriage 42mm Splindle Holder (775 motor)
- Z Carriage Dremel 200 Holder
- Gear on Nema17
- Gear on threaded rod
- Gears cover
Original holder file




Hi.
How many steps per mm must be placed on the z axis?
You speak spanish?
My english is not well
Thank you
Hi Manuel,
no I don’t speak spanish.
The step/mm of Z axis is 200, I explain better in the future article where I add all information to set firmware.
Bye Renzo
Ok. Thank you
I have a dremel 300 and it does not fit properly in the fastening piece. Can you hand me the original file to modify it or do you have the modification made for this dremel to pass it to me? Thank you
Hi Manuel,
I add a Dremel 200 holder (already developed but never added) and an original SketchUp file.
But I don’t know if 200 fit wih 300.
Bye tell me if you resolve the problem.
thank you Renzo.
Where is the download?
I add the link in the article.
I’ve tried the stl with the 200 dremel and it’s perfect
Thank you
?
post a photo of your work
Bye
Hey, hope you are safe and doing well. I had a question, how do you ensure that the rotation of the gears translates into the rotation of the threaded rod. It looks like you are using a normal m8 nut in the larger gear. My larger gear just rotates freely on the threaded rod.
Hi Kaustubh, at minute 6:30 I add a second nut to block the gear.
Bye Renzo
Hi! Good job!. I want to know if a Dremel 3000 fits into the holder. Thanks!!
Hi aemiliano,
You can find the holder in the list of file.
Bye Renzo
THANKS!!!
Hi Renzo. Great job with the new Z-Axis. Print it and look nice. I would like a spindle holder for my 52mm diameter spindle. Would it be possible for you to change holder to fit 52mm spindle and post .stl file.
Hi Paul,
I post the file, please check if It’s ok, and if you want send me a video/photo about your work, or add It directly to the forum.
Bye Renzo
Hi Renzo,
Thank you very much for the fast response. Will download the file and print it during the weekend. Will try to post photos.
Hi Renzo,
Thanks a lot for the fast response. Will download the file and print during the weekend. No time during the week. Will try to post photos.
Paul
Hi Renzo,
what were the print parameters you used? The original is: Layer height: .25mm, Shell thickness: 1.2mm, Bottom / Top thickness: 1 mm, Fill density: 20%, from the photo “X carriage printing process” it looks like honeycomb filling greater than 20%. Did you just change the fill density or did the other parameters too? I want to print everything from PLA, gears from PET-G.
Hi Arek,
I use
I use PLA for all except for Gears, Rod fixer and the carriage.
The problem for Rods and Carriage is that, being in traction, they risk breaking over time.
Bye Renzo
Hi Renzo
Your Cyclone improvements are very good. I have a spindle measuring 19mm of diameter. Would it be possible for you to adapt a spin holder for me and give me access to the .stl file?
Thank you very much.
Carlos
Hi Carlos,
I add the carriage for 19mm motor.
Test Ita and, if you can, send me a photo.
Thanks Renzo
Hi Renzo
I didn’t expect you answer me so soon.
Thank you very much. As soon as I build it, I’ll send a foto.
Carlos
Hi Renzo
I need to redesign the herringbone gear for the screw because i’m using T8 lead screw instead of the regular M8 threaded rod. Could you please let me know the details of the gear as pressure angle, helix angle and clearance. The stepper’s gear fits perfectly.
Thank you in advance!
B.R.
Norbert
Hi Norbert,
in my original design the screw‐side gear was based on the standard involute parameters used in the MCAD library, which means:
Since you’re switching from the standard M8 threaded rod to a T8 lead screw (which usually has a 2 mm pitch – and hence a lower inherent helix angle, on the order of ~5° when computed from the thread’s pitch diameter), you’ll want to adjust the “teethtwist” value accordingly so that the gear tooth’s twist matches the T8 profile while you can keep the 20° pressure angle and similar clearance settings.
Hope this helps!
By Renzo
Hi Renzo,
Thank you for your kind and detailed reply!