
FlyingBear Ghost 5 enclosure: top cover
Finally I decided to buy another 3D printer, this time I choose the FlyingBear Gost 5. I buy it because for 250 € it has solved many problems of other printers like Ender or Artillery (with the same price).
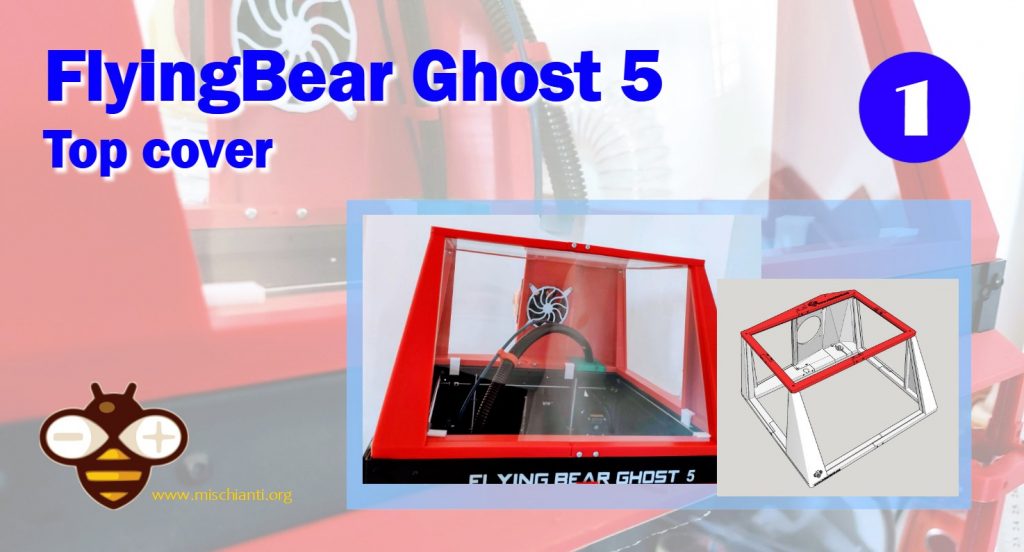
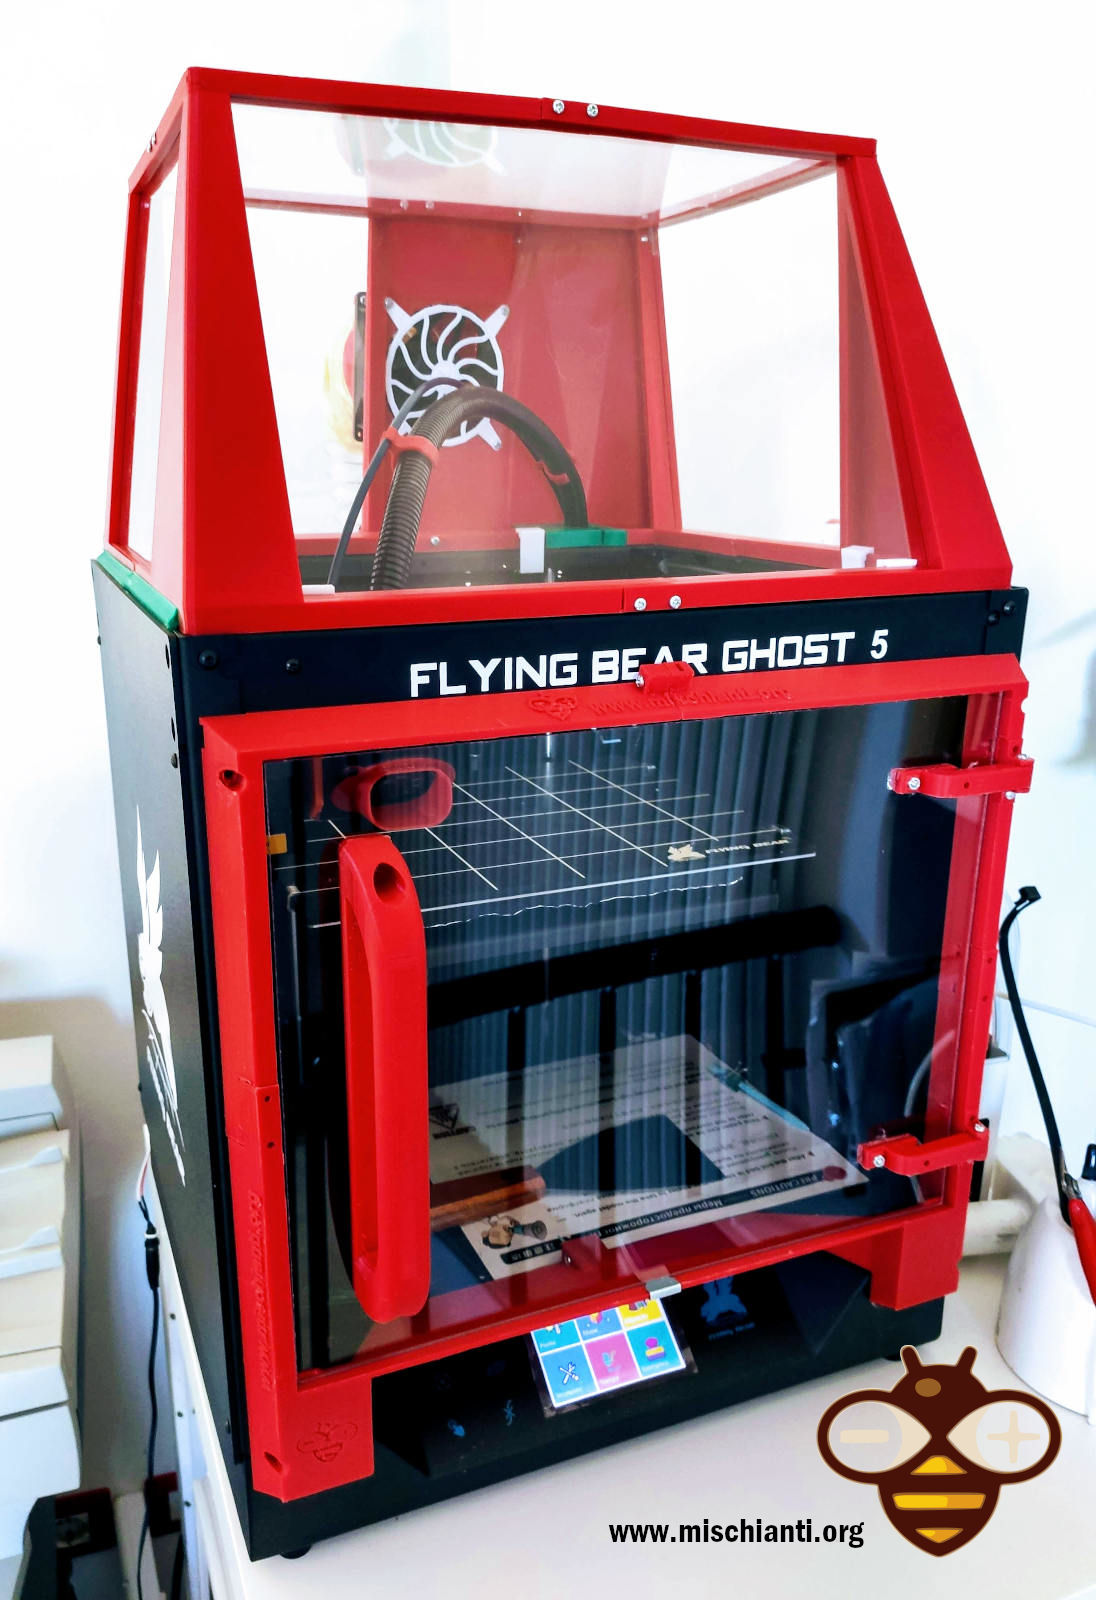
I made a case because I would like to print a more dangerous material like ABS, and to do that I create two different rears of the top cover, one standard and one with a fan for extracting harmful fumes.
The result is this.
I’m very happy about that, so I’m going to share with all.
Top cover

I create a top cover that can be used with stock cable, and I create 2 rear part one with an extractor fan one without. I recommend using the one with the 90mm 24v fan, with good extraction power, so as not to overheat the inside of the box too much and preserve the motors.
90mm fan for suction on Aliexpress 90mm x 38mm fan DC 24v
To assembly all parts I use M3 pan head screw with the relative nut.
Screw here on Aliexpress Countersunk Head Screw - Aliexpress Pan Head Screw - Aliexpress nut
To close all i use the polycarbonate of the ikea frames I had aside. It’s very thin, but It’s perfect for our scope.
I think you can order polycarbonate a4 sheet of 0.5mm like in the link bottom.
0.5mm or 1mm sheets on Aliexpress A4 polycarbonate sheet - Aliexpress 3mm sheet
I use PLA to print all, but i think ABS or PETG can be better, for the hole of cable I print in TPU and It’s a good solution in my case. The clip It’s better to use ABS or PETG because PLA in the long term can crack.
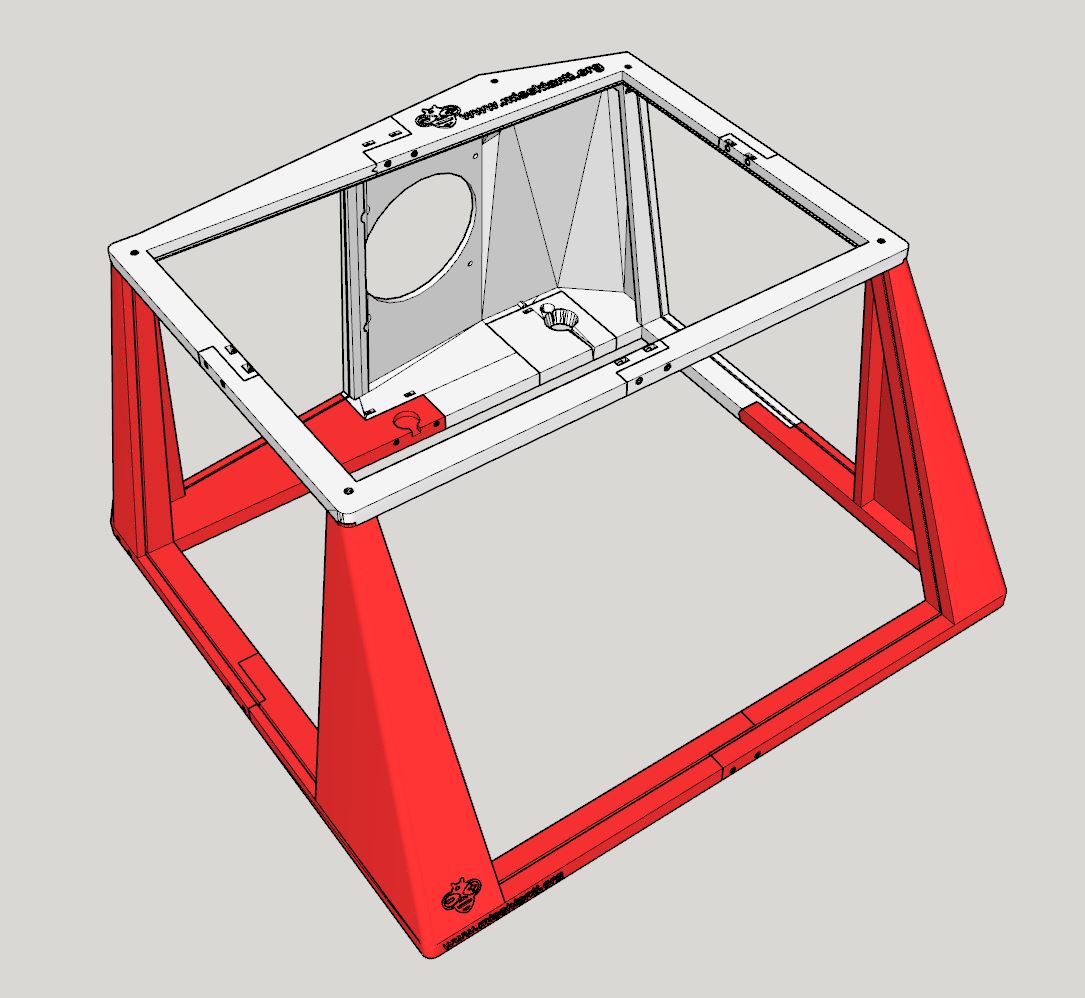
Top of the top cover
It formed by 4 piece connected with 8 M3 screw and nut.
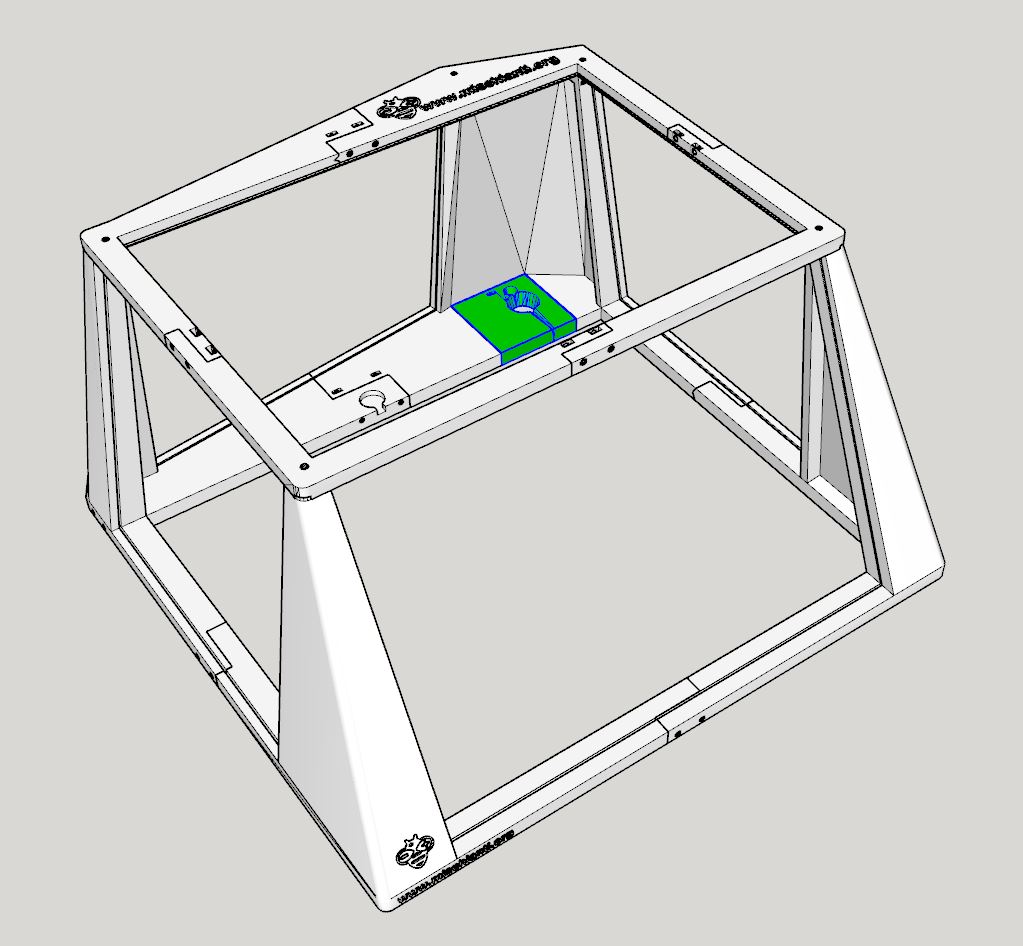
Bottom part of top cover
Here the piece shared from all version.
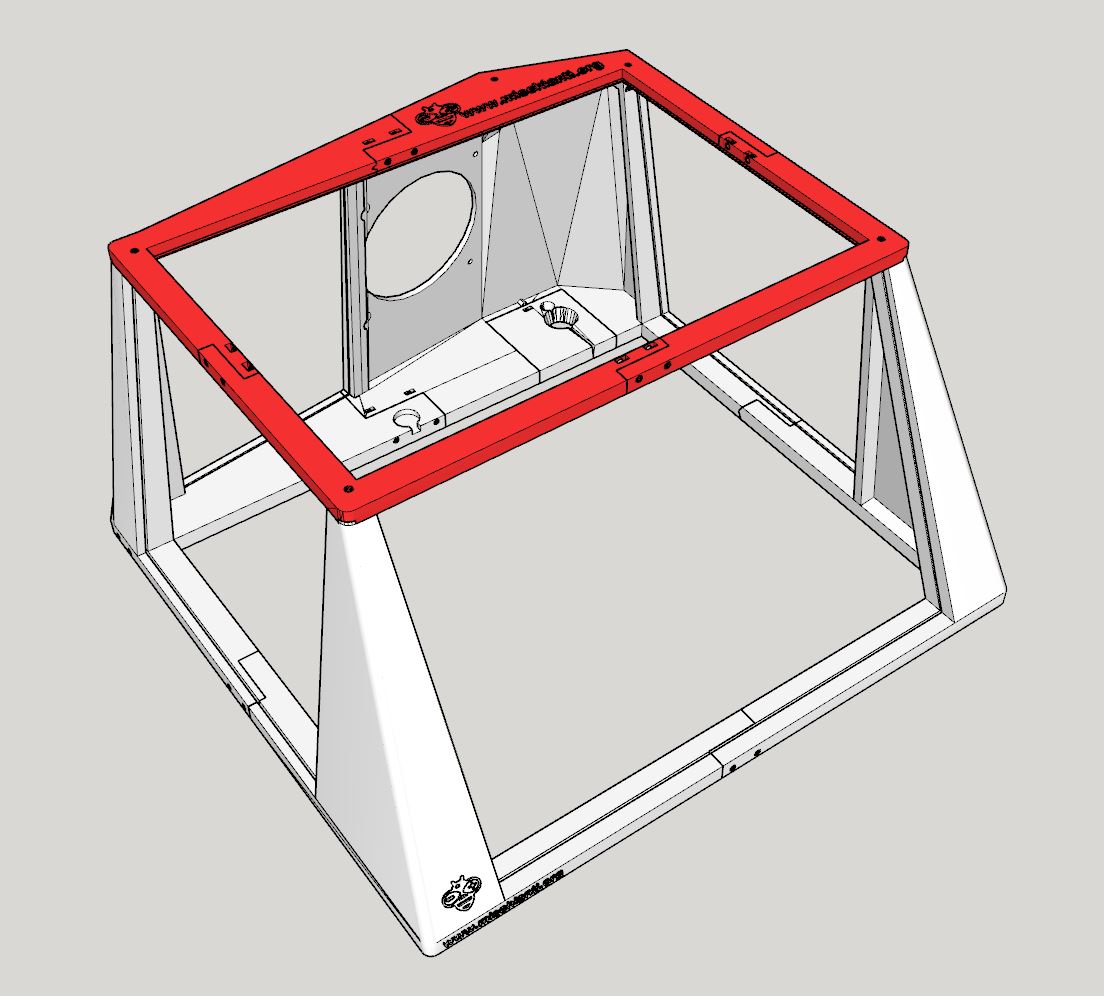
Rear with fan adapter
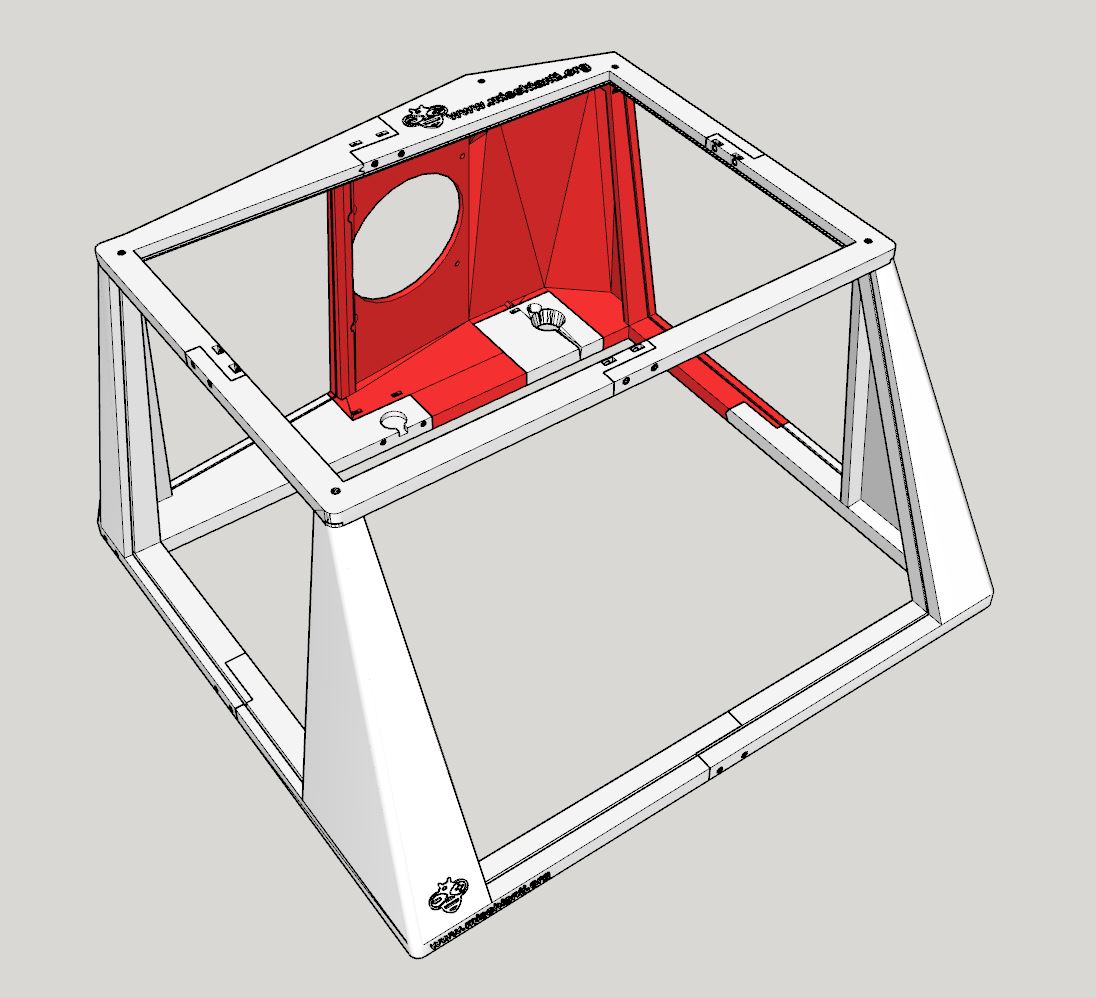
Bottom cover Rear right with fan hole
Fan frontal grid
Fan 65mm tube extractor adapter
Rear without fan adapter
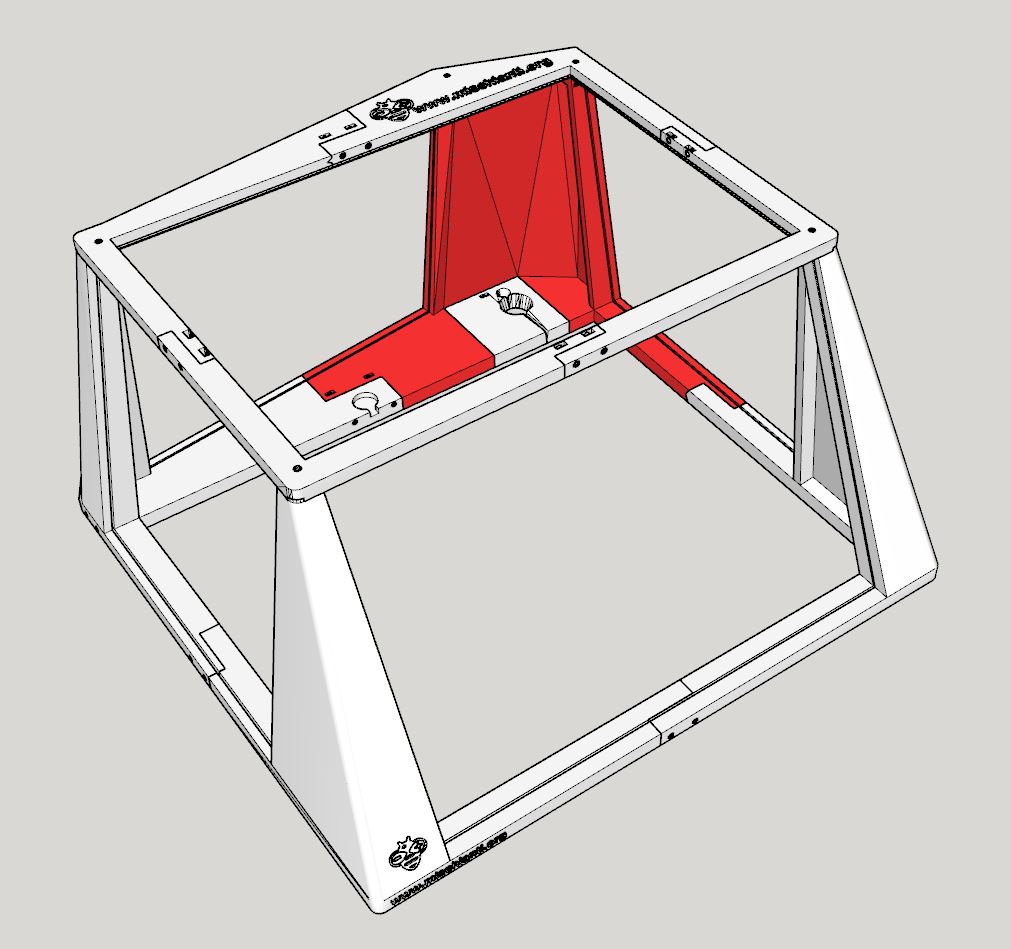
Bottom cover Rear right without fan
Cable adapter in TPU
Cover clip for fixing
A set of clip to block top cover.
Thanks
- Flying Bear Ghost 5 enclosure: top cover
- Flying Bear Ghost 5 enclosure: front cover/door
- Flying Bear Ghost 5: Fan Duct with extended to fix cooling problems
- Flying Bear Ghost 5: simple spacer for dual drive extruder


Ciao, complimenti per il progetto.
Lo sto scaricando per realizzarlo ma non riesco a scaricare i file per le clip di chiusura per la parte superiore.
Potresti aiutarmi?
Grazie
Ciao Mirko,
si è vero, si comportano in maniera diversa perché sono in formato asci mentre gli altri sono binari.
Basta che fai tasto destro e “Salva link con nome..” o “Save link with name..”.
Ciao Renzo
Ciao Renzo,
grazie per la risposta, ho fatto come mi hai detto ma non riesco a convertire il file in stl (mi dice che il file è danneggiato).
potreesti aiutarmi?
grazie
Ciao Mirko,
si c’era un doppio problema su quei 2 file, ora dovrebbe essere risolto.
Se hai altri problemi non esitare a contattarmi.
Ciao Renzo
Grazie
Salve se non sbaglio non ce il disegno della parete della bocca di aspirazione sbaglio?
Ciao Mirco,
se intendi la parete dietro con il foro per la ventola quello c’è.
O non ho capito?
Ciao Renzo
Ciao ho scaricato tutto ma non riesco a scaricare la clip corta e lunga in nessun modo
Ciao Mirco,
probabilmente il tuo browser riconosce il file come ASCI e te lo visualizza.
Fai tasto destro sopra il taso Download e clicca su “Salva link con nome..”.
Ciao Renzo
Ciao, le parti sotto del top cover sono da scalare? non ci stanno nel piano di stampa della mia FGB5. grazie
Ciao William,
no sono tutte a misura, probabilmente hai il brim o simili che richiede una superficie maggiore.
Se vuoi mantenerlo ruotale un po’.
Ciao Renzo
Grazie Renzo, si avevi ragione, sto stampando il tutto ora . Credo però che avrò dei problemi di ingombro col bowden visto che ho fatto la modifica per far diventare direct la mia FGB5. Per caso lo hai già testato? nella posizione di zero il motore sfiora di poco il profilo superiore della stampante e inserendo il tuo top mi sa che toccherà (lo hai già previsto?)
Ciao William,
L’altezza del top è precisa per il bowden, non so con il direct.
Altre limitazioni non dovrebbero esserci.
Ciao Renzo
Salve, volevo chiedere una domanda per quanto riguarda la ventola.
Com’è è alimentata? Pensavo di aggiungere oltre alla ventola delle luci all’interno della stampante (perchè a casa mia non c’è un punto che mi permetta di avere una luce decente all’interno) e volevo giusto capire come si fosse organizzata lei. Ho notato che sulla base della stampante (dove ci sono i connettori per l’hotend) sono presenti 2 pin inutilizzati, per caso lei sta usando quelli oppure ha un’alimentazione esterna?
Ciao Enrico,
in realtà per ora uso un alimentatore esterno da 15v per la ventola a 24v.
La mia idea era usare i pin rimasti del modulo WiFi per creare un regolatore di velocità, visto che, in alcuni casi un’aspirazione eccessiva mi raffredda troppo la camera di stampa.
Ma li non credo di riuscire a metterci mano in tempi brevi.
Comunque si puoi usare l’alimentatore della stampante per alimentare la ventola, anche riusare i medesimi connettori della schema madre.
Ciao Renzo