
LoRa remote water level and pump controller (ReWaL): assemble client and 3D printed case – 7
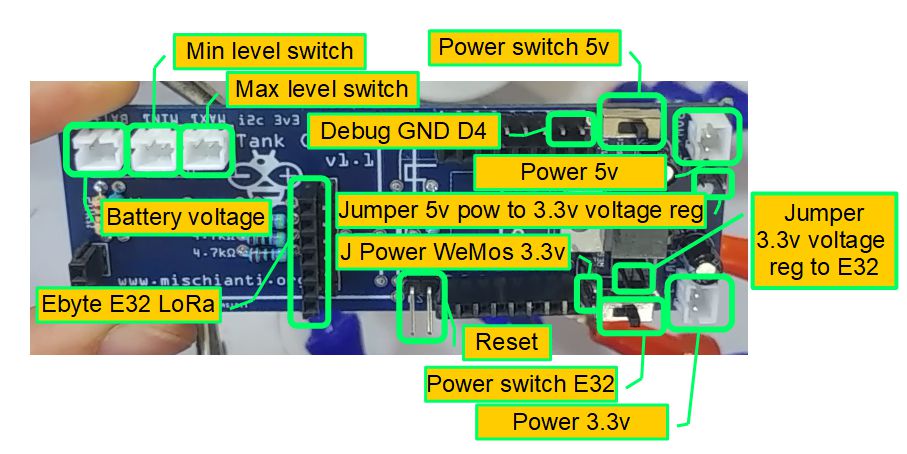
And finally we have the PCB assembled and we can start to put all in the case
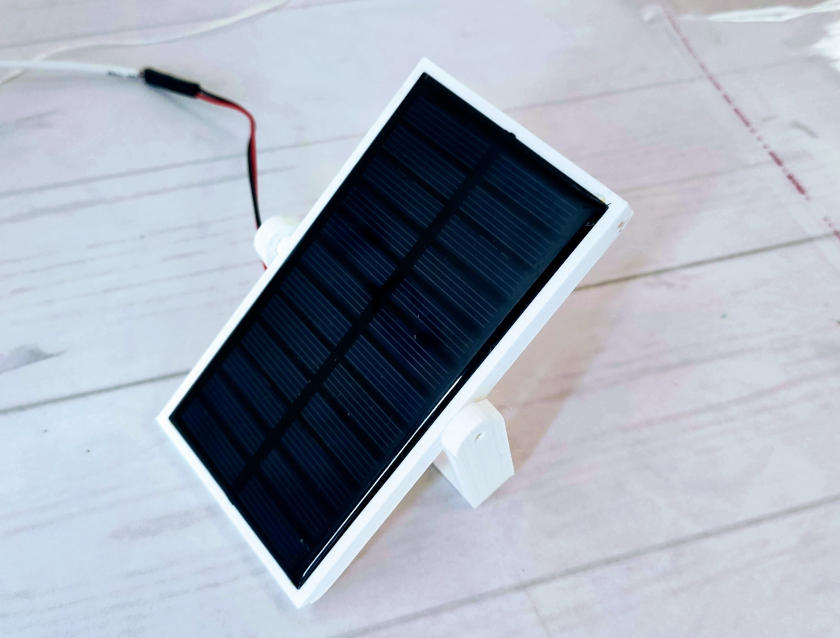
Solar panel holder
And here is the result.
Client Case
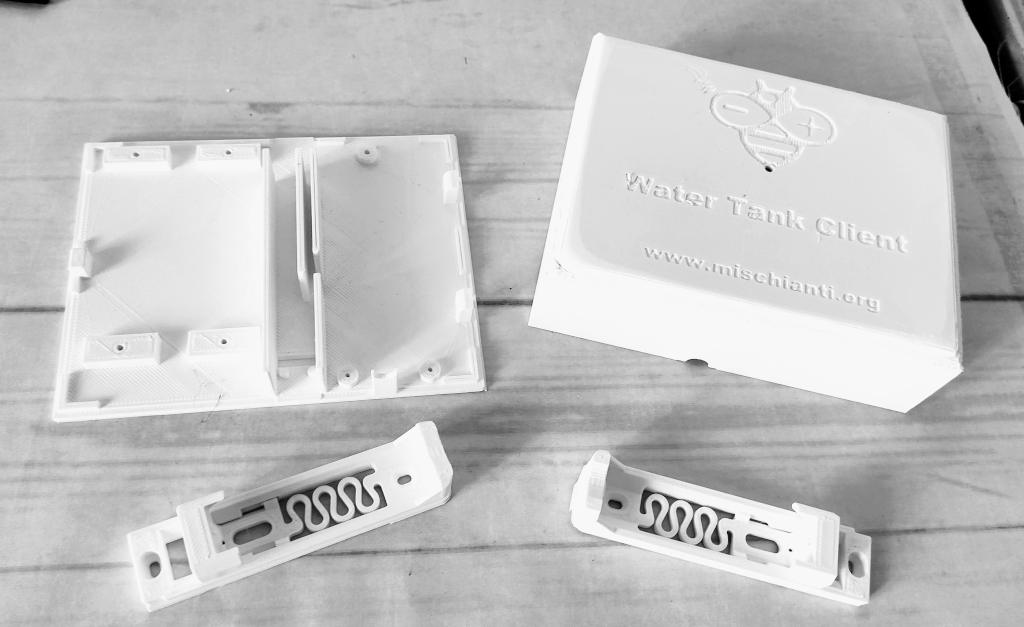
Here is the client case 3D printed
Base
Cover
Battery holder x2
Assembly
Start to print the case, and go to assembly the component, I add also the video with the assembling of the solar charge component (refer to the PCB article)
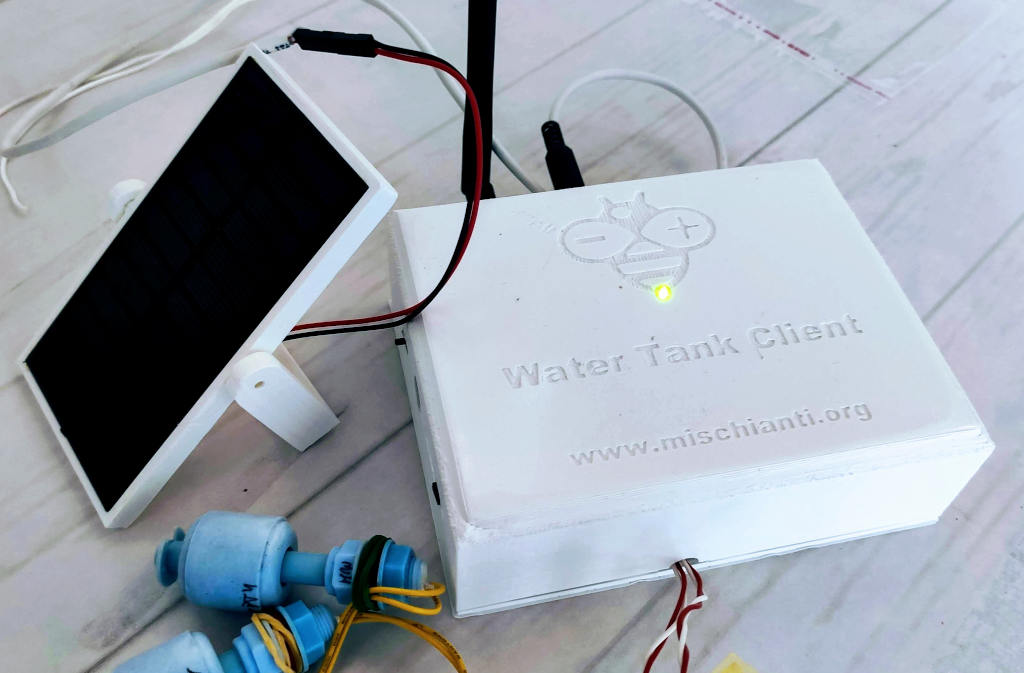
And now we are going to put all in the case
And finally, we have the Client complete.
Demonstration video
Thanks
- LoRa remote water tank level and pump controller: intro
- LoRa remote water level and pump controller: server software
- LoRa remote water level and pump controller: client software
- LoRa remote water level and pump controller: server PCB
- LoRa remote water level and pump controller: client PCB
- LoRa remote water level and pump controller: assemble server and 3D printed case
- LoRa remote water level and pump controller: assemble client and 3D printed case


