

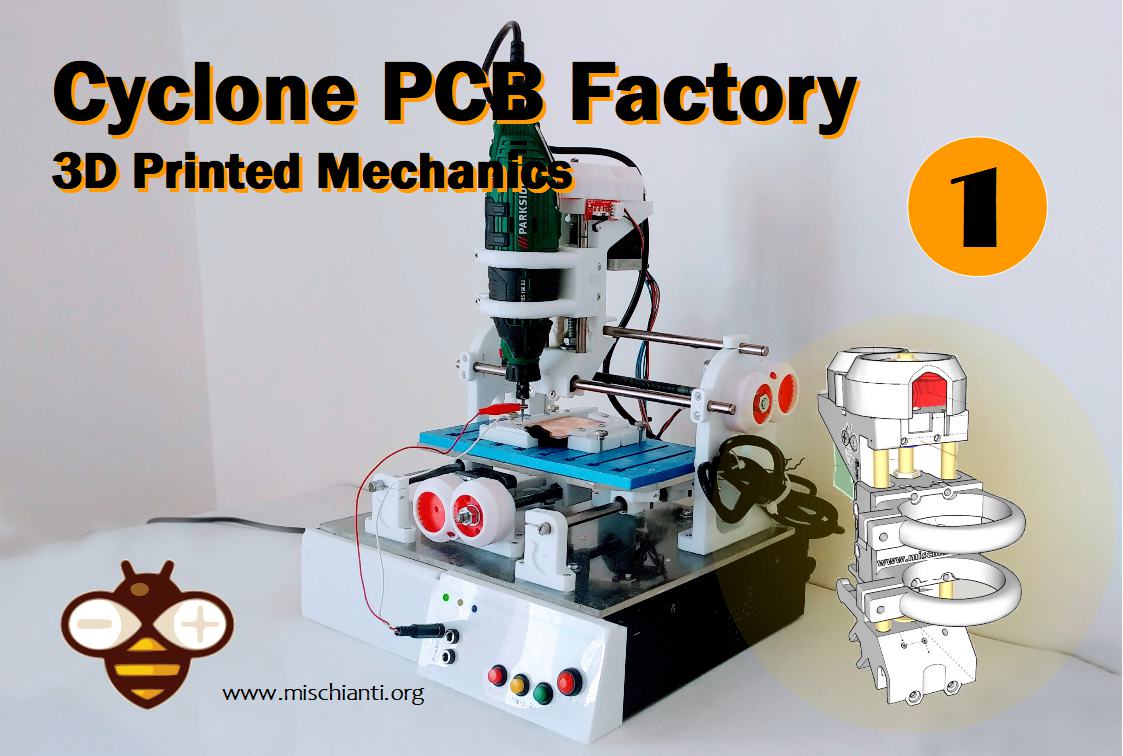
CNC Cyclone PCB Factory: mechanics – Part 1
I’d like to renew my cnc for PCB so I decide to create new one from an existing project named Cyclone PCB Factory.
Introduction and mechanical part.
Electronic, 3D printing and embedded programming

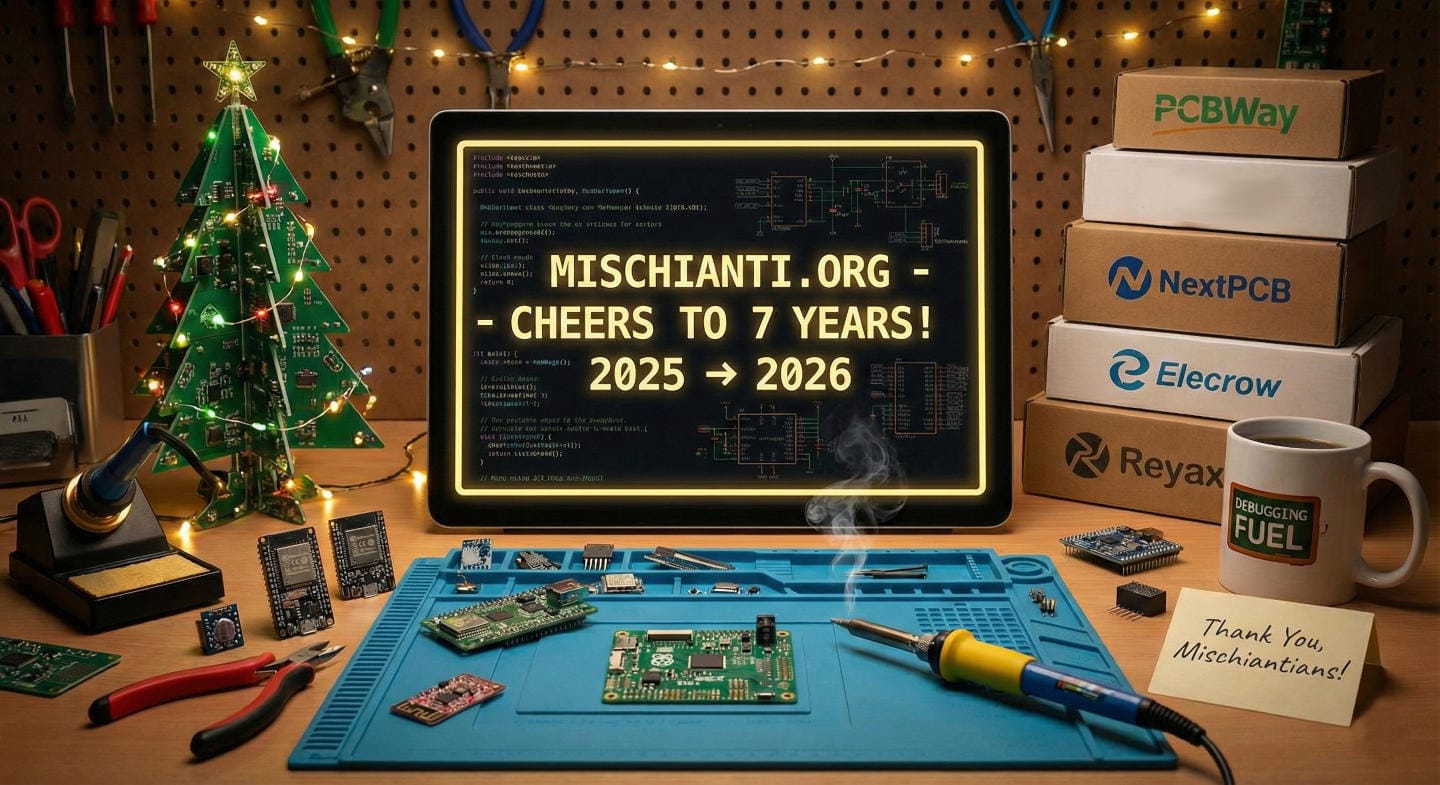
Cheers to 7 Years: Wrapping Up 2025 and The “Seven Year Itch” 🎄🎉
Chinese X99 motherboards (Huananzhi, Machinist, Kllisre, Atermiter) offer incredible value for money, especially when paired with Intel Xeon E5 V3 processors. However, to unleash their full potential, specifically the All-Core Turbo Boost Unlock, you often need to modify and flash the BIOS.
ESP32-2432S028 (Cheap Yellow Display): high-resolution pinout, datasheet, schema and specs
I’d like to renew my cnc for PCB so I decide to create new one from an existing project named Cyclone PCB Factory.
Introduction and mechanical part.
Cheers to 7 Years: Wrapping Up 2025 and The “Seven Year Itch” 🎄🎉
Chinese X99 motherboards (Huananzhi, Machinist, Kllisre, Atermiter) offer incredible value for money, especially when paired with Intel Xeon E5 V3 processors. However, to unleash their full potential, specifically the All-Core Turbo Boost Unlock, you often need to modify and flash the BIOS.
ESP32-2432S028 (Cheap Yellow Display): high-resolution pinout, datasheet, schema and specs
And finally, the updated guide for using EMailSender v4.0.0 on ESP32 and ESP8266! This tutorial covers everything you need to know about sending secure emails from your ESP32 board using the new STARTTLS support on port 587.
ESP32-C6 DevKitC 1: high-resolution pinout, datasheet and specs
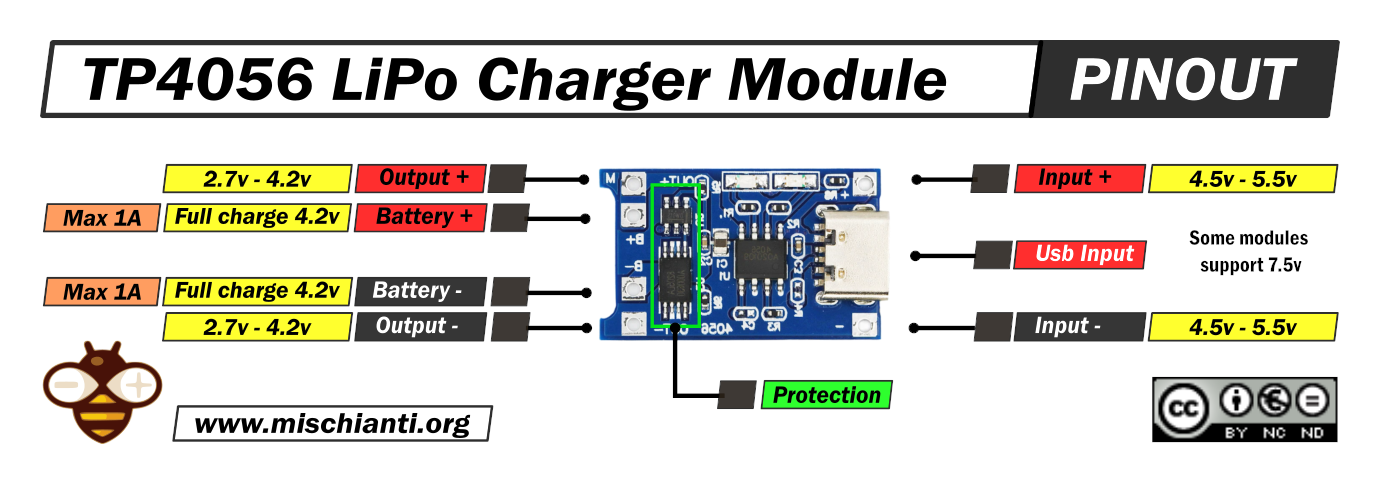
TP4056 LiPo battery charger: high-resolution pinout, datasheet, and specs
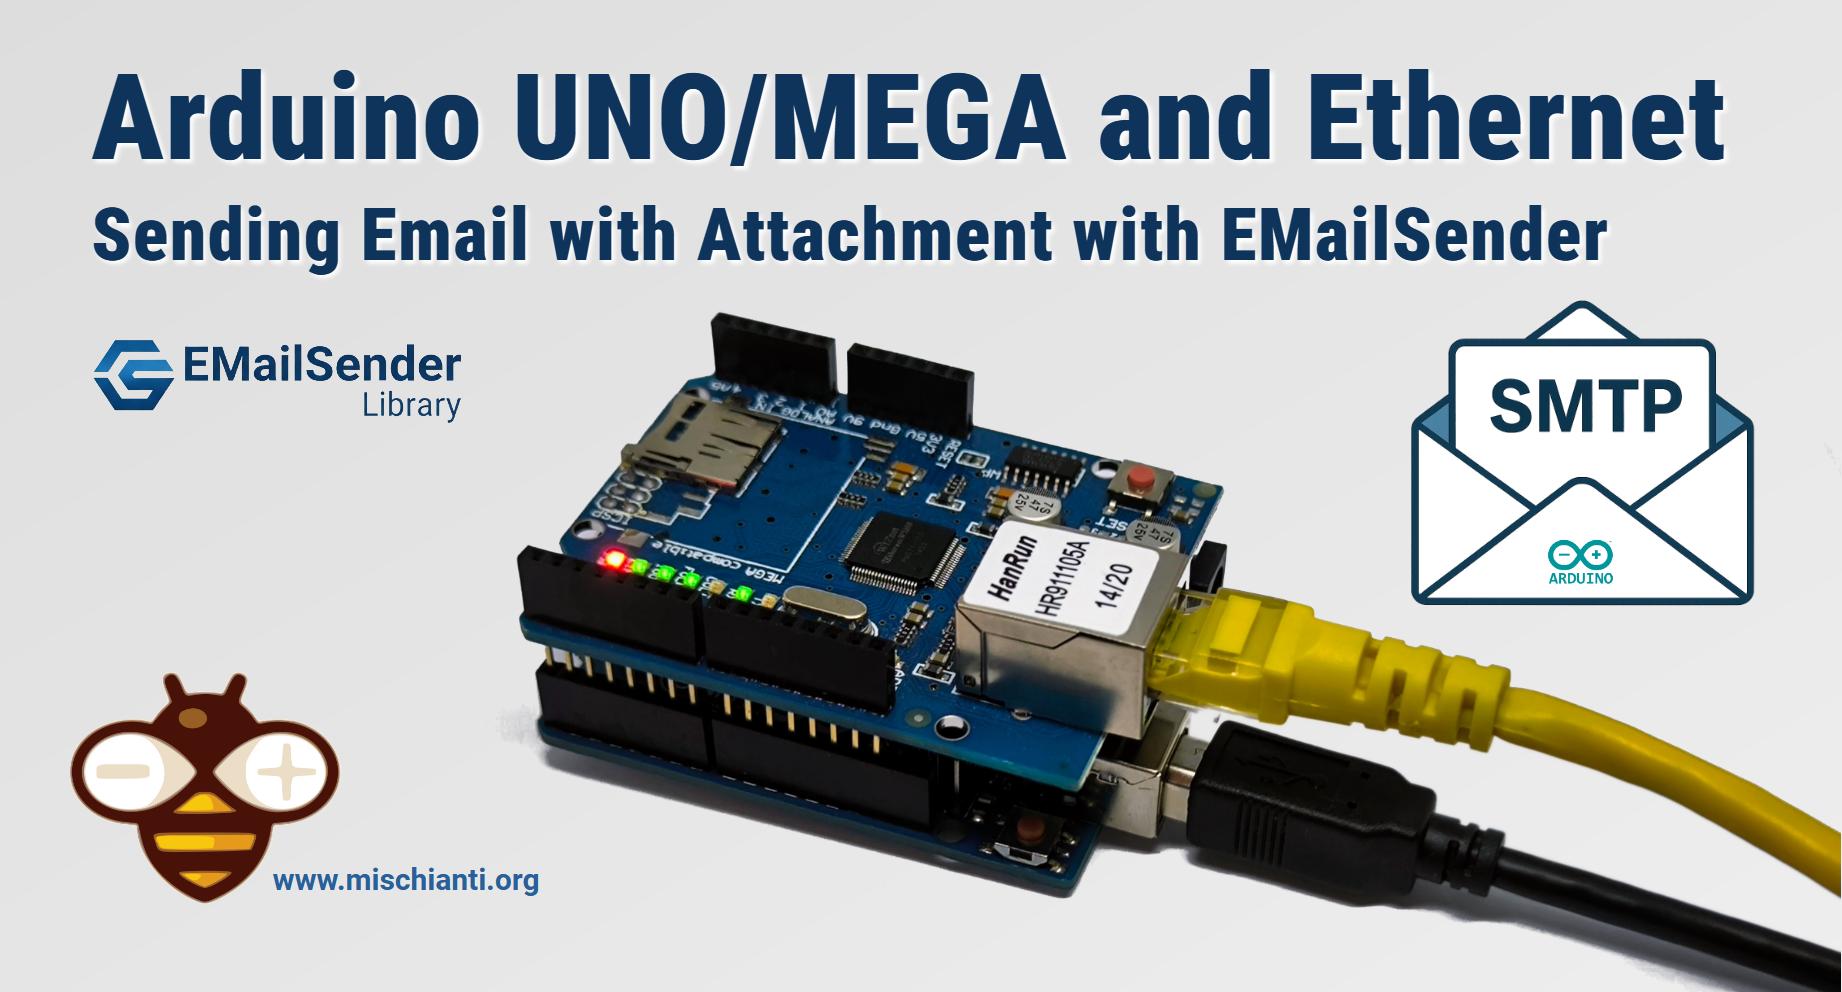
Welcome to this updated guide for sending emails with Arduino UNO and Mega using my EMailSender v4.0.0 library. This article is an evolution of the previous one, focusing on the new library version and introducing a robust and reliable solution for boards with low RAM.
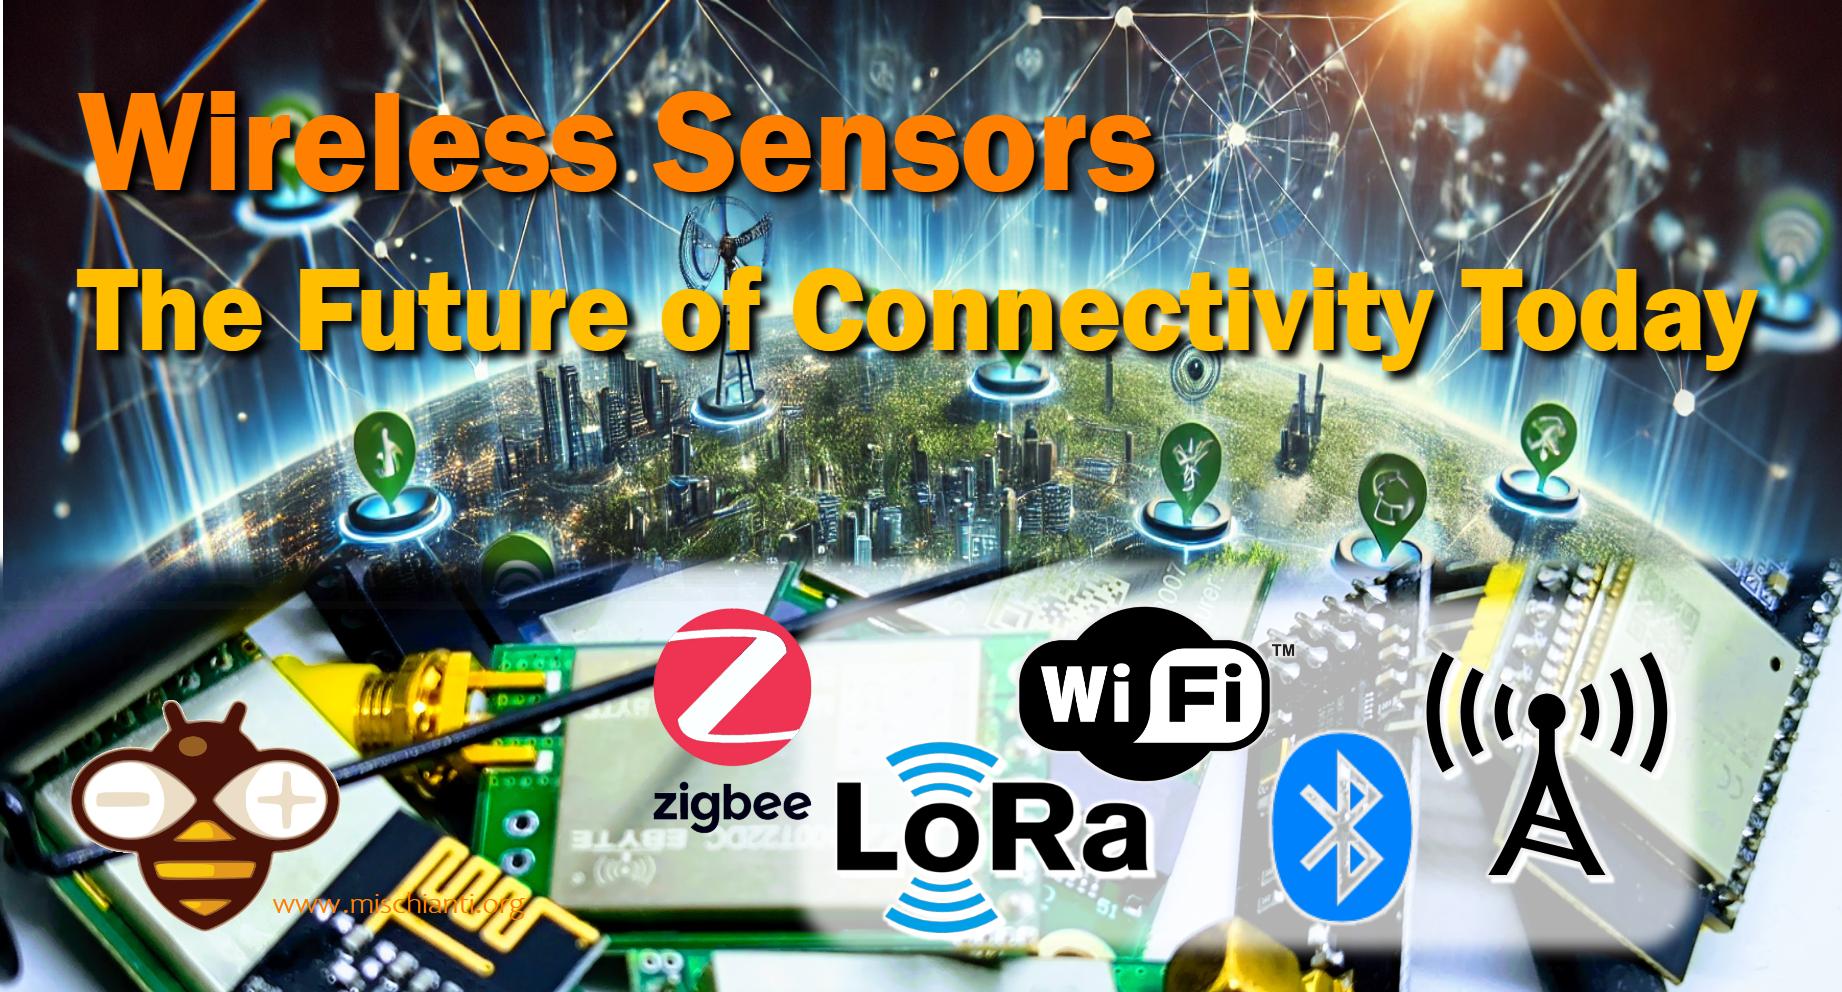
Wireless sensor nodes are revolutionizing connectivity by collecting and transmitting real-time data. These small, battery-powered devices transform industries like agriculture and healthcare, promising enhanced efficiency, scalability, and a smarter, more connected future.
But which ones to choose
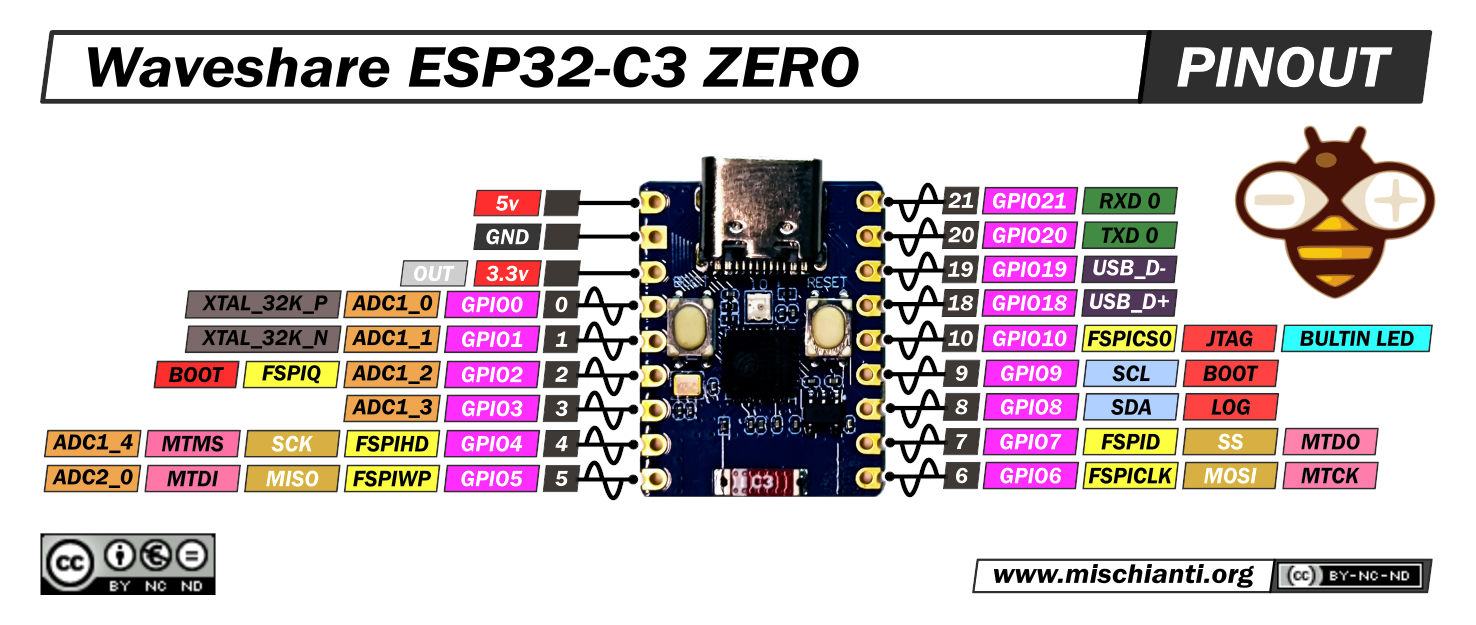
Waveshare ESP32-C3 Zero: high-resolution pinout, datasheet, and specs
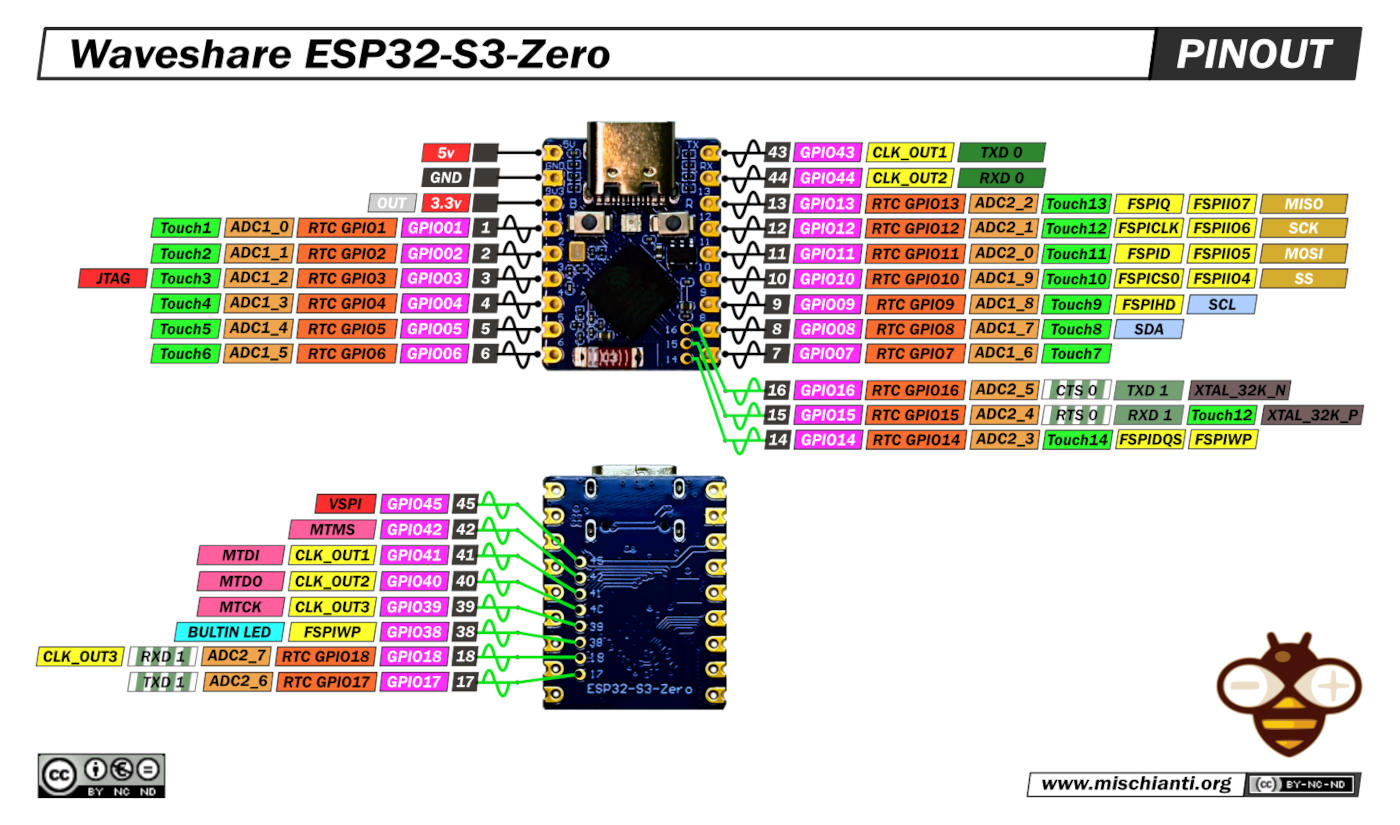
Waveshare ESP32-S3 Zero: high-resolution, datasheet, pinout, and specs
Support free knowledge!To keep this site free, I use affiliate links. If you buy through these links, I receive a small commission at no extra cost to you. It’s a simple way to support my work. Thank you!