
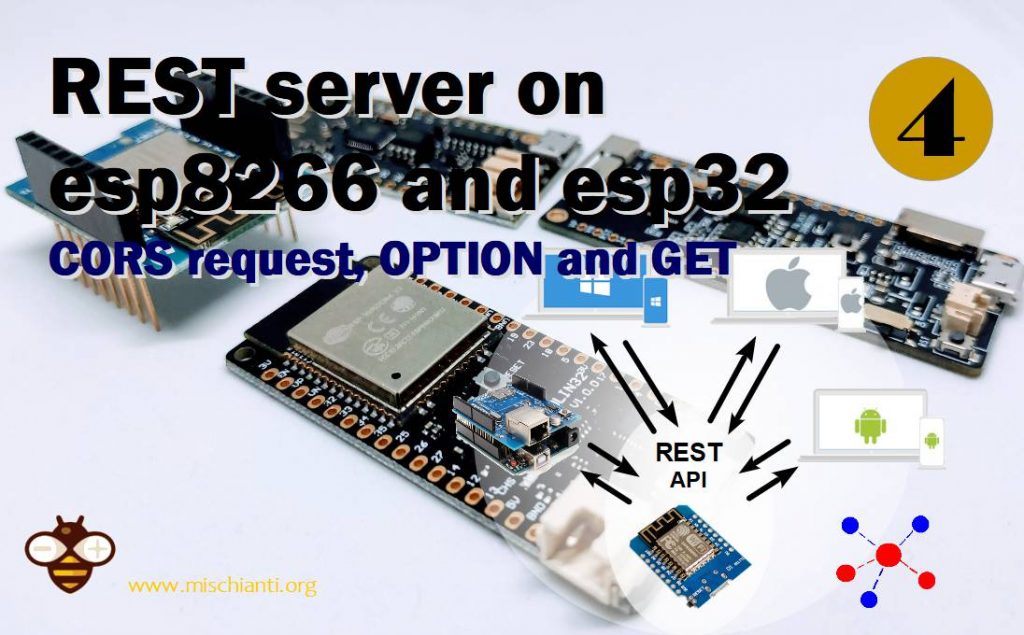
How to create a REST server on esp8266 or esp32: CORS request, OPTION and GET – Part 4
Now, we have made calls from the Postman program, but doing the same from a web browser is not the same thing.
There are some security policy that we can’t ignored. The most important/annoying one is that if you want do a REST call to a server from a client, with different domain (or orign if you prefer) you enter in the tunnel of CORS.
Cross-Origin Resource Sharing (CORS) is a mechanism that uses additional HTTP headers to tell browsers to give a web application running at one origin, access to selected resources from a different origin. A web application executes a cross-origin HTTP request when it requests a resource that has a different origin (domain, protocol, or port) from its own. (Cit.)
But what mean?
If you take this html/js source
<!DOCTYPE html>
<html lang="en">
<head>
    <meta charset="UTF-8">
    <title>Do get request</title>
</head>
<body>
    <div>Normal response</div>
    <div id="content"></div>
    <div>Error response</div>
    <div id="errorContent"></div>
</body>
<script>
    var xhttp = new XMLHttpRequest();
    xhttp.onreadystatechange = function() {
        if (this.readyState == 4 && this.status == 200) {
            // Typical action to be performed when the document is ready:
            document.getElementById("content").innerHTML = xhttp.responseText;
        }
    };
    xhttp.onerror = function () {
        document.getElementById("errorContent").innerHTML = "Status code is " + this.status + " click F12 and check what is the problem on console";
    };

    xhttp.open("GET", "http://esp8266/settings", true);
    xhttp.send();

</script>
</html>
and you can try to execute this simple GET
xhttp.open("GET", "http://esp8266/settings", true);
Your browser notify you in the console (F12) that you have a
Access to XMLHttpRequest at 'http://esp8266/settings' from origin 'null' has been blocked by CORS policy: No 'Access-Control-Allow-Origin' header is present on the requested resource.
a CORS error, this because you try to call a REST end-point from a different origin.
Manage CORS GET

Your first try is to add the header to specify that server must accept all origin and verb, so you can add after the open and before the send this line
    xhttp.setRequestHeader('Access-Control-Allow-Headers', '*');
    xhttp.setRequestHeader('Access-Control-Allow-Origin', '*');
But now we have a new error
OPTIONS http://esp8266/settings 404 (Not Found)

Access to XMLHttpRequest at 'http://esp8266/settings' from origin 'null' has been blocked by CORS policy: Response to preflight request doesn't pass access control check: No 'Access-Control-Allow-Origin' header is present on the requested resource.
Here you can check that the client not try to call GET request but an OPTION, and It don’t find that end point.
And the error specify that “Response to preflight request doesn't pass access control check“, and this is correlated with previous 404 on OPTION.
In the CORS call, a preflight request with the OPTIONS verb is sent, so that the server can respond whether it is acceptable to send the request with these parameters.
And now we are going to add OPTION end point to the REST server.
And we are going to add this on esp8266 sketch
void sendCrossOriginHeader(){
	server.send(204);
}

// Define routing
void restServerRouting() {
    server.on("/", HTTP_GET, []() {
    	server.send(200, F("text/html"),
            F("Welcome to the REST Web Server"));
    });
    server.on(F("/helloWorld"), HTTP_GET, getHelloWord);
    server.on(F("/settings"), HTTP_OPTIONS, sendCrossOriginHeader);
    server.on(F("/settings"), HTTP_GET, getSettings);
}
But we obtain this error again
Access to XMLHttpRequest at 'http://esp8266/settings' from origin 'http://localhost:63342' has been blocked by CORS policy: No 'Access-Control-Allow-Origin' header is present on the requested resource.
The problem is that the OPTION, even if, response in 204 (all 2xx are successful) It doesn’t return the correct header, so we are going to add the header on the response of the GET.
	httpRestServer.sendHeader(F("Access-Control-Allow-Origin"), F("*"));
	httpRestServer.sendHeader(F("Access-Control-Max-Age"), F("600"));
	httpRestServer.sendHeader(F("Access-Control-Allow-Methods"), F("PUT,POST,GET,OPTIONS"));
	httpRestServer.sendHeader(F("Access-Control-Allow-Headers"), F("*"));
And now finally
Normal response
{"ip":"192.168.1.129","gw":"192.168.1.1","nm":"255.255.255.0"}
Error response
Ok, we have out CORS get request.
For esp32 you must only change this includes
#include <ESP8266WiFi.h>
#include <ESP8266WebServer.h>
#include <ESP8266mDNS.h>
to
#include <WiFi.h>
#include <WebServer.h>
#include <ESPmDNS.h>
and chip information like so
      doc["chipRevision"] = ESP.getChipRevision();
      doc["flashChipMode"] = ESP.getFlashChipMode();
      doc["flashChipSize"] = ESP.getFlashChipSize();
      doc["flashChipSpeed"] = ESP.getFlashChipSpeed();
Here the complete sketch
/*
 *  Json parametric GET REST response with ArduinoJSON library
 *  by Mischianti Renzo <https://mischianti.org>
 *
 *  https://mischianti.org/
 *
 */

#include "Arduino.h"
#include <ESP8266WiFi.h>
#include <WiFiClient.h>
#include <ESP8266WebServer.h>
#include <ESP8266mDNS.h>
#include <ArduinoJson.h>

const char* ssid = "<YOUR-SSID>";
const char* password = "<YOUR-PASSWD>";

ESP8266WebServer server(80);

void setCrossOrigin(){
	server.sendHeader(F("Access-Control-Allow-Origin"), F("*"));
	server.sendHeader(F("Access-Control-Max-Age"), F("600"));
	server.sendHeader(F("Access-Control-Allow-Methods"), F("PUT,POST,GET,OPTIONS"));
	server.sendHeader(F("Access-Control-Allow-Headers"), F("*"));
};


// Serving Hello world
void getHelloWord() {
	  DynamicJsonDocument doc(512);
	  doc["name"] = "Hello world";

	  Serial.print(F("Stream..."));
	  String buf;
	  serializeJson(doc, buf);
	  server.send(200, "application/json", buf);
	  Serial.print(F("done."));
}

// Serving Hello world
void getSettings() {
	setCrossOrigin();
//
	  // Allocate a temporary JsonDocument
	  // Don't forget to change the capacity to match your requirements.
	  // Use arduinojson.org/v6/assistant to compute the capacity.
	//  StaticJsonDocument<512> doc;
	  // You can use DynamicJsonDocument as well
	  DynamicJsonDocument doc(512);

	  doc["ip"] = WiFi.localIP().toString();
	  doc["gw"] = WiFi.gatewayIP().toString();
	  doc["nm"] = WiFi.subnetMask().toString();

	  if (server.arg("signalStrength")== "true"){
		  doc["signalStrengh"] = WiFi.RSSI();
	  }

	  if (server.arg("chipInfo")== "true"){
		  doc["chipId"] = ESP.getChipId();
		  doc["flashChipId"] = ESP.getFlashChipId();
		  doc["flashChipSize"] = ESP.getFlashChipSize();
		  doc["flashChipRealSize"] = ESP.getFlashChipRealSize();
	  }
	  if (server.arg("freeHeap")== "true"){
		  doc["freeHeap"] = ESP.getFreeHeap();
	  }

	  Serial.print(F("Stream..."));
	  String buf;
	  serializeJson(doc, buf);
	  server.send(200, F("application/json"), buf);
	  Serial.print(F("done."));
}

void sendCrossOriginHeader(){
	Serial.println(F("sendCORSHeader"));
    setCrossOrigin();
	server.send(204);
}

// Define routing
void restServerRouting() {
    server.on("/", HTTP_GET, []() {
    	server.send(200, F("text/html"),
            F("Welcome to the REST Web Server"));
    });
    server.on(F("/helloWorld"), HTTP_GET, getHelloWord);
    server.on(F("/settings"), HTTP_OPTIONS, sendCrossOriginHeader);
    server.on(F("/settings"), HTTP_GET, getSettings);

}

// Manage not found URL
void handleNotFound() {
  String message = "File Not Found\n\n";
  message += "URI: ";
  message += server.uri();
  message += "\nMethod: ";
  message += (server.method() == HTTP_GET) ? "GET" : "POST";
  message += "\nArguments: ";
  message += server.args();
  message += "\n";
  for (uint8_t i = 0; i < server.args(); i++) {
    message += " " + server.argName(i) + ": " + server.arg(i) + "\n";
  }
  server.send(404, "text/plain", message);
}

void setup(void) {
  Serial.begin(115200);
  WiFi.mode(WIFI_STA);
  WiFi.begin(ssid, password);
  Serial.println("");

  // Wait for connection
  while (WiFi.status() != WL_CONNECTED) {
    delay(500);
    Serial.print(".");
  }
  Serial.println("");
  Serial.print("Connected to ");
  Serial.println(ssid);
  Serial.print("IP address: ");
  Serial.println(WiFi.localIP());

  // Activate mDNS this is used to be able to connect to the server
  // with local DNS hostmane esp8266.local
  if (MDNS.begin("esp8266")) {
    Serial.println("MDNS responder started");
  }

  // Set server routing
  restServerRouting();
  // Set not found response
  server.onNotFound(handleNotFound);
  // Start server
  server.begin();
  Serial.println("HTTP server started");
}

void loop(void) {
  server.handleClient();
}
Thanks
- REST server on esp8266 and esp32: introduction
- REST server on esp8266 and esp32: GET and JSON formatter
- REST server on esp8266 and esp32: POST, PUT, PATCH, DELETE
- REST server on esp8266 and esp32: CORS request, OPTION and GET
- REST server on esp8266 and esp32: CORS request, OPTION and POST


This is a FABULOUS tutorial series, but there are several problems with the code that will prevent simply cut/paste of the code presented into your IDE. The solutions are hidden in the video, but the author pans past the listings so fast that you spend hours trying to stop the video and find these little nuggets.
There are two in particular:
1. in the html file he provides, the test on about line 17 should be for status code 201, not 200.
2. two keys lines appear to have been left out of ‘sendCrossOriginHeader’, namely:
server.sendHeader(F(“access-control-allow-credentials”),F(“false”)); //left out of author’s original code
setCrossOrigin(); //left out of author’s original v4
Hi Terry,
probably there are some differences in the code of the video.
But in the HTML, I test 200 because, in the code of settings, I put 200, not 201.
If you want, you can set 201 in the HTML and in the GET request, so the behavior does not change.
The access-control-allow-credentials can be used in the auth test, and it probably remains in the video code.
thanks for your clarification, Bye Renzo
I couldn’t get the code to work and kept running into the CORS problem. After I add a call to setCrossOrigin() from the function “sendCrossOriginheader” the code started working.
So I have add on row 79 of the ESP code: “setCrossOrigin();”
Hi Max,
you are right, I don’t know why the code disappear and remain only the Serial output.
Thank for your support Renzo.