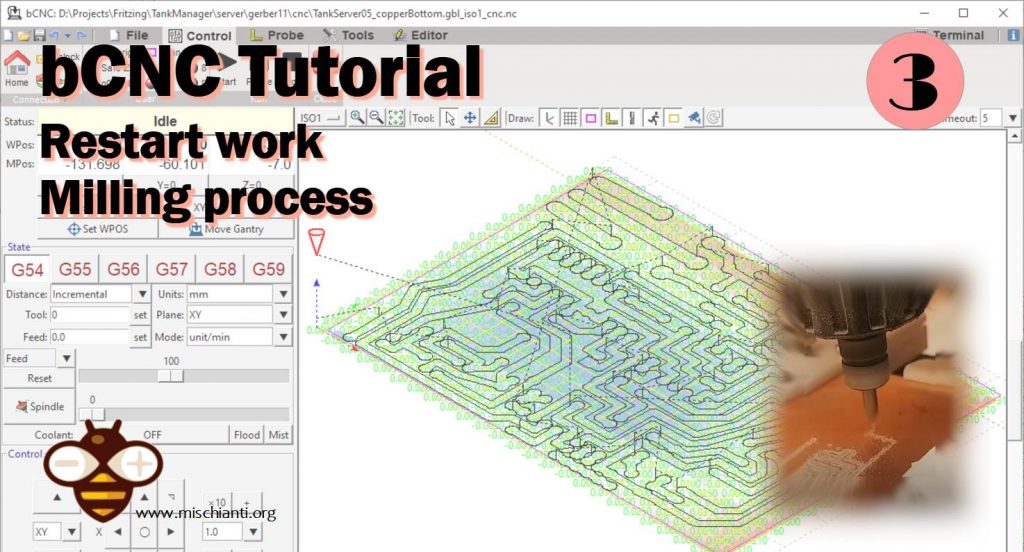
bCNC Tutorial: restore work and milling process – 3
In this chapter, we are going to mill our project.
Restore calibration parameters
I want to remind you that a critical thing to do is save your probe data; it is important, especially if you don’t do all operations in the same work session.
So when you finish the auto level, go to File --> Save and save a file with .probe extension. Now we will see the steps to restart a job from the machine off.
When you need to continue work, you must do these steps
- Connect CNC 😀
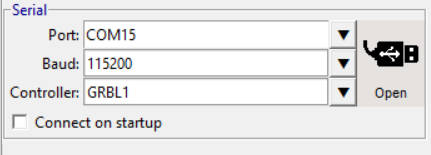
- Home your CNC

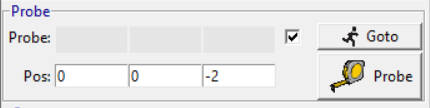
- In Command: insert x0 and y0

- load
.probefile
- do normal probe and set the 0
With these steps, your machine is calibrated and can restart regular operation; you can see the process in the first part of this video.
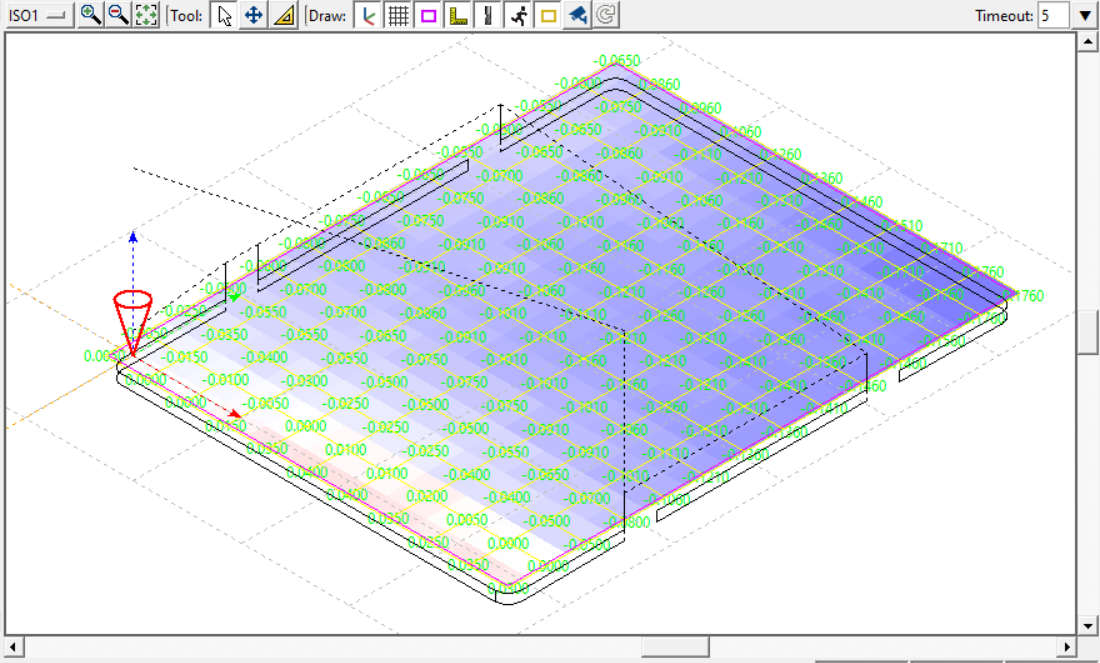
Milling process
The generation of the Gcode of the milling process refers to the “FlatCAM practical tutorial.”
You have already seen the first two traces of isolation passes. Now we add another pass to have more margin some time; I add another hundredth of a millimeter to this track to have a better effect and remove more material.
We will remove the copper islands where a floating potential can remain that can consistently create disturbances, so if you make a high-frequency PCB, It’s better to remove them.
I create a lot of PCBs, and sometimes I do more than one copy, but when some time is passed, I don’t remember what It is ;), so often I add a silkscreen.
We will drill the holes for the components; usually, I use two types of bit 0.8mm and 1mm or 0.8mm and 0.9mm.
In the end, I’m going to do a contour to get a PCB perfectly sized.
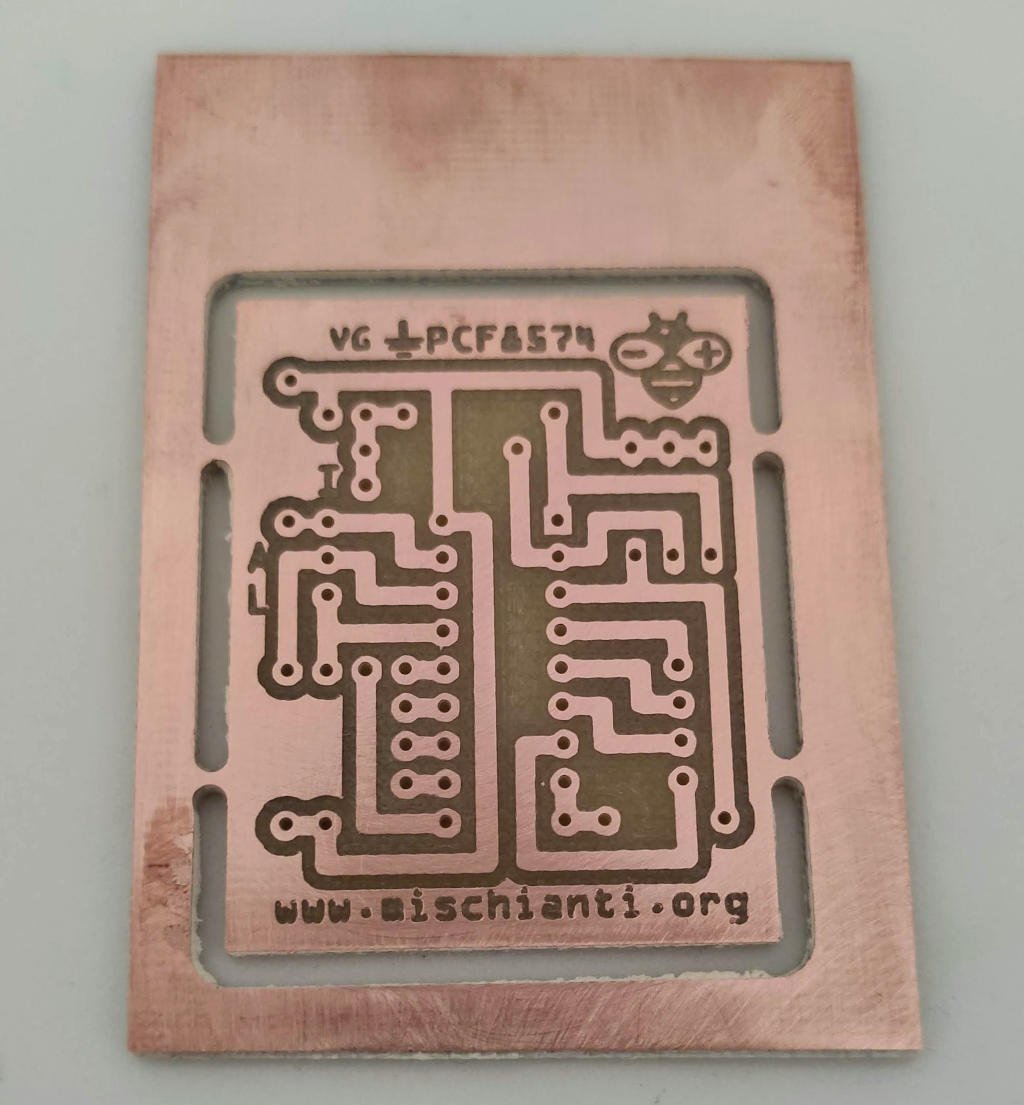
Clean PCB
At the end of the milling process, the PCB seems not so beautiful
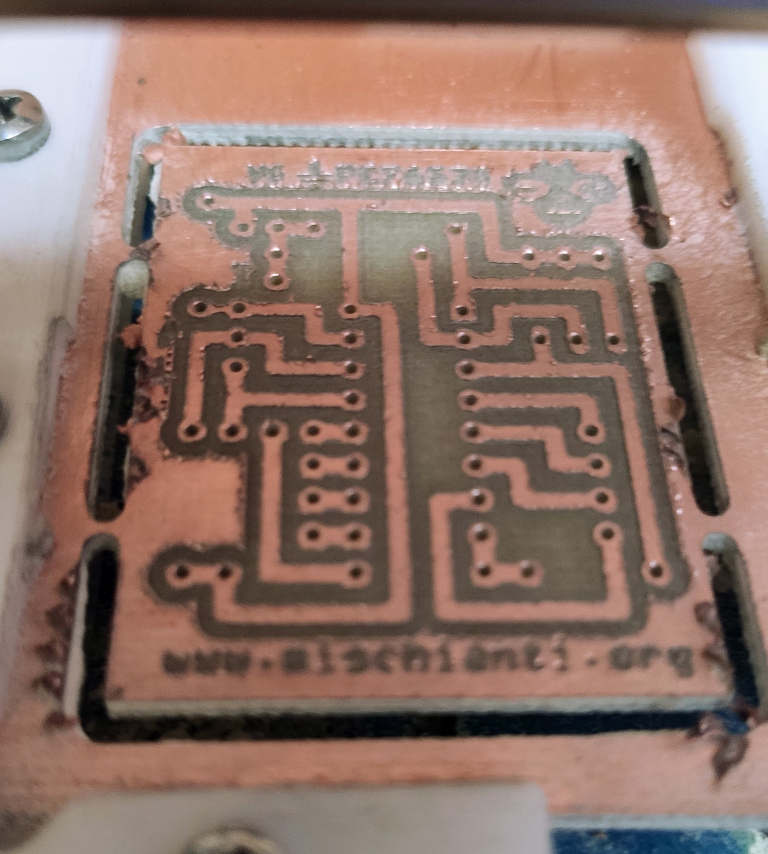
, but after good use of sandpaper, you can see your work in a better way
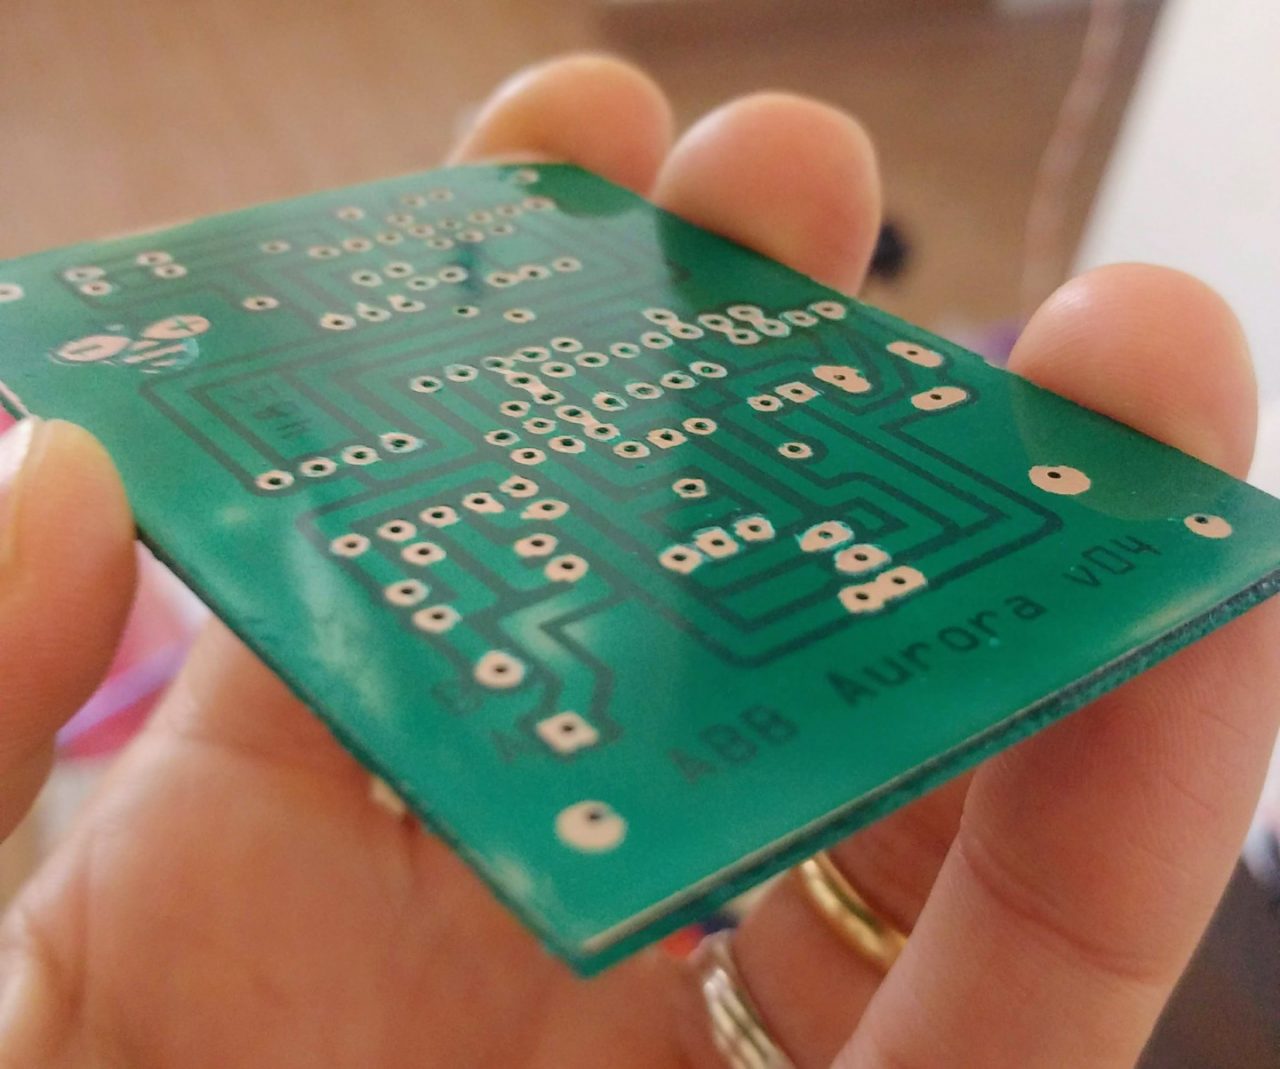
It’s a good practice to apply a solder mask to prevent short or other problems generated by humidity or others, and you can refer to my guide here “Design and mill PCB: Easy and Cheap (Solder mask)“.
Thanks
- bCNC tutorial: installation, material and probe
- bCNC tutorial: autolevel
- bCNC tutorial: restart work and milling process