Category: Sensors management

Practical tips and examples on how to configure sensors of all kinds

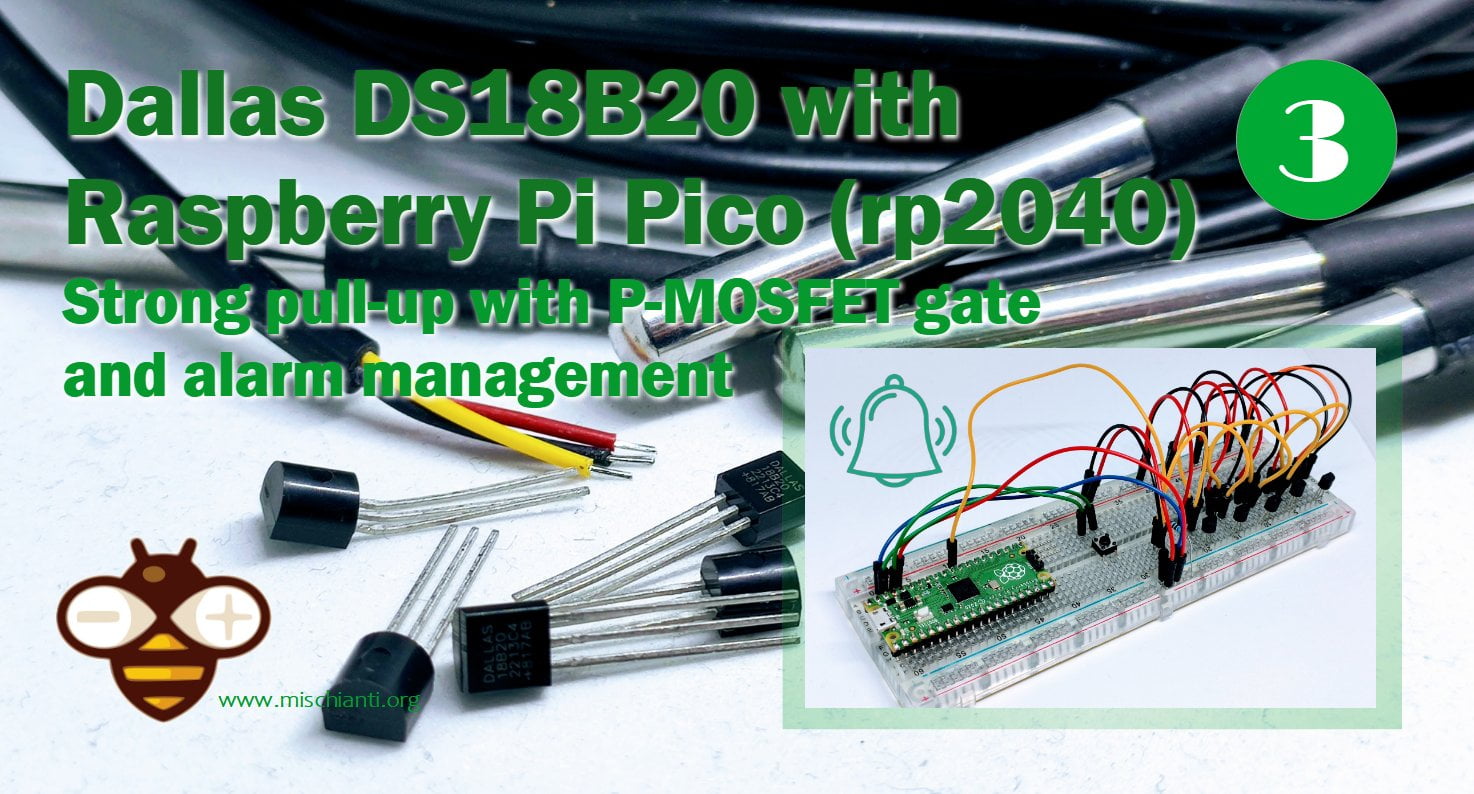
Raspberry Pi Pico (rp2040) AND DS18B20: strong pull-up P-MOSFET gate and alarm

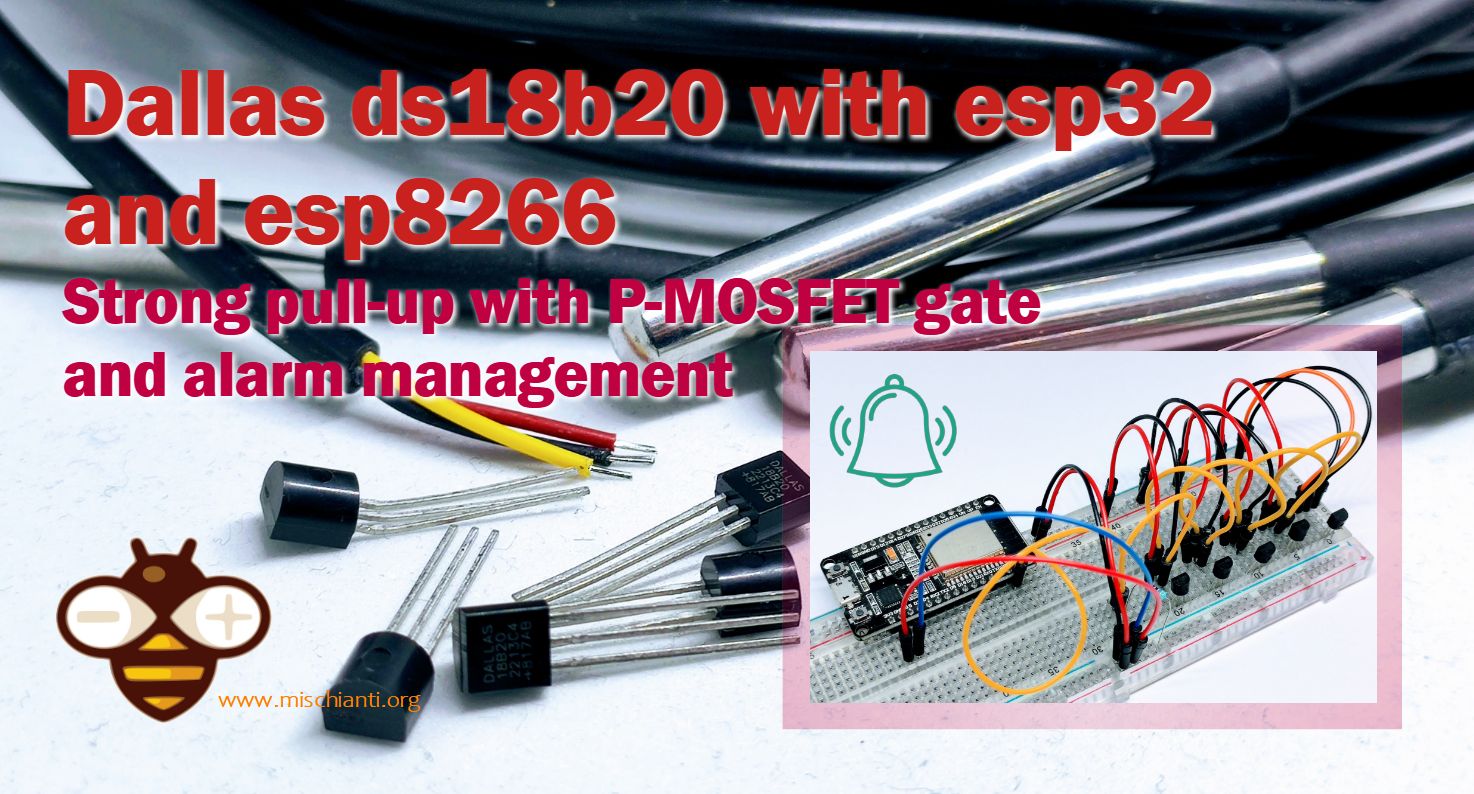
Dallas ds18b20 with Raspberry Pi Pico (rp2040): pull-up P-MOSFET gate and alarms

This article expands on the previous about the connection of DS18B20 sensors to a Raspberry Pi Pico using the OneWire protocol. It covers the use of a P-MOSFET gate as a pull-up resistor for the OneWire bus to improve communication reliability, as well as implementing temperature alarms triggered by a threshold. The article provides step-by-step instructions and code examples for incorporating these features. The goal of the article is to provide readers with advanced techniques for using DS18B20 sensors with a Raspberry Pi Pico.

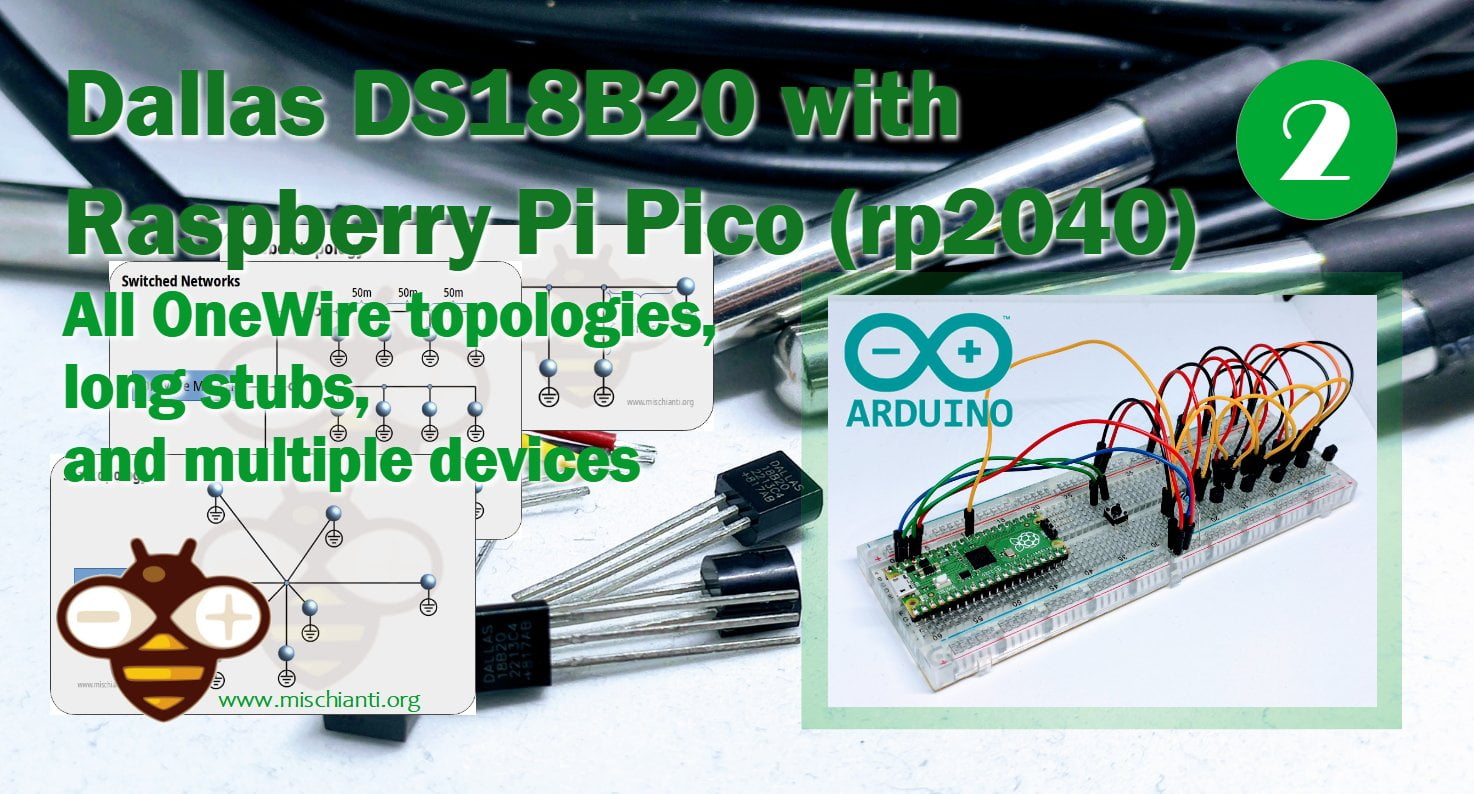
Raspberry Pi Pico (rp2040)and DS18B20: all OneWire topologies, long stubs and multiple devices

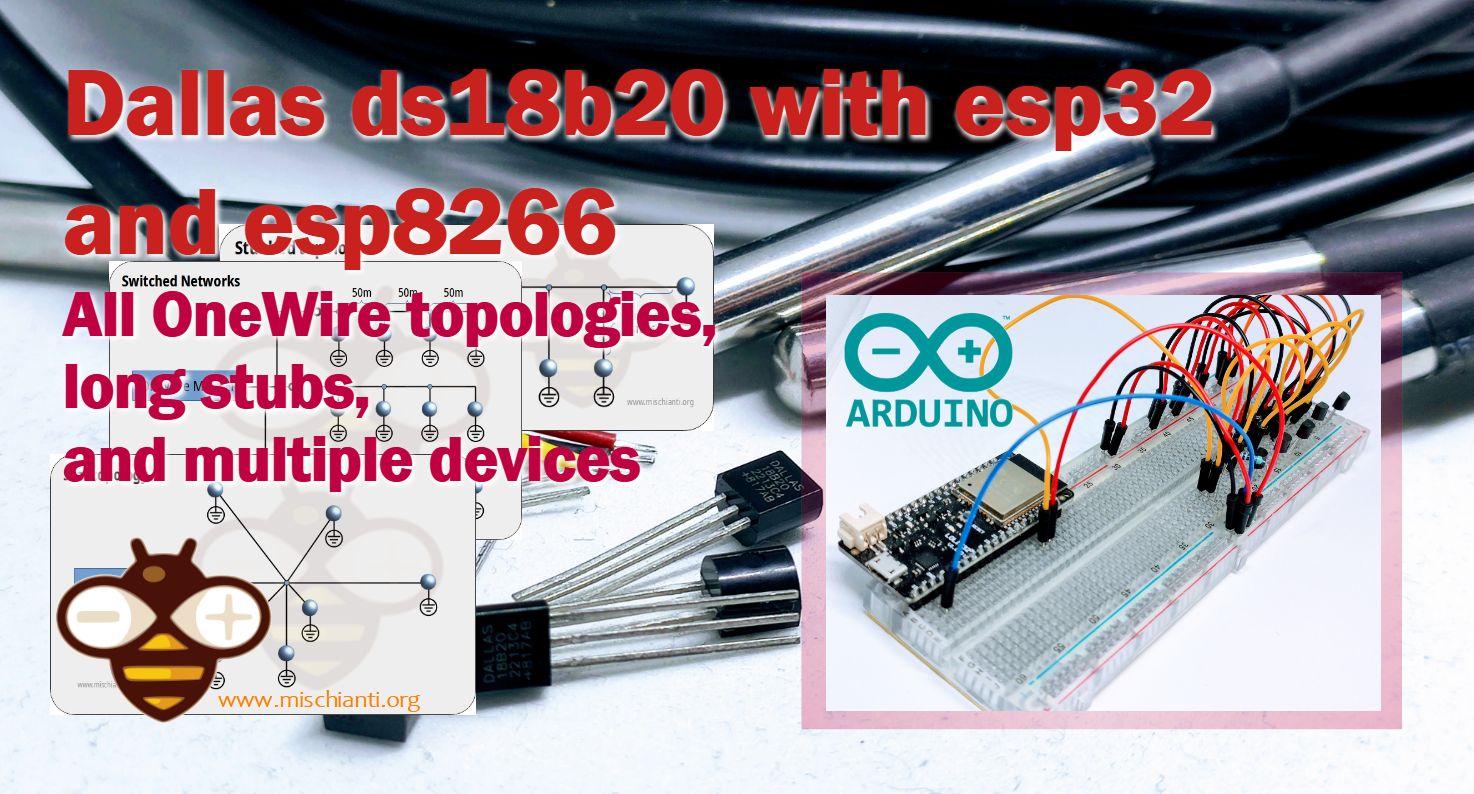
Dallas ds18b20 with Raspberry Pi Pico (rp2040): all OneWire topologies, long stubs and more devices

This article covers how to connect DS18B20 digital temperature sensors to a Raspberry Pi Pico using the OneWire protocol. It includes information on all possible OneWire topologies, how to deal with long wires, and connecting multiple sensors. The article aims to provide a comprehensive guide for using these sensors with a Raspberry Pi Pico, including tips for troubleshooting and optimizing performance.

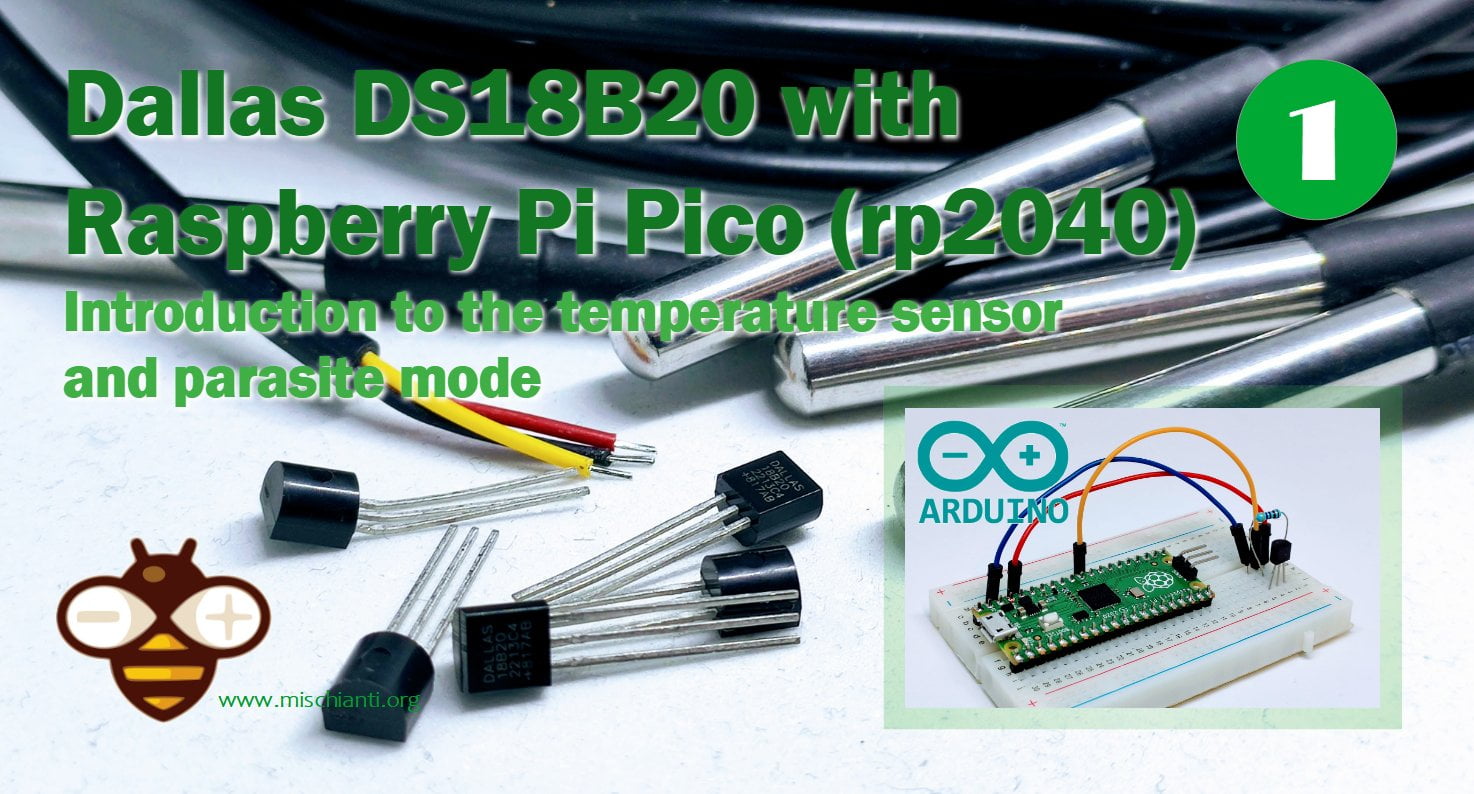
Raspberry Pi Pico (rp2040) and DS18B20: introduction and parasite mode

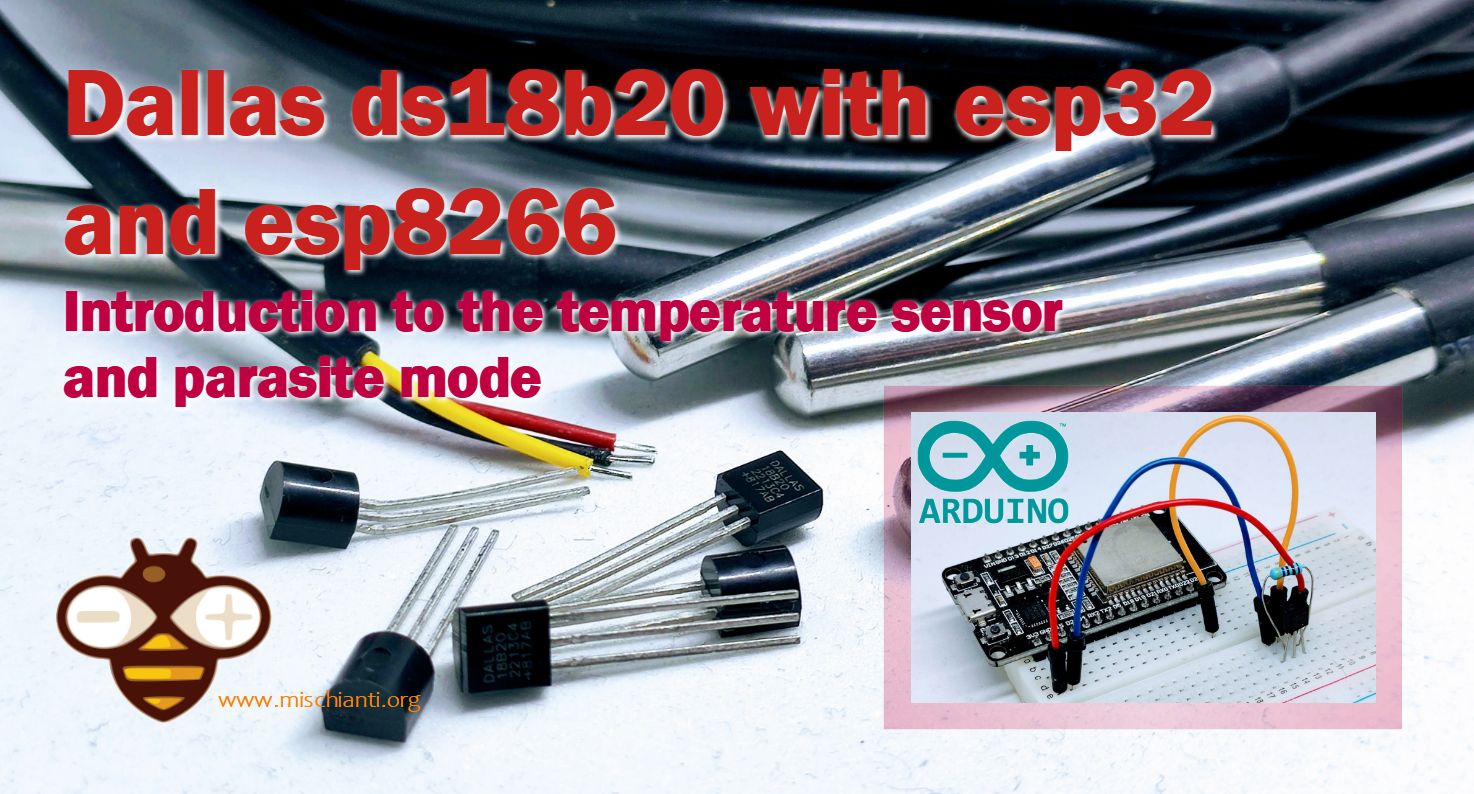
Dallas ds18b20 with Raspberry Pi Pico (rp2040): introduction and parasite mode

The Dallas DS18B20 is a digital temperature sensor that can be easily integrated with a Raspberry Pi Pico (rp2040) microcontroller. In this response, we will provide an introduction to the DS18B20 sensor and explain how to use it in parasite mode with a Raspberry Pi Pico.

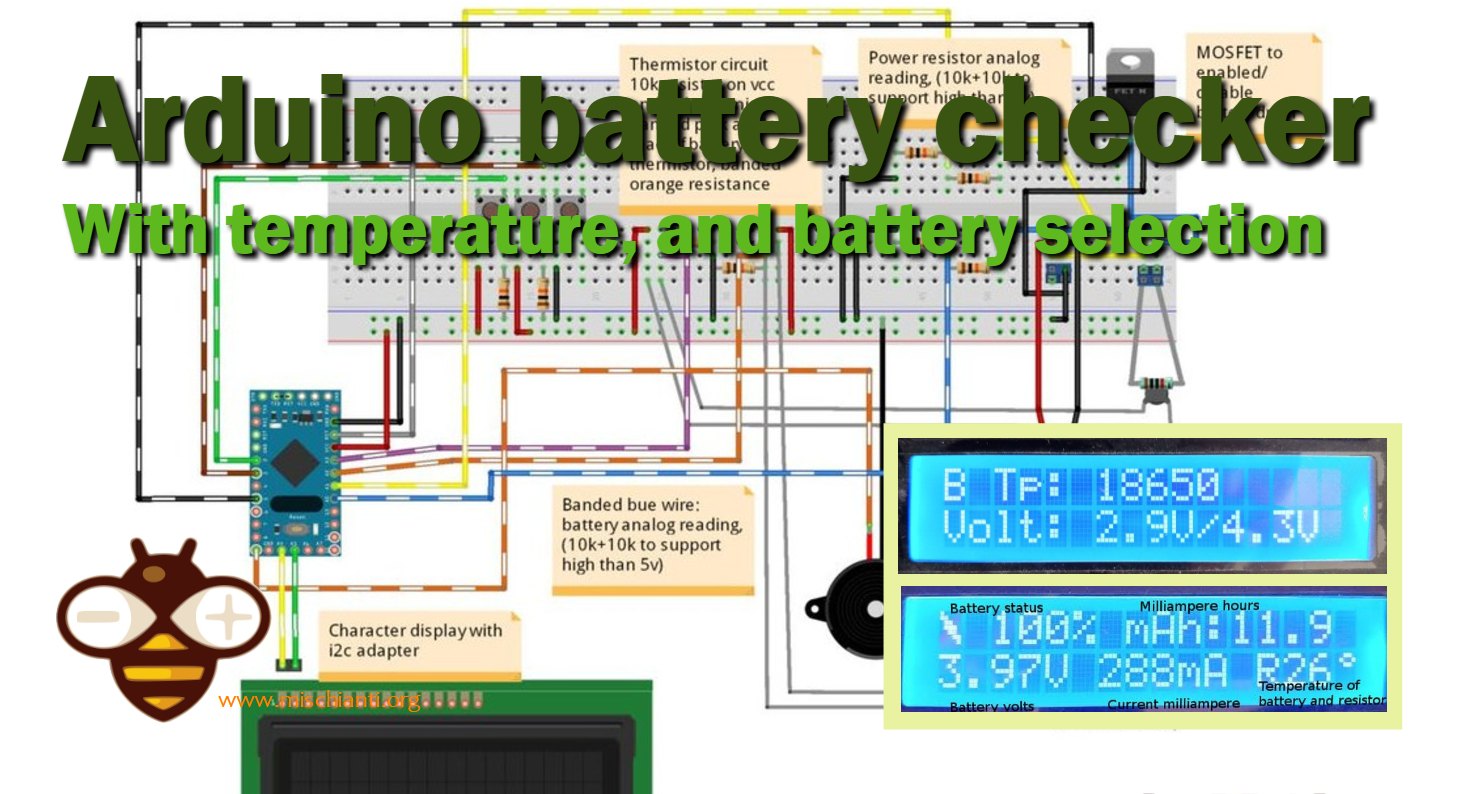
Arduino battery checker with temperature, and battery selection 0

Checking Battery Capacity with Arduino: Temperature Monitoring and Type Selection

Here is my Arduino battery tester, designed to explore the performance of various types of batteries, including 18650 and acid-based ones. Successfully tested even with a 6V lead-acid battery with a capacity of 4.2A, this device provides battery capacity readings in milliampere-hours. In fact, it’s an old article that I had never published before, but I have revisited and decided to publish it now.

BNO055 for esp32, esp8266, and Arduino: Gyroscope High Rate and Any Motion Interrupt 0

BNO055 for esp32, esp8266, and Arduino: Gyroscope High Rate and Any Motion Interrupt – 6

This latest article in the series explores how to use the BNO055 sensor with ESP32, ESP8266, and Arduino to achieve gyroscope high rate and any motion interrupt. The BNO055 sensor combines an accelerometer, magnetometer, and gyroscope in one module, making it ideal for accurate orientation tracking.

BNO055 for esp32, esp8266 and Arduino: enable INT pin and accelerometer High G Interrupt 0

BNO055 for esp32, esp8266 and Arduino: enable INT pin and accelerometer High G Interrupt – 5

Continue the series of article about the Bosch sensor BNO055. In this part of the tutorial, we will learn how to enable the INT pin of the BNO055 and configure the accelerometer High G Interrupt. The High G Interrupt is triggered when the accelerometer detects a sudden acceleration event that exceeds a specified threshold and duration. This can be useful for detecting impacts, falls, or other sudden movements in a variety of applications.

BNO055: ESP32, esp8266, rp2040, stm32, and Arduino wiring and Bosch library 0

BNO055 for esp32, esp8266, and Arduino: wiring and advanced Bosch library – 2

This is the second article on bno055. If you need basic management, you can refer to the previous article “BNO055 accelerometer, gyroscope, magnetometer, and orientation software”, but if you need advanced management (and more complex) with interrupt, you must read this article also.