
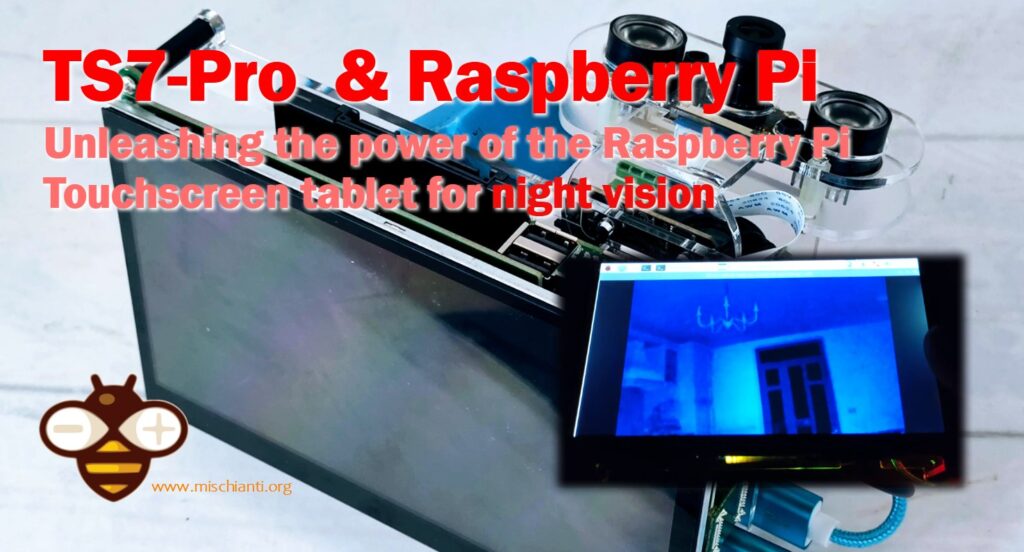
Night Vision on Raspberry Pi: TS7-Pro Display, PiPower & DIY 3D Printed Battery in Action!
When it comes to Raspberry Pi touch screens, the choice is broad and diverse. Today, however, I’m here to review one that stands above many others in terms of quality, versatility, and features: The SunFounder TS7-Pro, a 7-inch touchscreen HDMI display, and PiPower.
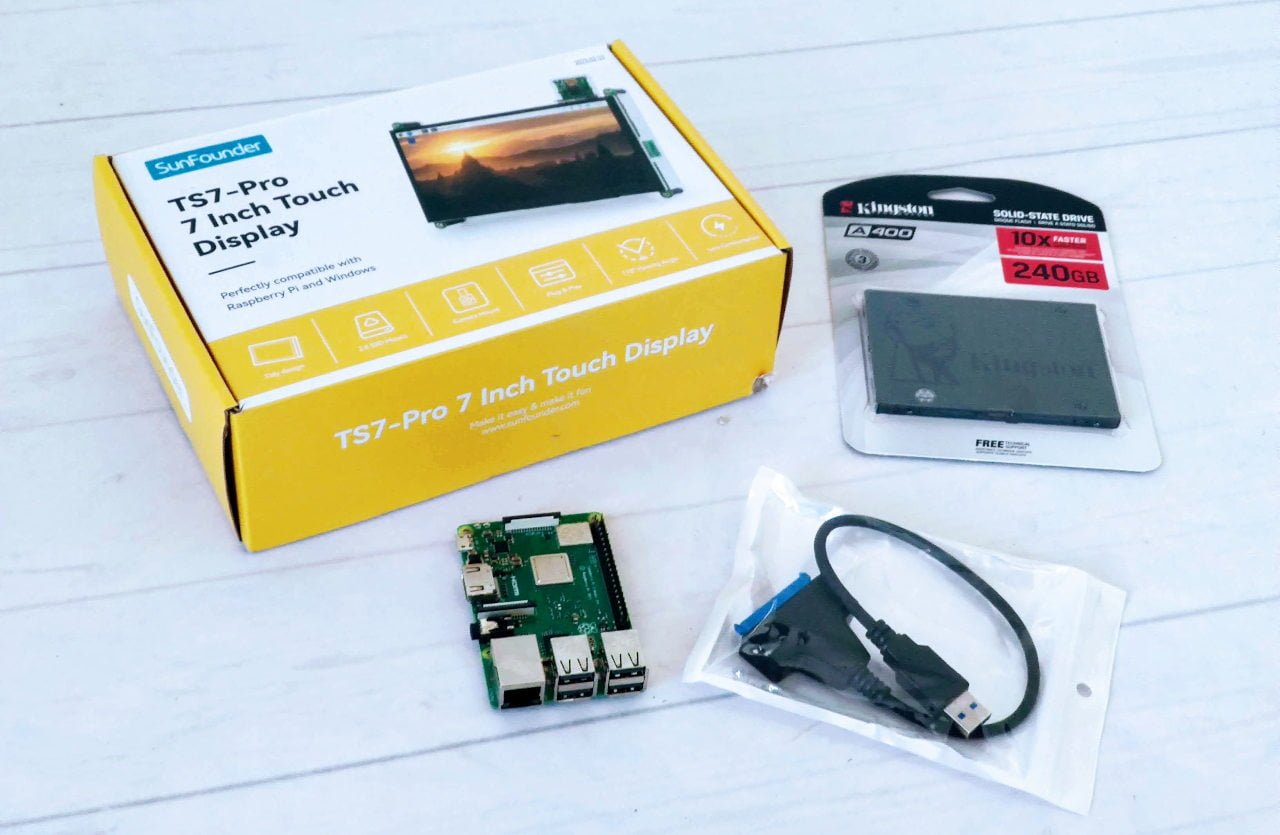
For my testing, I used a Raspberry Pi 3B, but it’s worth noting that the product also includes connectors for Raspberry Pi 4, thereby expanding its applicability. By incorporating the Raspberry Pi into the TS7-Pro’s casing, you essentially transform your tiny computer into a tablet – albeit one that requires power from a cable.
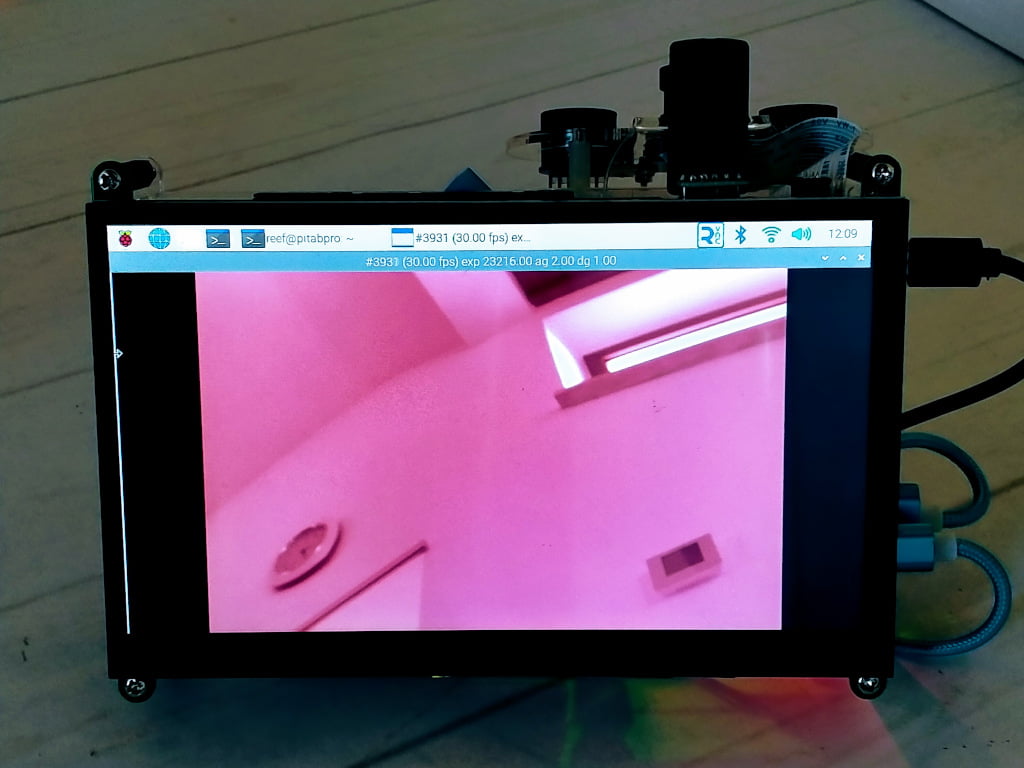
That’s where PiPower comes in handy, providing a portable power solution. For a more exciting twist, I added an infrared camera to the mix to craft a night vision viewer. Let’s dive deeper into the world of possibilities that the TS7-Pro can unlock.
TS7-Pro specifications
The SunFounder TS7-Pro is far more than just an ordinary Raspberry Pi display. It’s a 7-inch capacitive touchscreen with an HDMI interface and a clear, crisp display. The resolution, standing at 1024×600 pixels, provides an excellent balance between screen real estate and pixel density.
TS7-Pro SunFounder - Aliexpress
The unit comes with a case that comfortably houses a Raspberry Pi, effectively turning it into a touchscreen tablet. This amalgamation not only simplifies the setup but also makes the entire system portable and user-friendly.
The touchscreen responsiveness of the TS7-Pro is commendable. It performs flawlessly with both text input and general navigation tasks, making the Pi environment much more interactive than a standard mouse-and-keyboard setup.
Furthermore, the screen’s brightness and color accuracy are high-quality. Whether you’re coding, watching videos, or browsing.
- Display: The centerpiece of the TS7-Pro is its 7-inch IPS display. This panel offers a resolution of 1024×600 pixels, creating a bright, vivid, and sharp image. The IPS technology ensures excellent viewing angles and color accuracy, making it ideal for a variety of applications.
- Touchscreen: The display includes capacitive touch functionality, allowing for smooth, responsive interaction. This feature enables you to navigate Raspberry Pi’s environment much more intuitively, almost akin to using a tablet or smartphone.
- Connectivity: The TS7-Pro uses an HDMI interface for video, ensuring high-quality, lag-free visuals. It also includes connectors for Raspberry Pi 3B and 4, offering flexibility for various Pi models.
- Case: The unit includes a case designed to house a Raspberry Pi, creating an integrated system that’s both portable and streamlined. The casing also adds a layer of protection for the Raspberry Pi, safeguarding it from physical damage.
Possible Upgrades:
While the TS7-Pro is already a well-equipped piece of hardware, there are several ways you can further enhance its capabilities:
- PiPower: By adding PiPower, a battery source, you can turn your wired Raspberry Pi tablet into a genuinely mobile device. This upgrade is particularly valuable if you plan on using your Pi on the go.
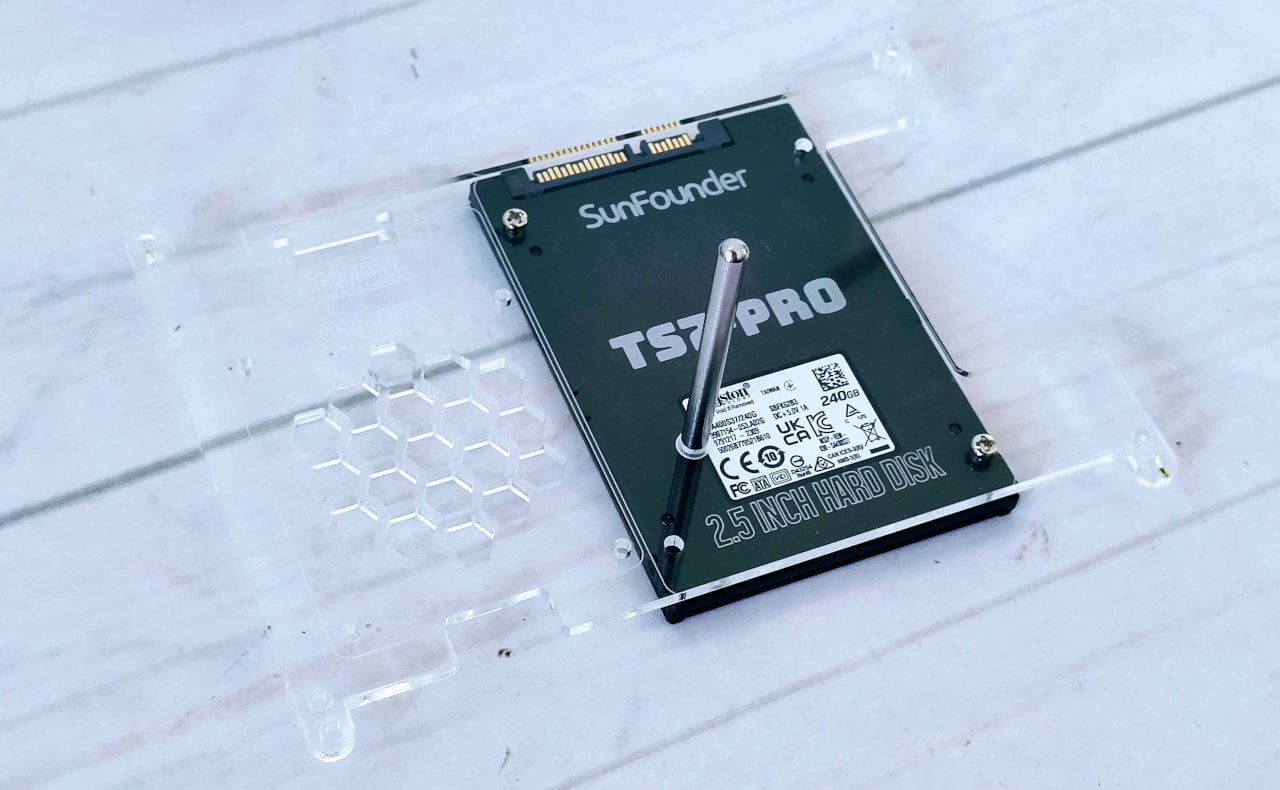
- SSD disk ready: the case provide the space to add an external SSD with a standard size.
Here the HD M.2 NGFF SATA - NGFF USB adapter - SSD SATA - USB SATA cable
- Standard Camera: in the box, you can find the adapter to add a standard Raspberry Pi camera, and with the embedded speaker, It becomes perfect for a call conference system.
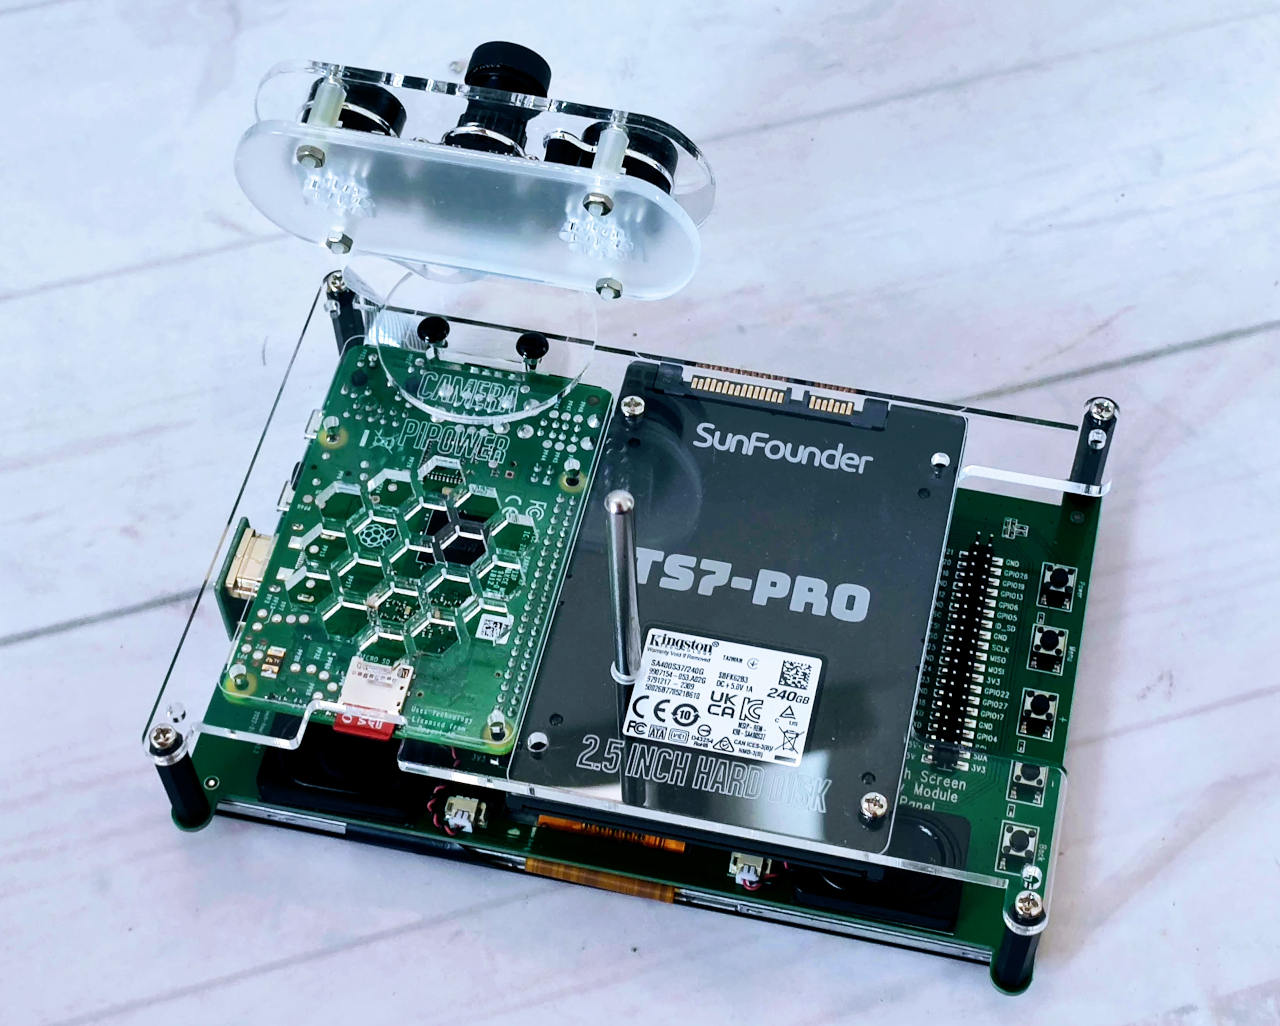
- Infrared Camera: If you’re interested in exploring the world of infrared imaging, adding an IR camera to your setup can transform your Raspberry Pi tablet into a night vision viewer. This setup can be used for a variety of applications, from security to wildlife observation. The box fit perfectly with the standard infrared camera adapter that you can buy at the link below.
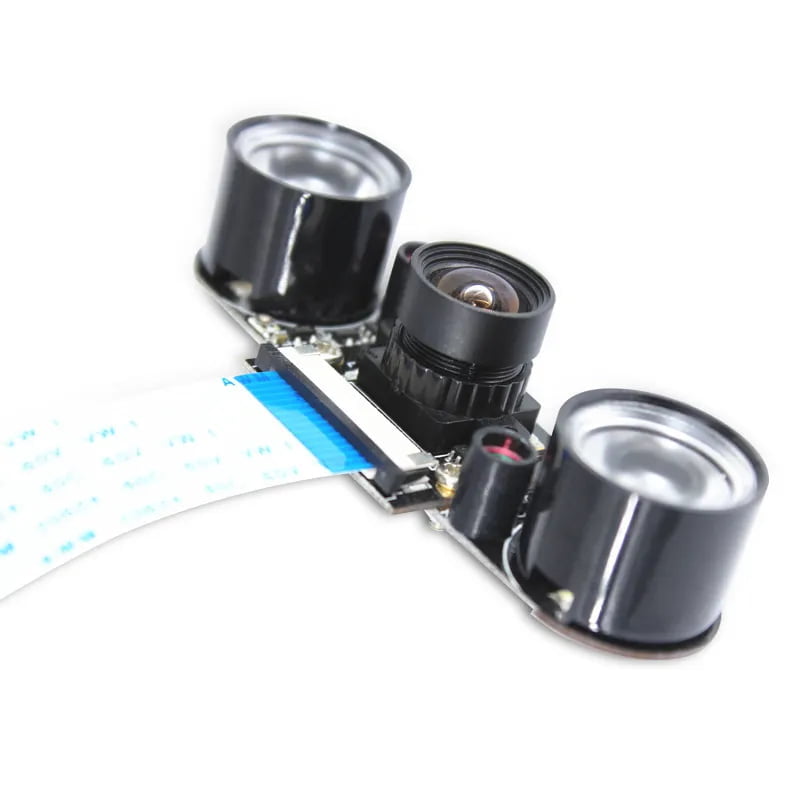
Here the camera devices SunFounder IR Camera - IR Camera - Acrilyc IR Cam Holder - IR Camera all in one - Pi Camera
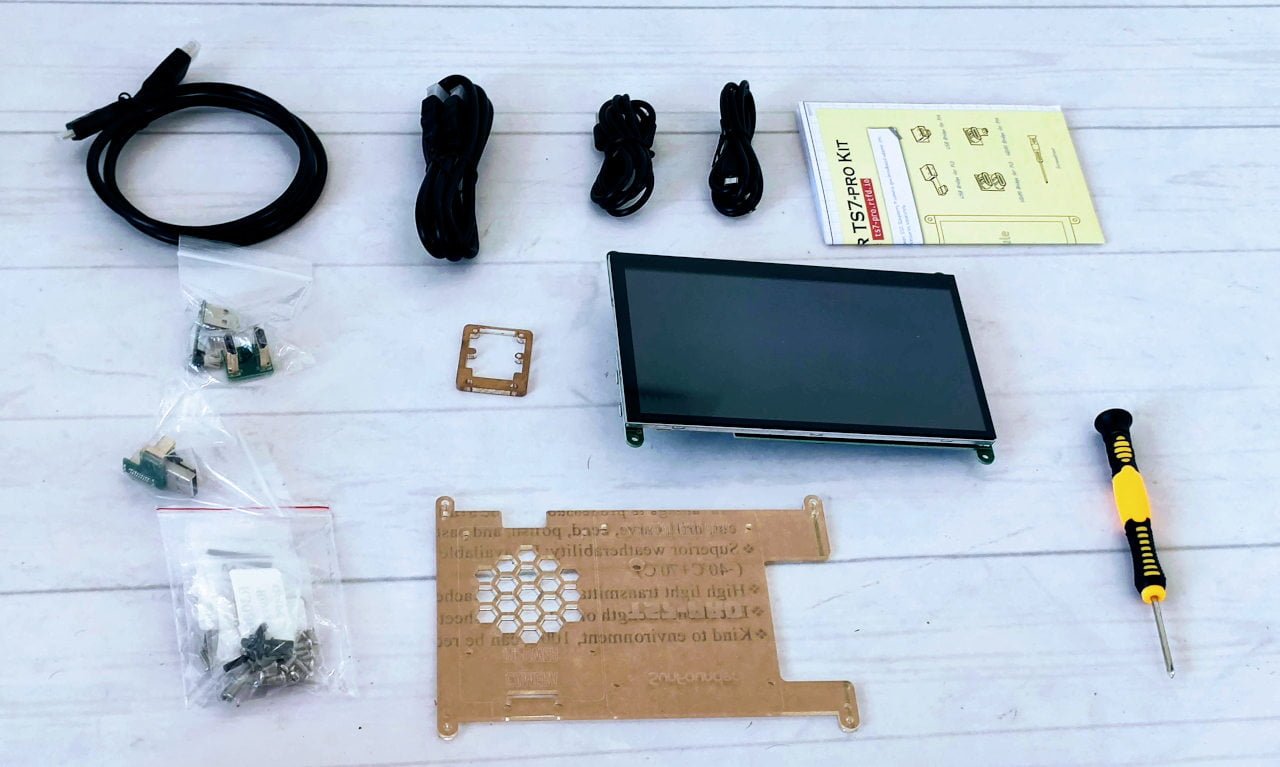
Assembly TS7-Pro with Raspberry Pi 3B+
Now we can start the assembly part, and the device is provided with all connectors and HDMI cables for Raspberry Pi 4 and 3.
You can find the assembly instructions also in digital format.
There are few pieces, so the assembling can be very fast.
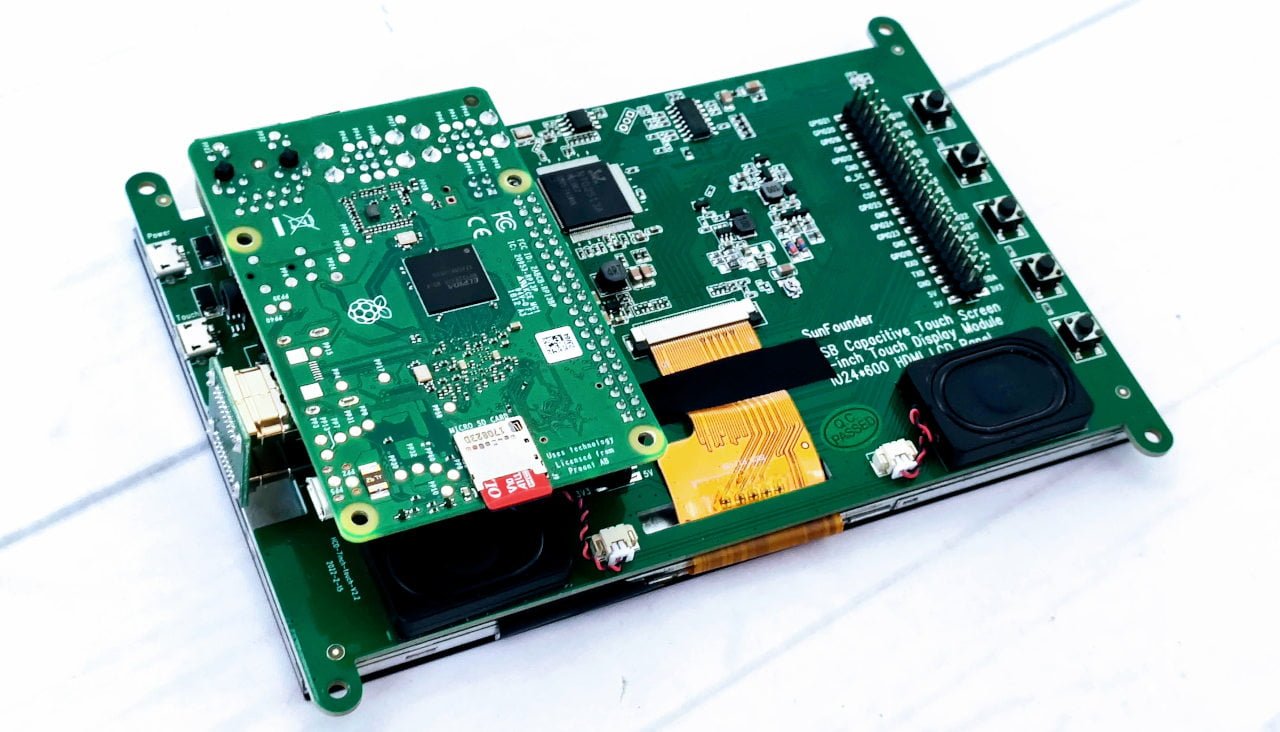
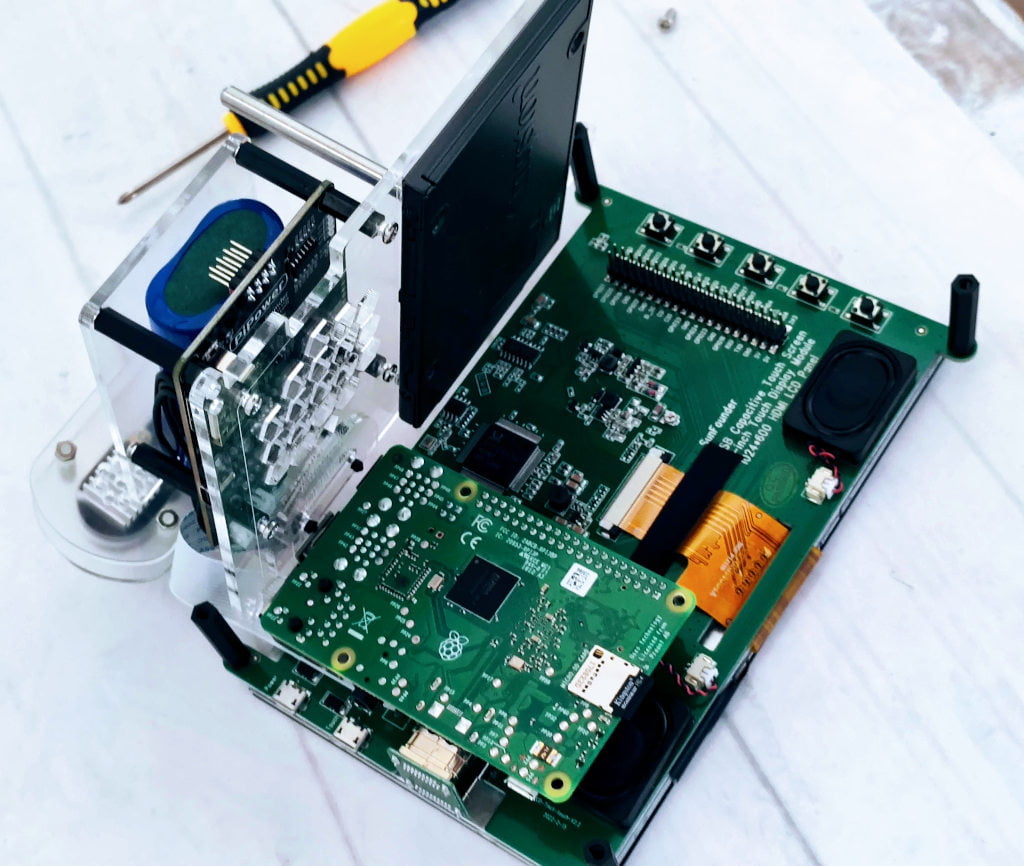
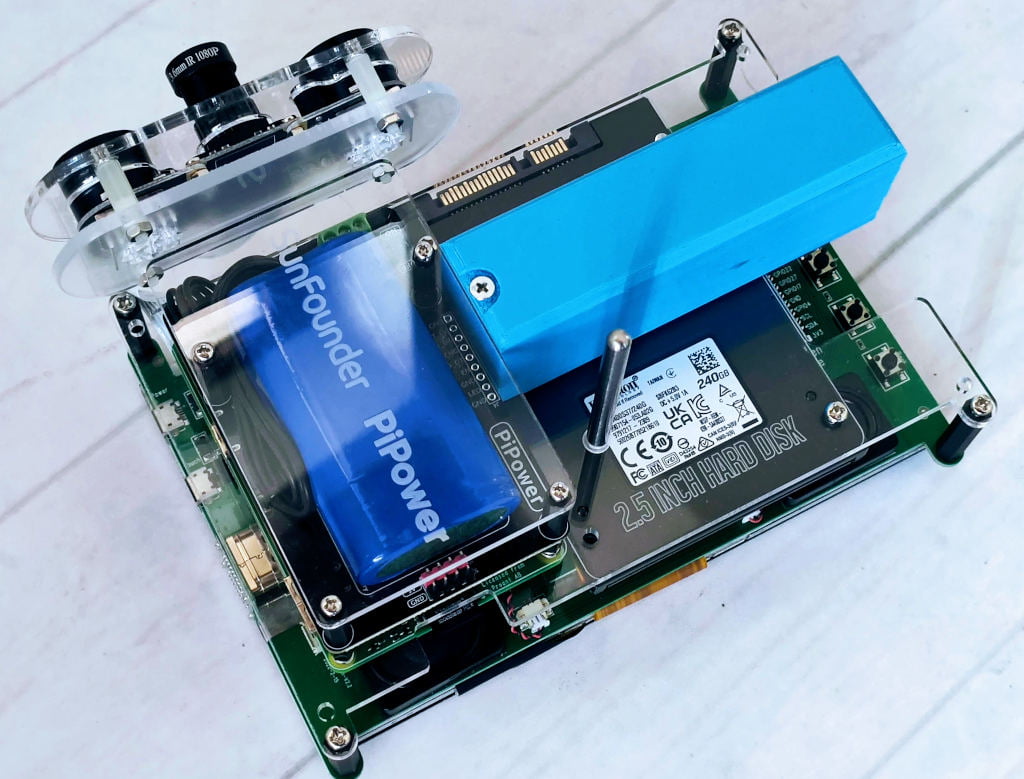
First of all, we put the Raspberry Pi in the specified position and inserted the HDMI and USB connector.
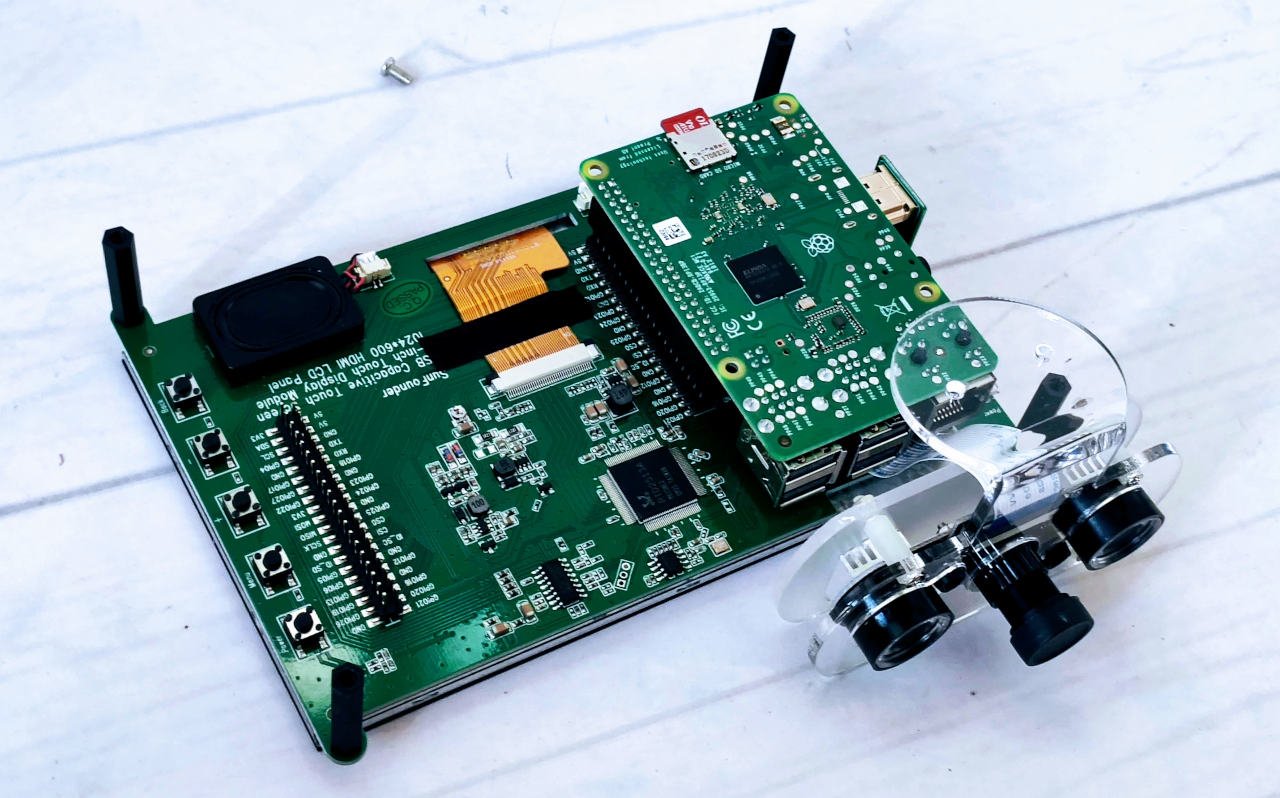
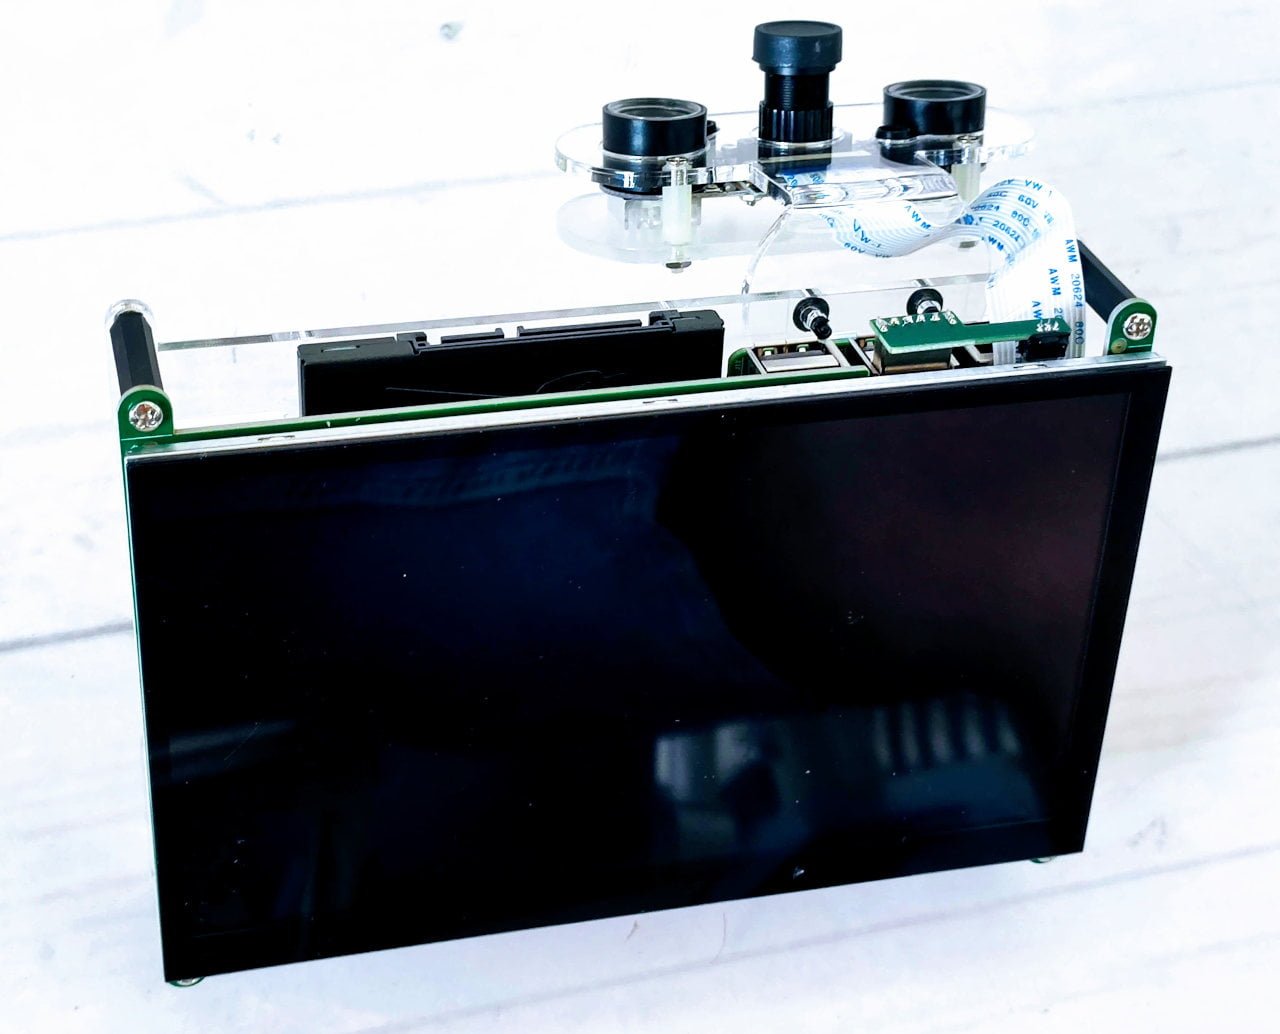
If you want, add the night vision camera immediately, but remember you must buy also the acrylic adapter that you can find in the buy link.
Also, in this phase, you can add the SSD that offers a better performance but need more power than the SD card.
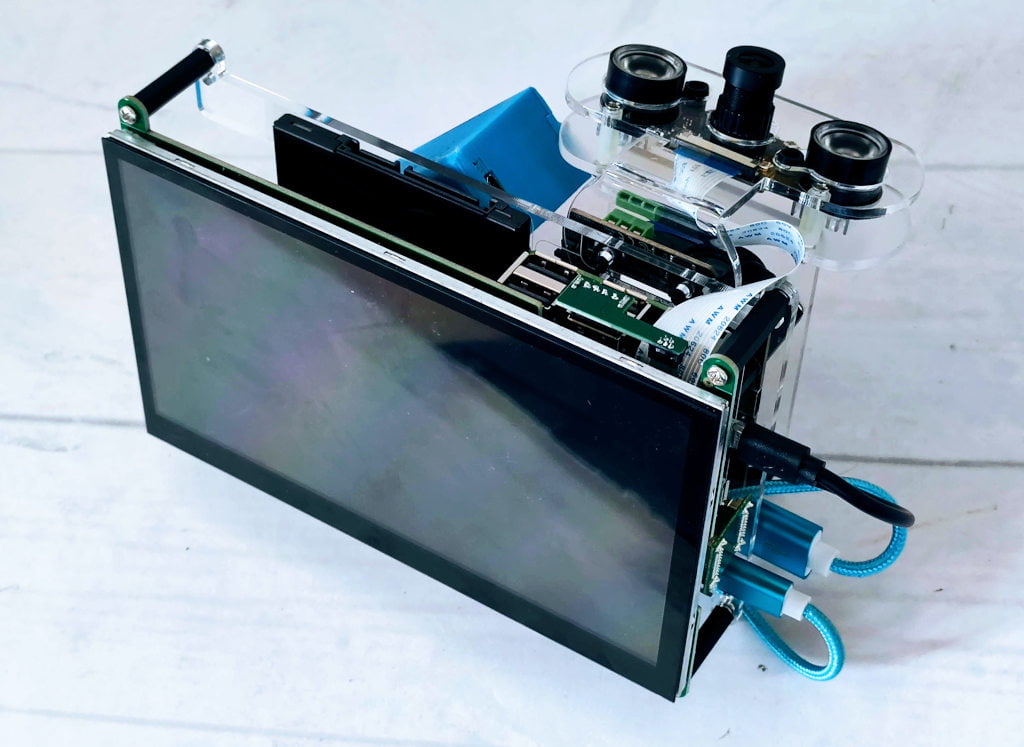
Then you can assemble all the parts and the device is ready.
In the back, you can access the pinout of Raspberry Pi (wrapped by the display board) and the buttons to regulate and configure the display.
Now the first phase is completed, we must go to add the software.
Installing software (BullsEye) and configuring the peripherals
As usual, I advise using Raspberry Pi imager for the installation, I select Raspberry Pi OS BullsEye (64-bit) for me, and I put all in an SD.
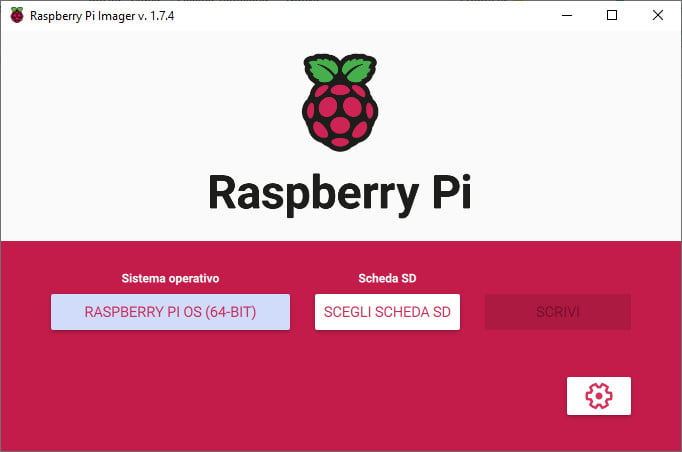
Now put It on the back slot for the SD card and start the device. Add all mandatory data. Remember to click on the setting icon to enable ssh or, the first time, attach a keyboard and mouse.
You can have problems with display resolution, and ssh connection is very useful to change the config.txt file to fix them
SSD management
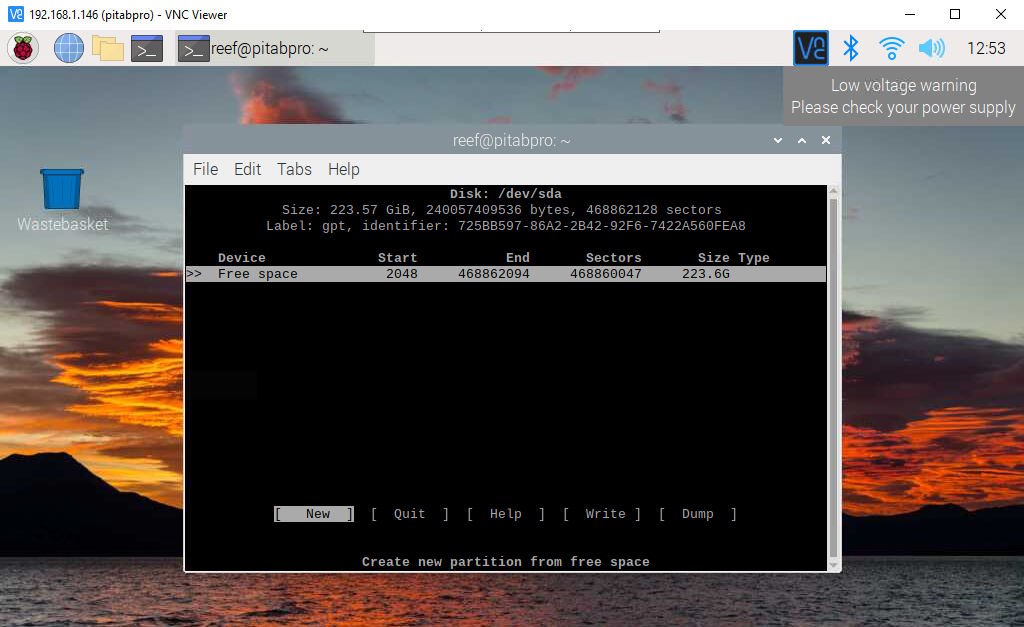
When the system is started, you can install the SO directly on SSD, or you can do a partition on It to use as an external drive. You can write:
cfdisk /dev/sda
And then create the partition.
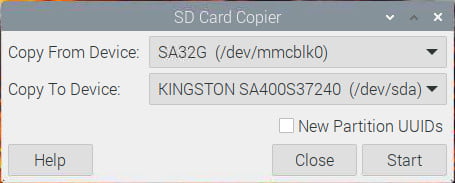
Another option is to use the utility given by the SO, the SD card copier that allows to you to copy the current SD to the SSD so that you can use the same SO on SSD.
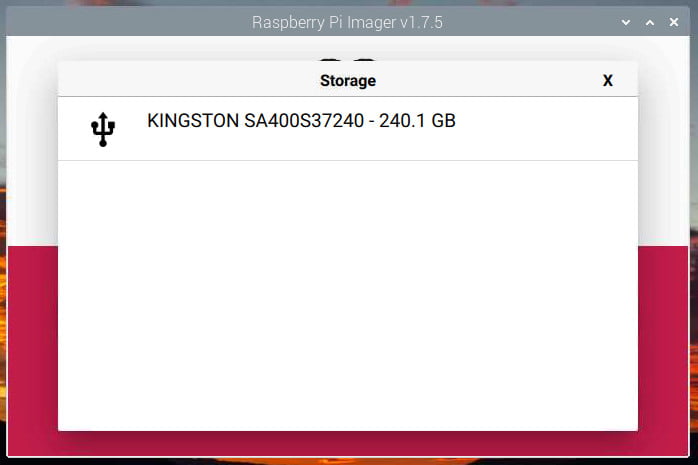
Or (my option) use the Raspberry Pi Imager, already installed on Raspberry Pi OS, to do a new installation.
Hard disk speed test
In this test, I use a Raspberry Pi 3B+, so the USB is only 2.0, and the speed test of the SSD is better but not enough to justify the additional power usage.
Refer to the “Pironman Mini PC: a Raspberry Pi in a compact package with SSD, heat sync, and more.” to check the performance of an external SSD on Raspberry Pi 4.
Here is the speed test of the SD
reef@pitabpro:~ $ sudo hdparm --direct -t -T /dev/mmcblk0p1

/dev/mmcblk0p1:
 Timing O_DIRECT cached reads:    40 MB in  2.03 seconds =  19.74 MB/sec
 Timing O_DIRECT disk reads:  62 MB in  3.05 seconds =  20.30 MB/sec
Here the speed test of the SSD
reef@pitabpro:~ $ sudo hdparm --direct -t -T /dev/sda

/dev/sda:
 Timing O_DIRECT cached reads:    68 MB in  2.03 seconds =  33.56 MB/sec
 Timing O_DIRECT disk reads: 104 MB in  3.04 seconds =  34.25 MB/sec
Screen resolution
For the Raspberry Pi 3 and the lower versions, you need to reset the resolution ratio as follows. As for Raspberry Pi 4, when you start it up, the resolution is optimum. If you want to change its resolution continue to read.
For Raspberry Pi 3 or Lower Version
- Open config.txt
sudo nano /boot/config.txt
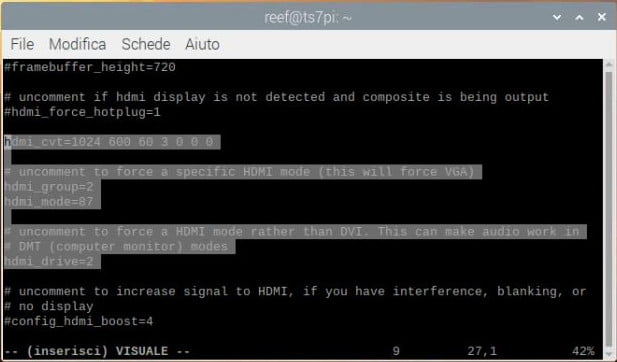
- Modify the /boot/config.txt file.
- Define a custom CVT mode (since Raspberry Pi uses the standard rate when 1024×600 is not included, you need to set the aspect ratio close to 16:9) and add the following lines below #hdmi_force_hotplug=1.
hdmi_cvt=1024 600 60 3 0 0 0
- Find the following lines, delete the “#” mark and modify the value like this:
hdmi_group=2
hdmi_mode=87
....
hdmi_drive=2
Install Virtual Keyboard on Raspberry Pi
When you use a touch panel, you can connect an external keyboard to help you do a text input operation, but it is best to install a virtual keyboard.
Install the required software with the following command.
sudo apt install onboard
sudo apt install at-spi2-core
Then in Preferences -> Onboard Settings you must check where and when you want the keyboard to appear. Remember that you must execute It every time by clicking the icon in Total access.
Night vision camera management
Standard process (not work for my BullsEye)
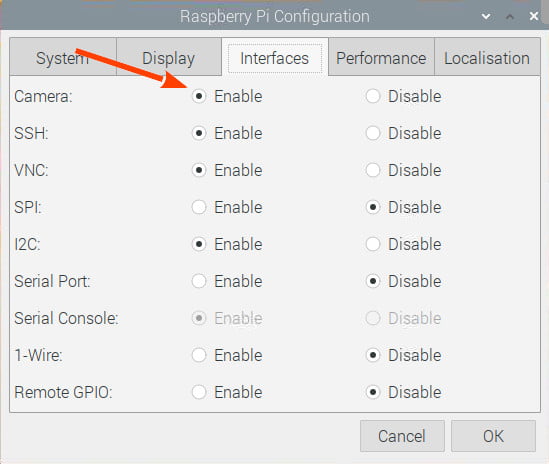
First of all, you must activate the camera control.
And to do some tests, we are going to install libcamera-apps.
sudo apt-get install libcamera-apps
BullsEye process
In my case, I must follow these steps.
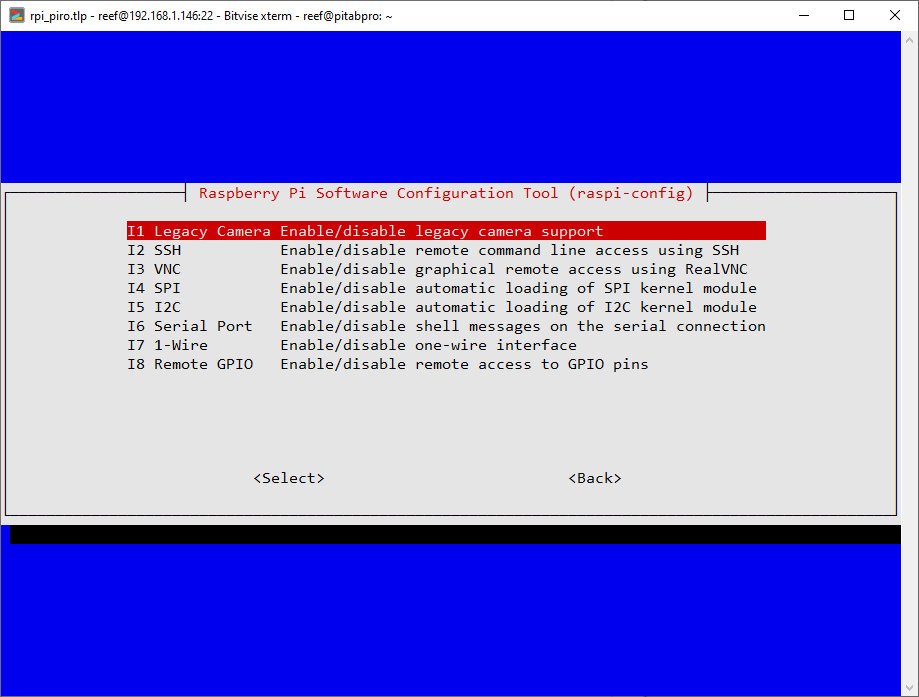
First, enable the legacy camera module from raspi-config.
sudo raspi-config
In Interface Options section select Legacy Camera Enable/disable legacy camera support.
Now we can try to start
Open again config.txt file
sudo nano /boot/config.txt
and add this line
camera_auto_detect=1
Test camera
To test the camera try to launch this command.
libcamera-hello
If you don’t find that command install It.
sudo apt-get install libcamera-apps
Now if you get this error.
reef@pitabpro:~ $ libcamera-hello
libEGL warning: DRI2: failed to authenticate
Made X/EGL preview window
[0:01:47.566379666] [1620]  INFO Camera camera_manager.cpp:299 libcamera v0.0.4+22-923f5d70
[0:01:47.737227364] [1633]  INFO RPI raspberrypi.cpp:1476 Registered camera /base/soc/i2c0mux/i2c@1/ov5647@36 to Unicam device /dev/media1 and ISP device /dev/media0
[0:01:47.740390569] [1620]  INFO Camera camera.cpp:1028 configuring streams: (0) 1296x972-YUV420
[0:01:47.741508393] [1633]  INFO RPI raspberrypi.cpp:851 Sensor: /base/soc/i2c0mux/i2c@1/ov5647@36 - Selected sensor format: 1296x972-SGBRG10_1X10 - Selected unicam format: 1296x972-pGAA
terminate called after throwing an instance of 'std::runtime_error'
  what():  failed to import fd 19
Aborted
Start It with a QT preview.
Add PiPower to become portable
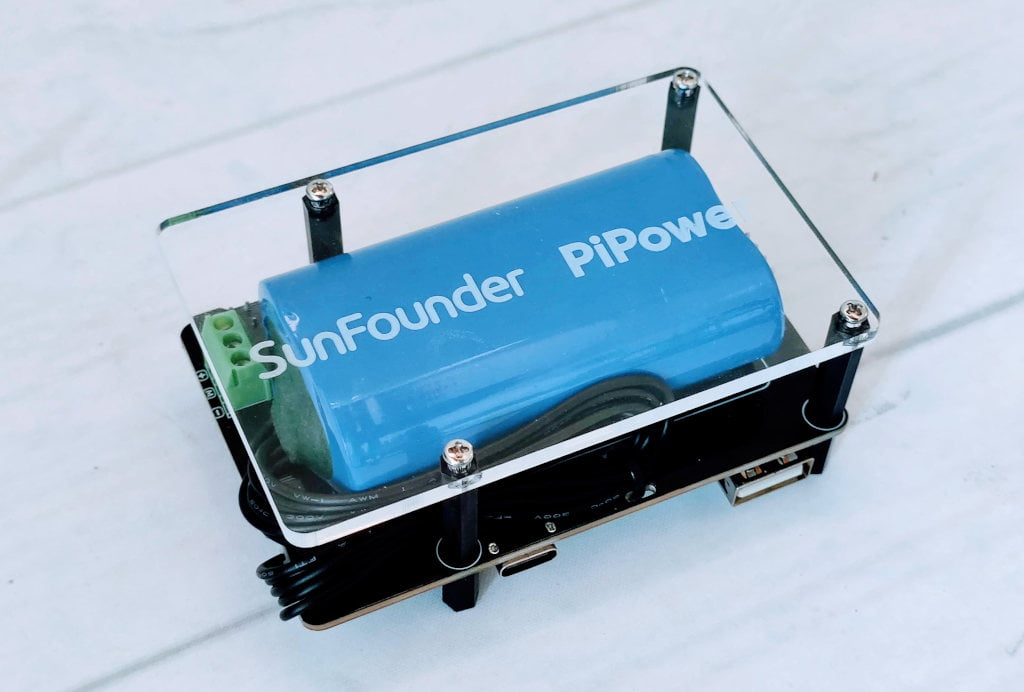
To put It portable, I’m going to test PiPower from Sunfounder.
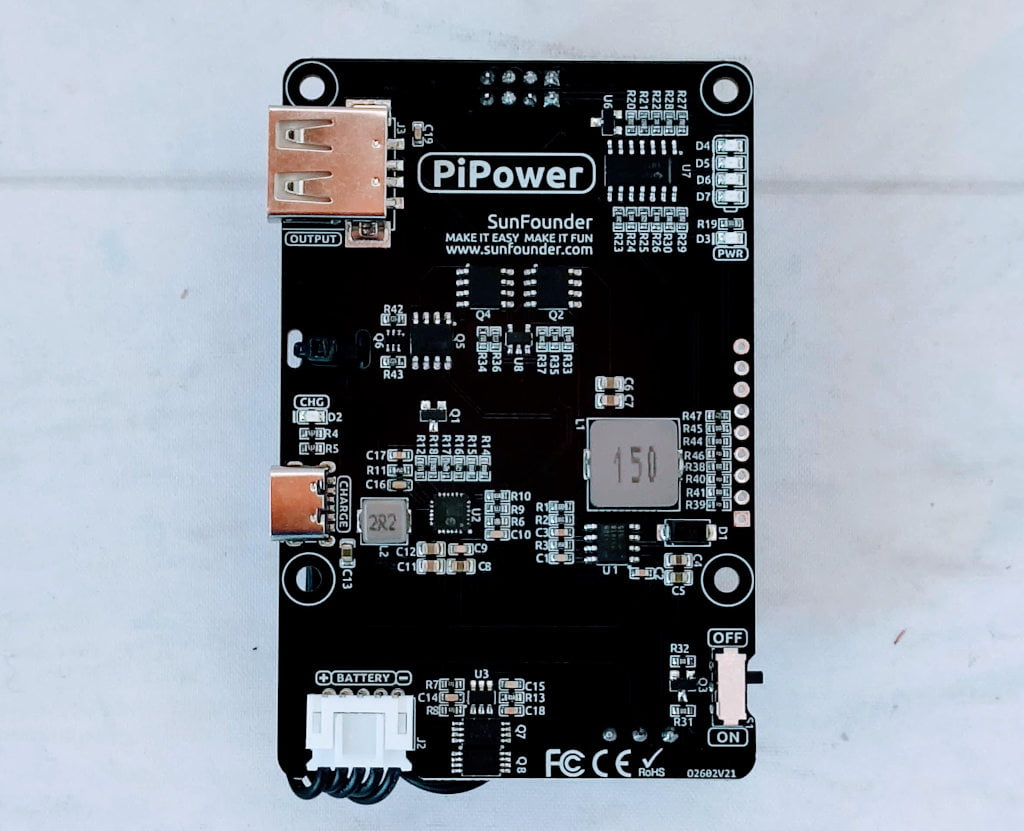
The SunFounder PiPower module is a power supply solution for Raspberry Pi, offering a rechargeable power source with an output of 5V/3A to cater to diverse Raspberry Pi usage scenarios. This module includes four power indicators, each representing 25% of the power, thus allowing users to monitor the power levels visually. It also features a power switch, enabling the Raspberry Pi’s power to be turned on or off without needing to plug or unplug the power cord.
PiPower Link SunFounder PiPower - PiPower
When the battery power runs low, the module allows recharging via a 5V/2A Micro USB cable. The charging process is indicated by a lit charging indicator, which turns off when the battery is fully charged. This module is designed to utilize two 18650 rechargeable batteries.
Key Features include:
- Output: USB Type-A, 5V/3A
- Input: USB Type-C, 5V/2A
- Power Switch
- 1 Charge Indicator
- 4 Battery Indicators
- Over-discharge Protection Voltage: 3.2V
- Overcharge Protection Voltage: 4.2V
- Battery: 2 x 3.7V 18650 lithium battery
- Dimension: 90mm x 60mm x 24.9mm
The PiPower module also includes over-discharge protection, which activates when a single battery voltage drops below 3.2V. In addition, it provides overcharge protection, halting the charging process once the total battery voltage reaches 8.4V. Another noteworthy feature is the charge balance mechanism, which regulates the charging current when a single battery exceeds 4.2V.
One commendable feature is its power indicators. With four LEDs representing the power status, users can conveniently track the battery status and plan their work accordingly. Also, the ability to charge the batteries using a Micro USB cable provides convenience and ensures continuous operation without power interruptions.
The inclusion of overcharge and over-discharge protection showcases the thoughtful design and concern for device safety. This feature instills user confidence, knowing the module will not lead to potential battery damage.
The power switch on the module is a simple yet impactful feature. It saves users from the inconvenience of plugging and unplugging the power cord, which is a common pain point for Raspberry Pi users.
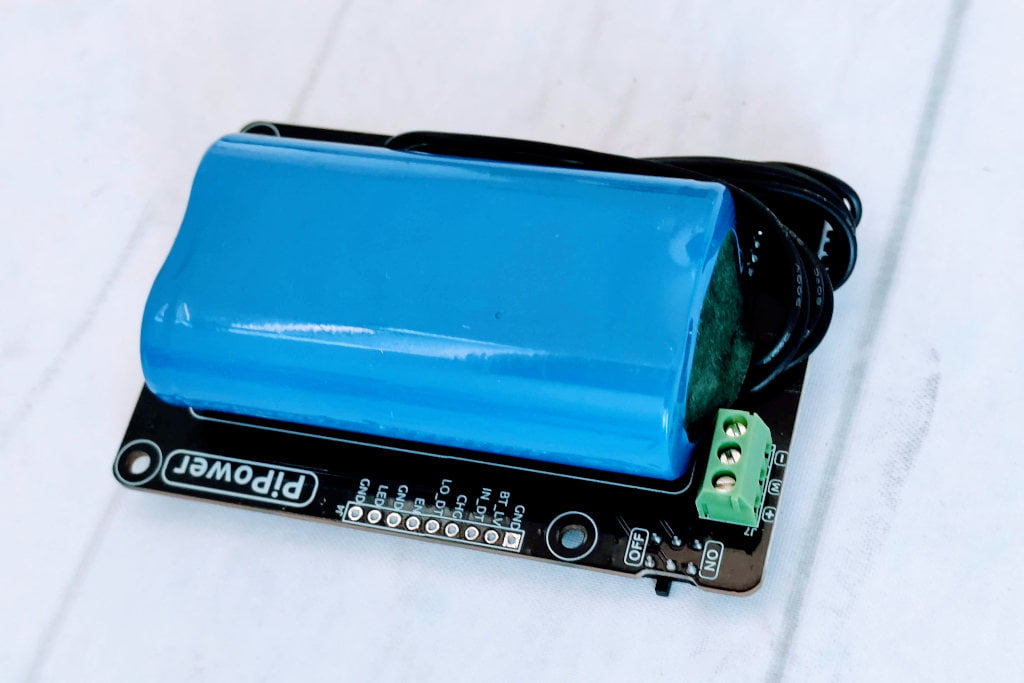
Apply the PiPower battery
To apply the PiPower, you can refer to the official documentation, and there is a specific section on how to apply that battery to ts7-pro.
Here is the back of the tab.
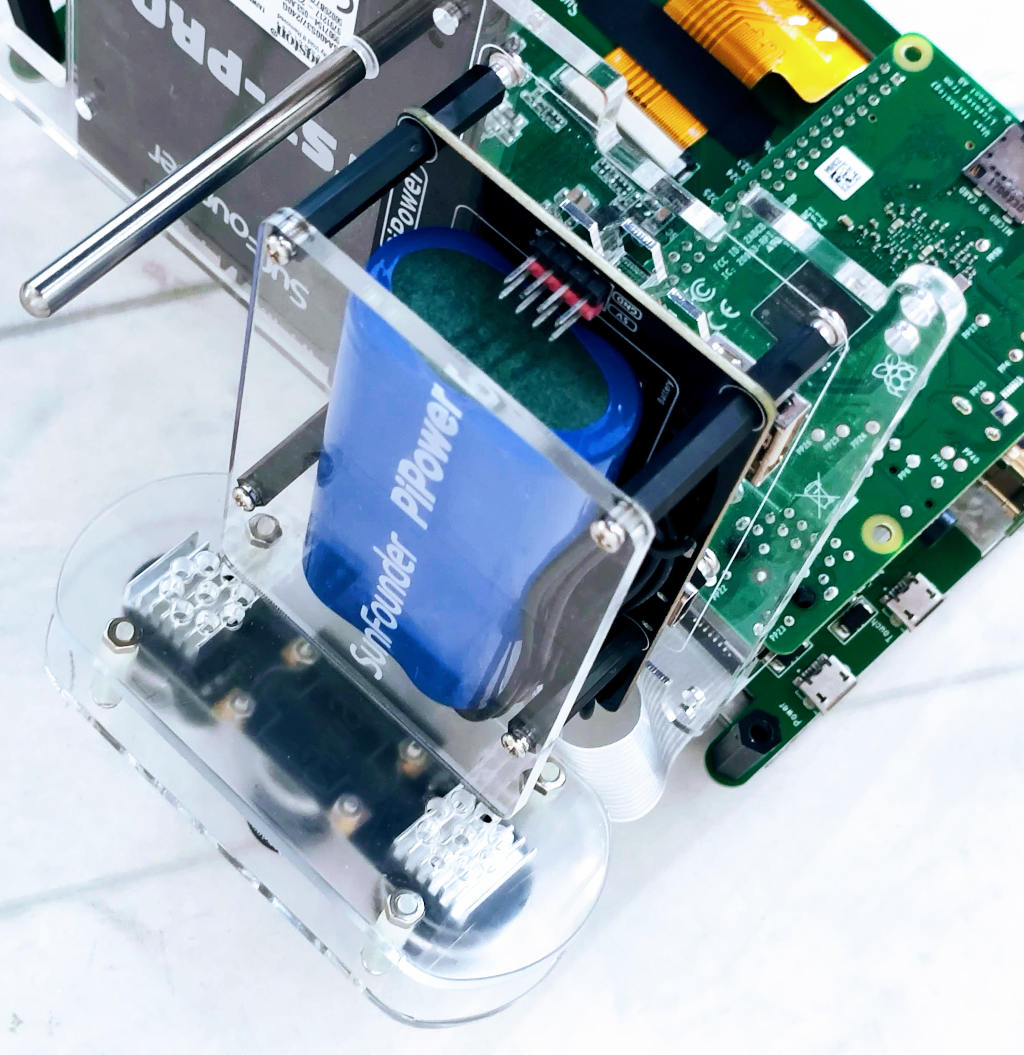
But after some tests, I discovered that the power of the battery pack is not sufficient to power Raspberry, touch screen, and infrared camera, so I’m going to add an additional battery with a variant of my battery pack from the project “3D Printed Modular Holder System: USB rechargeable lithium battery pack“.
Battery pack container
Battery pack cover
My standard battery holder
Assembly
You need some components, first the tp4056 usb lithium recharging module
Lithium recharging module tp4056 - tp4056 and step-up - Charge disharge USB - Charge disharge
than a step-up module
5v Step-up module AliExpress
than a battery
18650 battery &nbps;AliExpress 18650 3.7v 3400mah
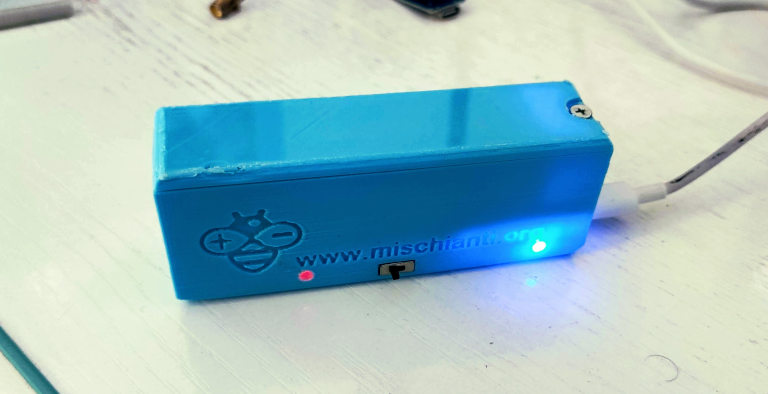
The assembly process is not so simple, so I create a short video to explain It.
So now I have the battery to power the display.
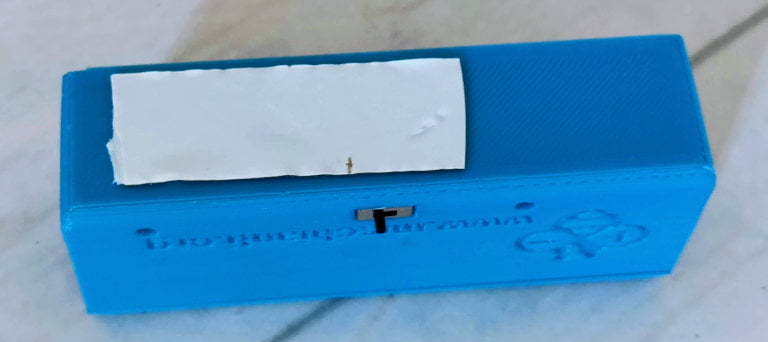
And with bi-adhesive tape, I fix It to the back.
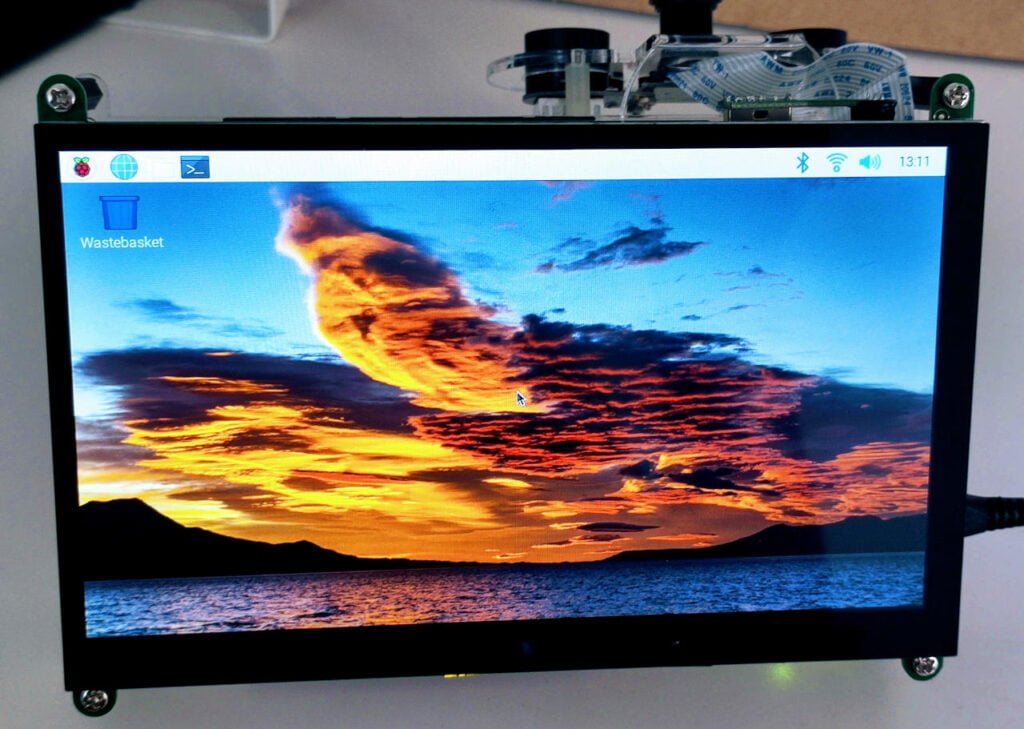
Now the work seems complete.
First video test
Thanks
Raspberry Pi case
- Pironman Mini PC: a Raspberry Pi in a compact package with SSD, heat sync, and more.
- Night Vision on Raspberry Pi: TS7-Pro Display, PiPower & DIY 3D Printed Battery in Action!
- RasPad 3: transform your Raspberry Pi into a versatile tablet with multi-OS boot


