Arduino MKR WiFi 1010 SPI Flash memory shield
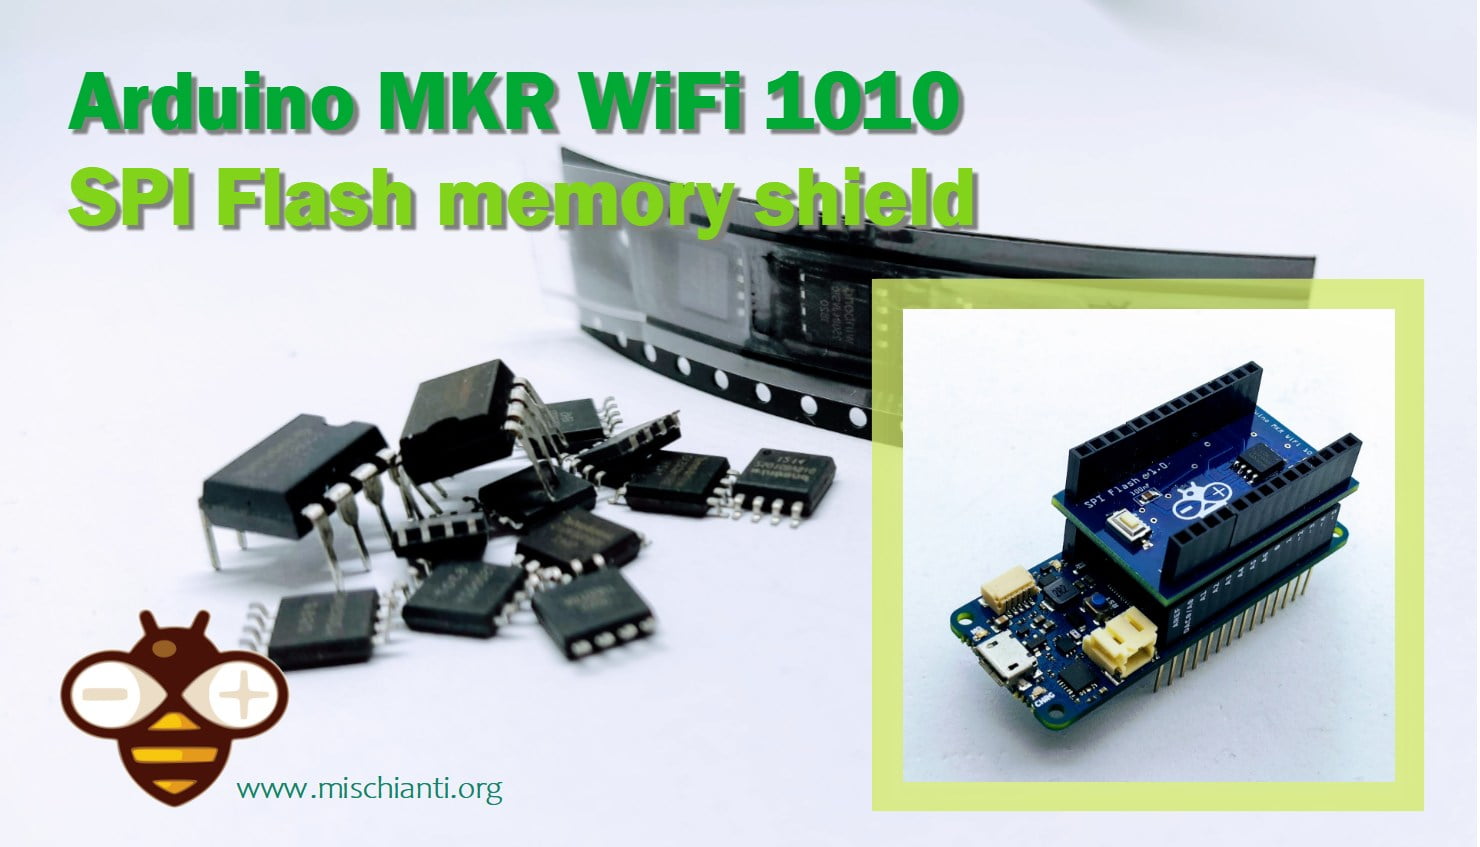
I want to simplify the use of external SPI flash memory with my Arduino MKR WiFi 1010, therefore, I have created, a simple Shield PCB to achieve my purpose faster.
Electronics, Programming, 3D Printing, and Embedded Systems Tutorials

I want to simplify the use of external SPI flash memory with my Arduino MKR WiFi 1010, therefore, I have created, a simple Shield PCB to achieve my purpose faster.
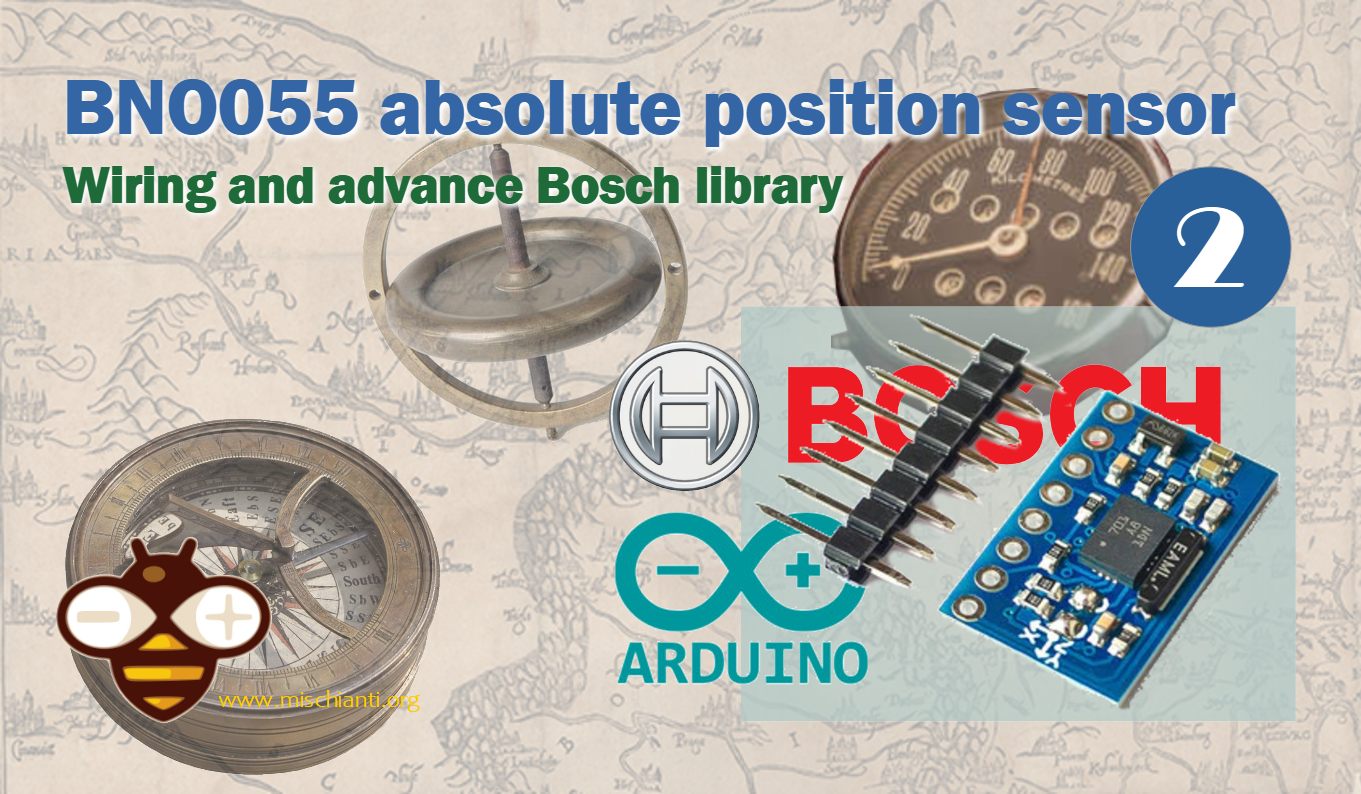
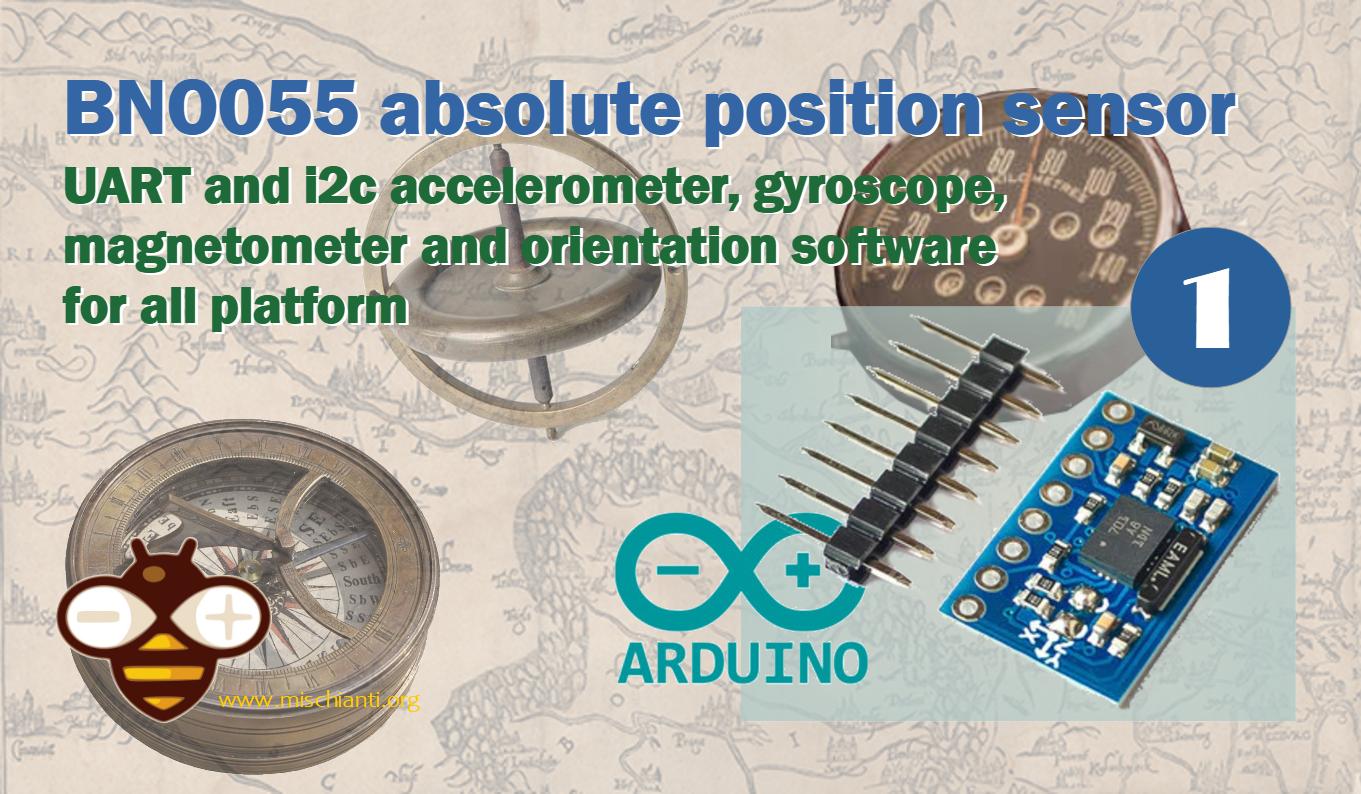
This is the second article on bno055. If you need basic management, you can refer to the previous article “BNO055 accelerometer, gyroscope, magnetometer, and orientation software”, but if you need advanced management (and more complex) with interrupt, you must read this article also.
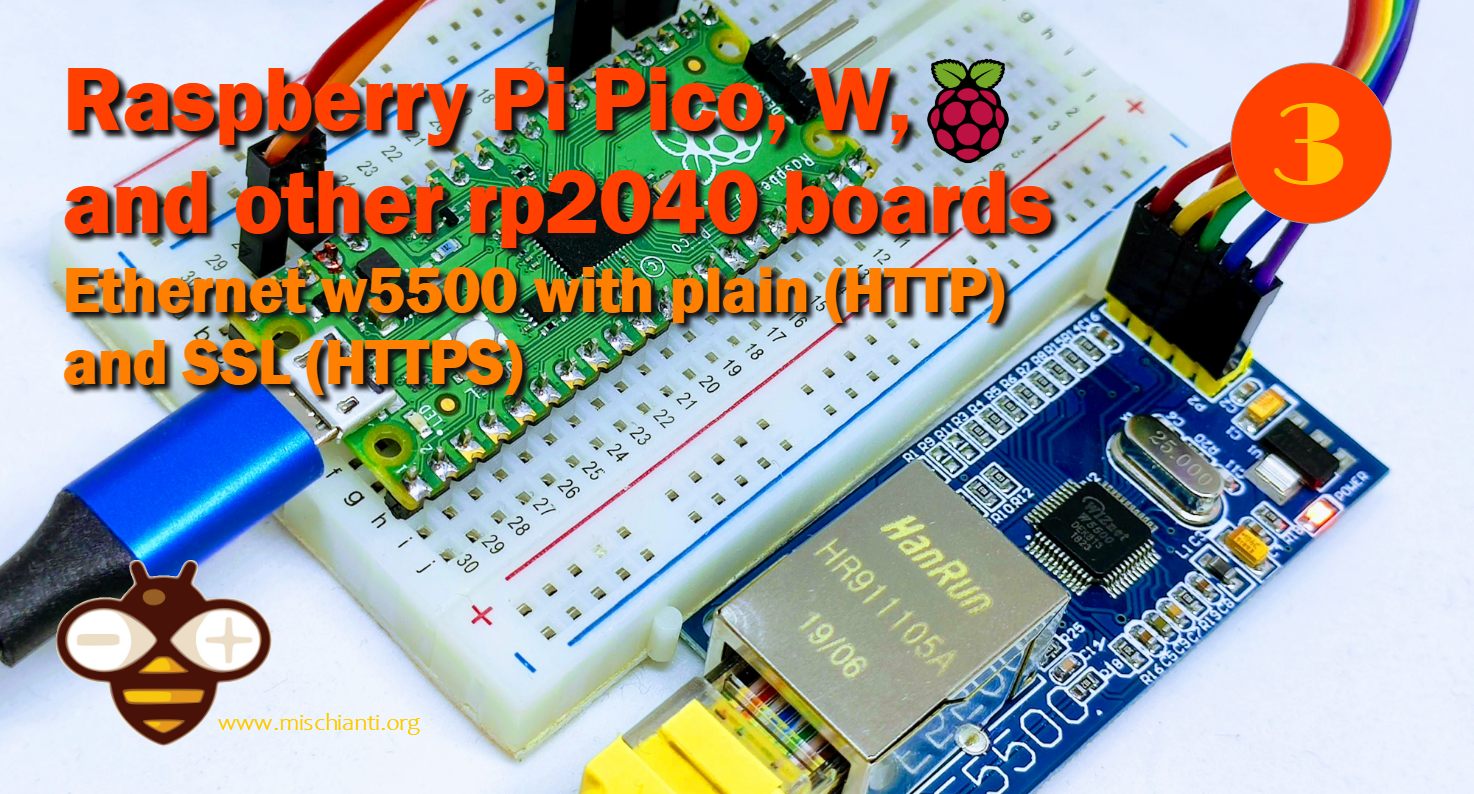
In this article, we are going to explore the w5500 module with our Raspberry Pi Pico, w and the other rp2040 boards. w5500 is a quite powerful device that allows an Ethernet wired connection.
It’s fundamental for data logging the interfacing with SD cards. STM32 doesn’t support well native SD library, so we will use the SdFat library, which has an Adafruit fork also that we’ll use for other purposes.
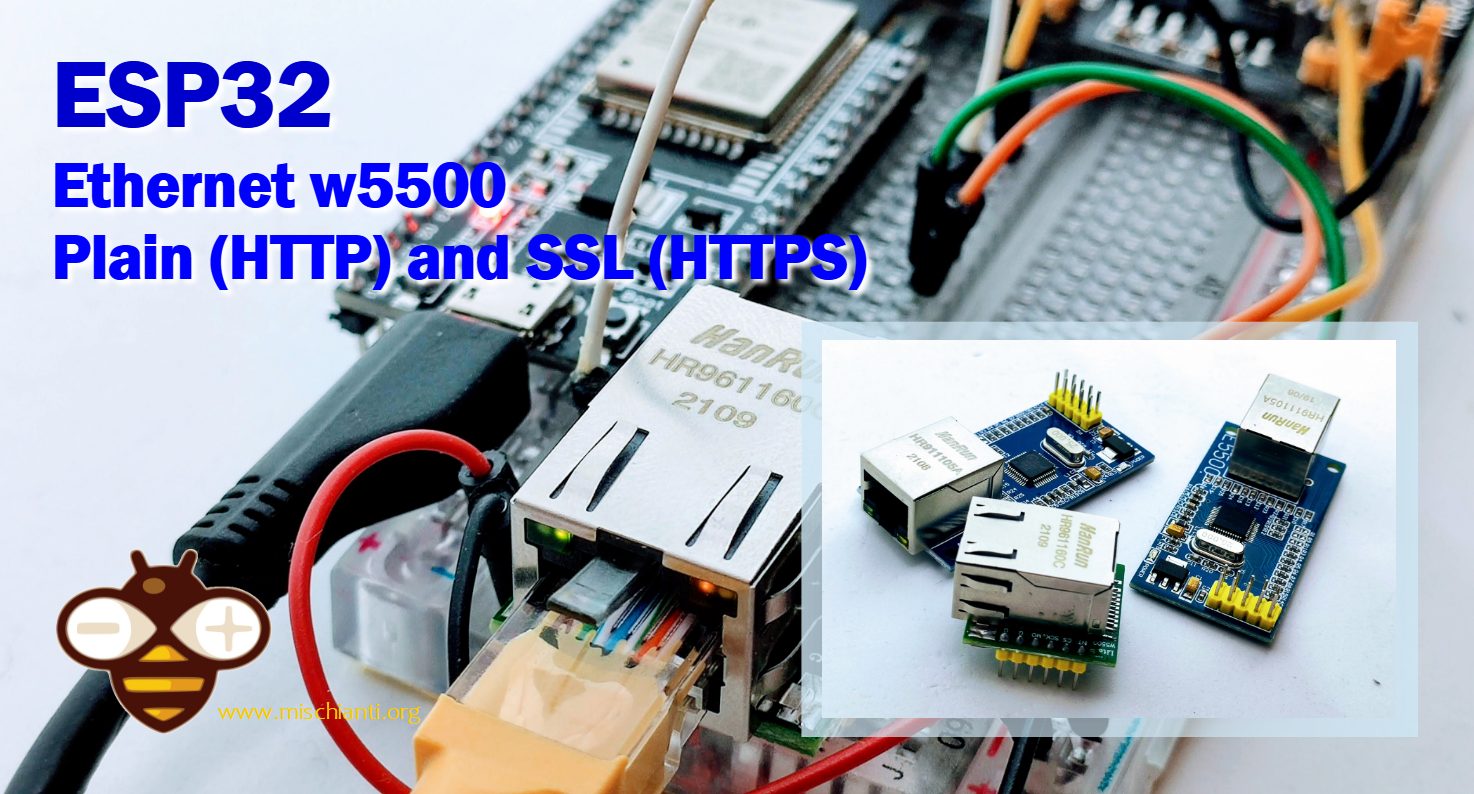
Many people ask me for some examples of wired connections; in my mind, the first thing I thought of is the w5500 device, one of the most famous and powerful. We’ll start to learn how to manage plain and SSL requests.
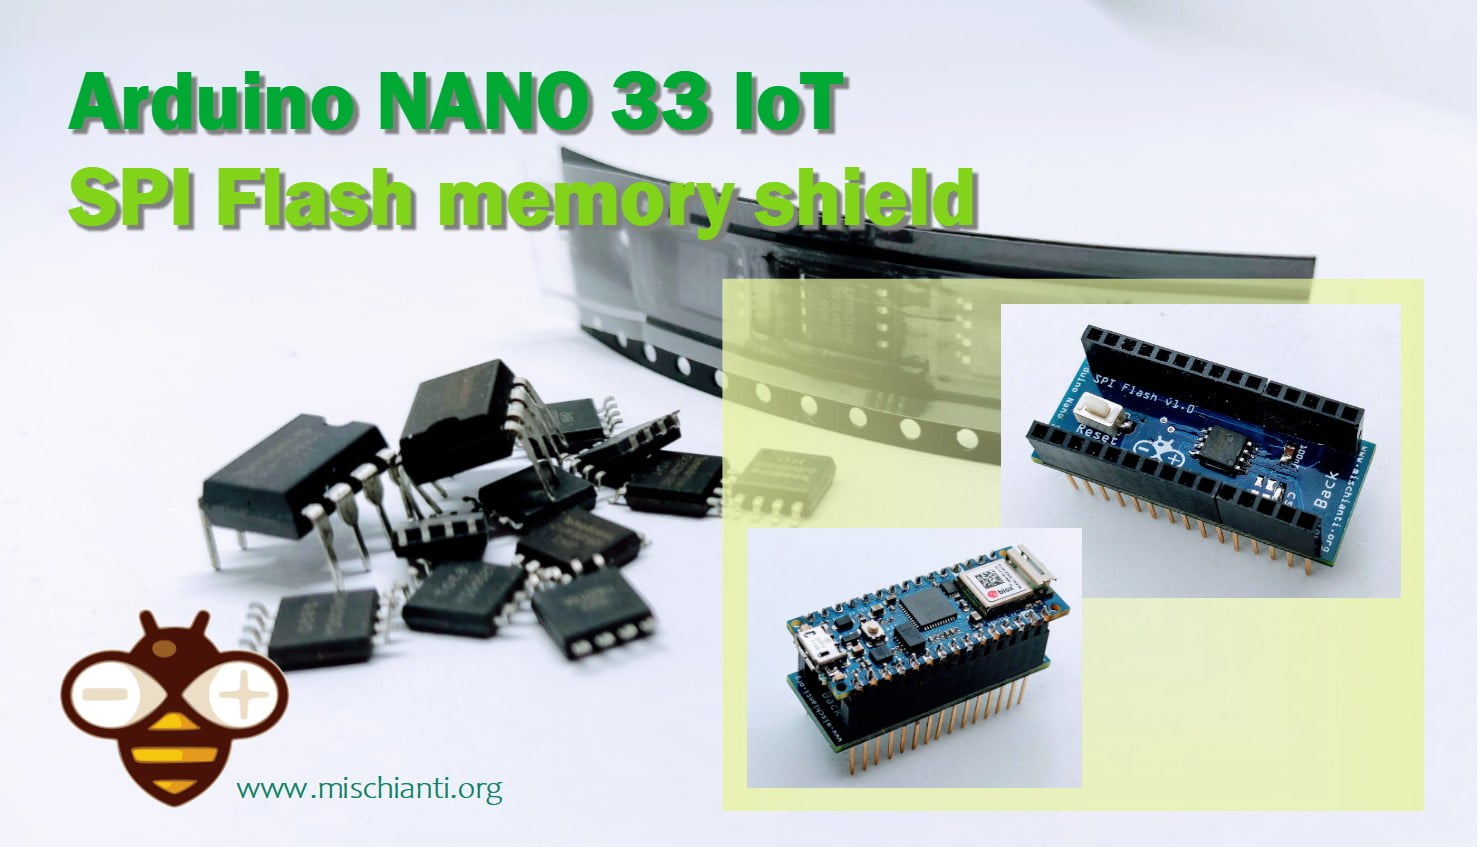
As for other microcontrollers, I want to simplify the use of SPI Flash memory to Arduino NANO 33 IoT, so I create a simple PCB shield to add it fastest.
Arduino SAMD devices don’t have an internal SPI flash memory, but it is clear that a fast and small memory like that can be very useful, so we are to talk again (and again and again and again…) about storage systems.
We are going to discover BNO055, a triaxial accelerometer, a triaxial gyroscope, and a triaxial geomagnetic sensor with a 32-bit cortex M0+ microcontroller in a single package.
In this first chapter, we start a basic usage.
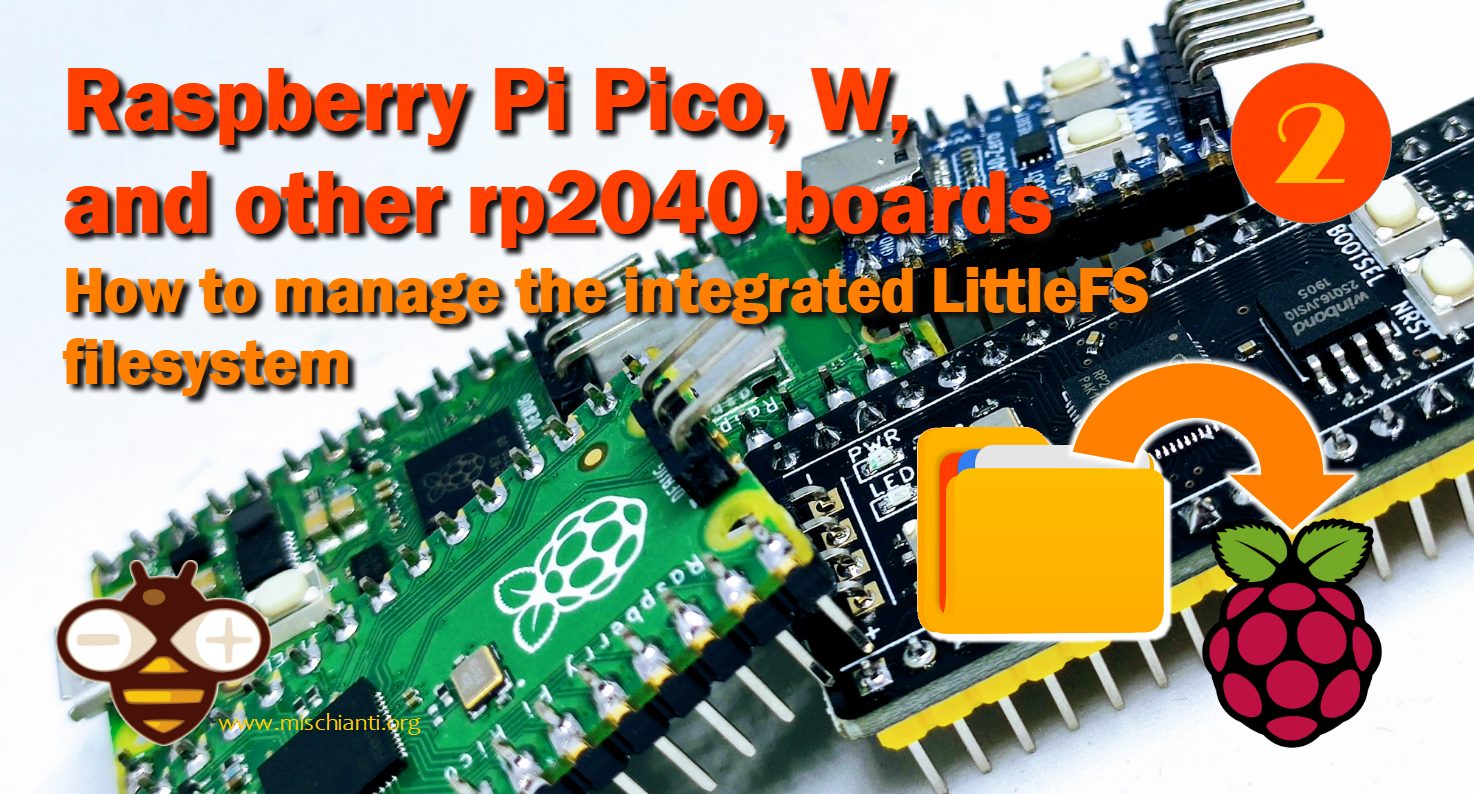
We continue to explore the rp2040 devices, very interesting microcontrollers. All prototype boards come with integrated SPI Flash. Raspberry Pi selected the LittleFS filesystem to manage this storage, a good compromise between functionality and performance.
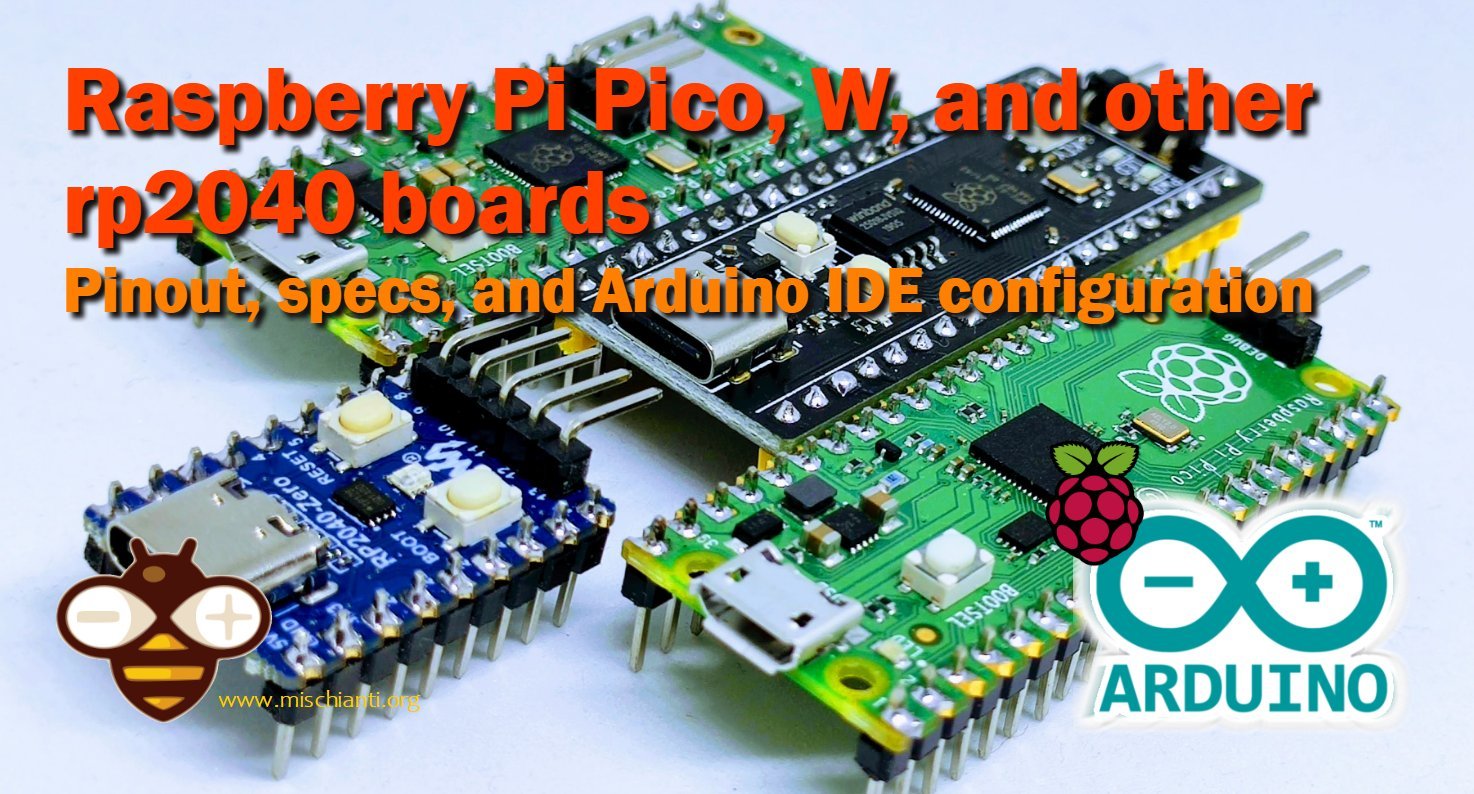
It’s time to explore the new series of microcontrollers based on the rp2040 chip from the Raspberry Pi Foundation. As usual, we are going to use a generic Arduino IDE and C language.
Support free knowledge!To keep this site free, I use affiliate links. If you buy through these links, I receive a small commission at no extra cost to you. It’s a simple way to support my work. Thank you!