Tagged: Arduino

Display OLED ssd1306 arduino esp32 esp8266 draw images show animations 3

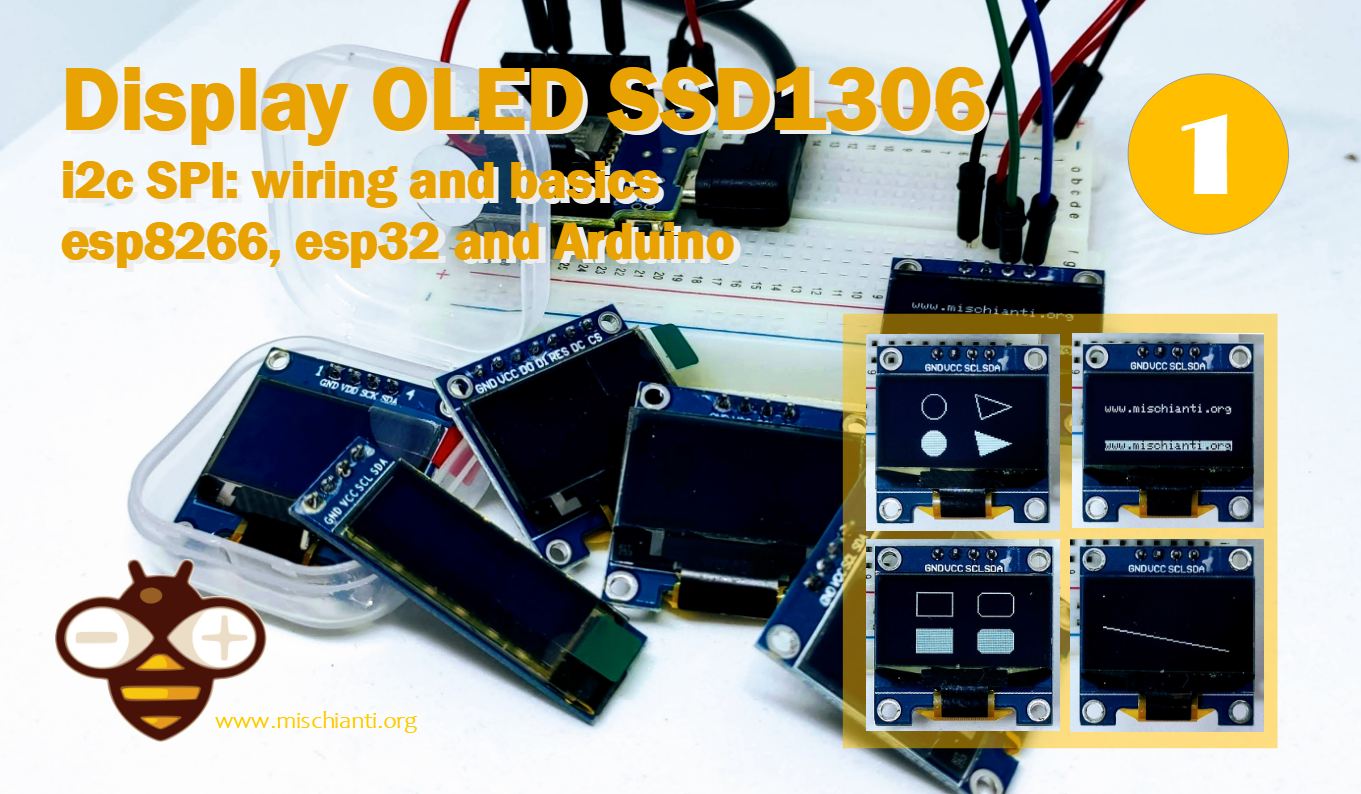
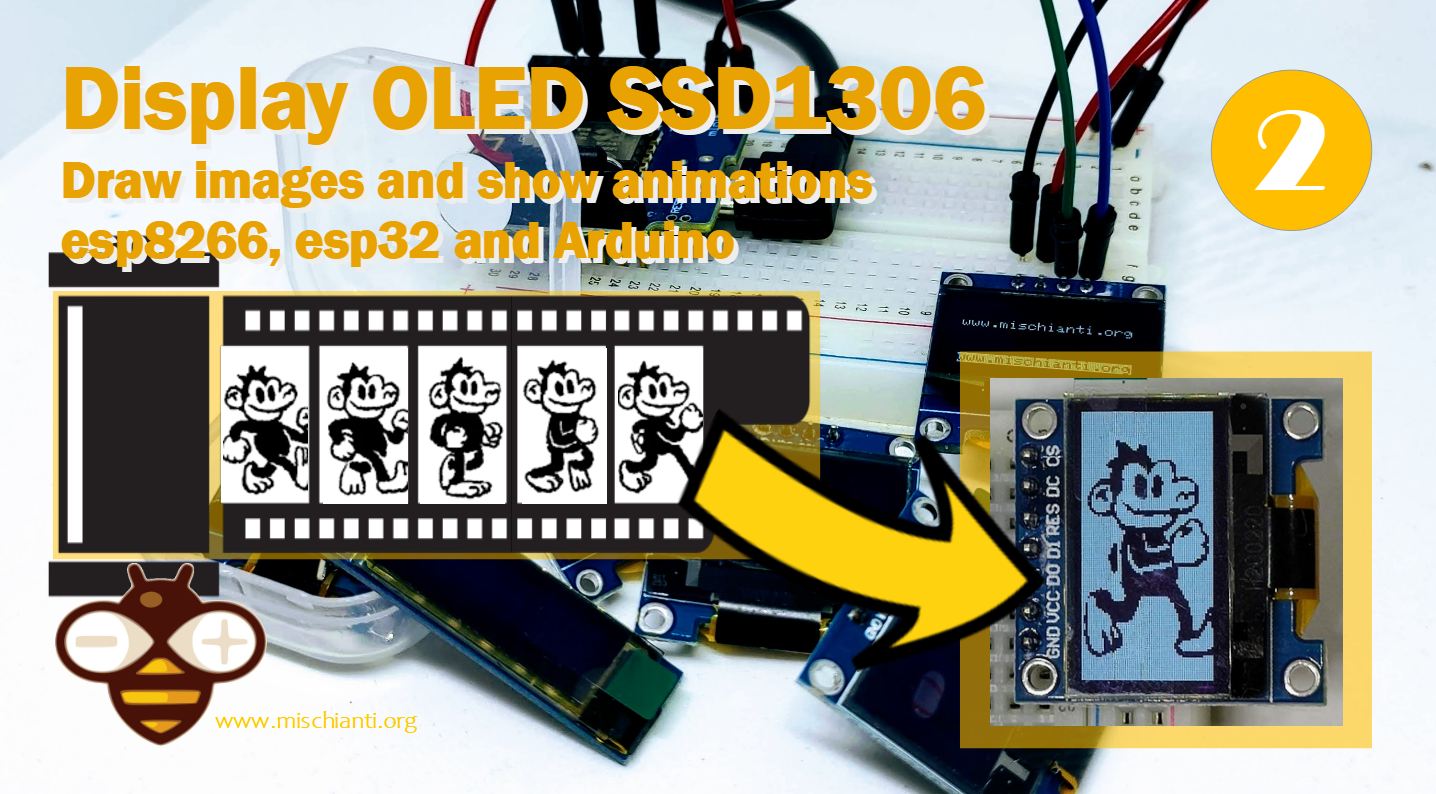
SSD1306 OLED Display: draw images, splash and animations – 2

SSD1306 IC is used for the most commons OLED display is a single-chip CMOS OLED/PLED driver with controller for organic / polymer light emitting diode dot-matrix graphic display system. It consists of 128 segments and 64 commons.
We will now render images and create a simple animation and take a look at the byte array generator.

Display OLED ssd1306 arduino esp32 esp8266 basics 3

SDD1306 OLED display: wiring and basic use with esp8266, esp32 and Arduino – 1

SSD1306 IC is used for the most commons OLED display is a single-chip CMOS OLED/PLED driver with controller for organic / polymer light emitting diode dot-matrix graphic display system. It consists of 128 segments and 64 commons.
We are going to use it with SPI and i2c and learn the basic function.

WebSocket Arduino esp8266 esp32 client 4

WebSocket on Arduino, esp8266 and esp32: client – 1

Modern web applications need to update data in real time, for years we have used polling with REST calls but now we can no longer ignore the WebSocket protocol.
Here I am going to present a WebSocket client with esp8266, esp32 and Arduino Mega with enc28j60.Here a WebSocket client with esp8266, esp32 and Arduino Mega and enc28j60.

ABB PowerOne Aurora Web Inverter Centraline Storage devices 0

ABB Aurora Web Inverter Monitor (WIM): Storage devices – 3

I would like to monitor the status of my ABB Aurora inverter (formerly Power One now Fimer). So with a WeMos D1 mini I create a monitoring station with web interface, notifications and more.
Where are we store the data and html page?? In this article the solution.

ABB PowerOne Aurora Web Inverter Centraline Wiring Arduino to RS485 6

ABB Aurora Web Inverter Monitor (WIM): wiring Arduino to RS-485 – 2

I would like to monitor the status of my ABB Aurora inverter (formerly Power One now Fimer). So with a WeMos D1 mini I create a monitoring station with web interface, notifications and more.
Now we are going to wire our Arduino to the Inverter.